6 Humidity Steps to Install a Decorative Vegetable Fountain
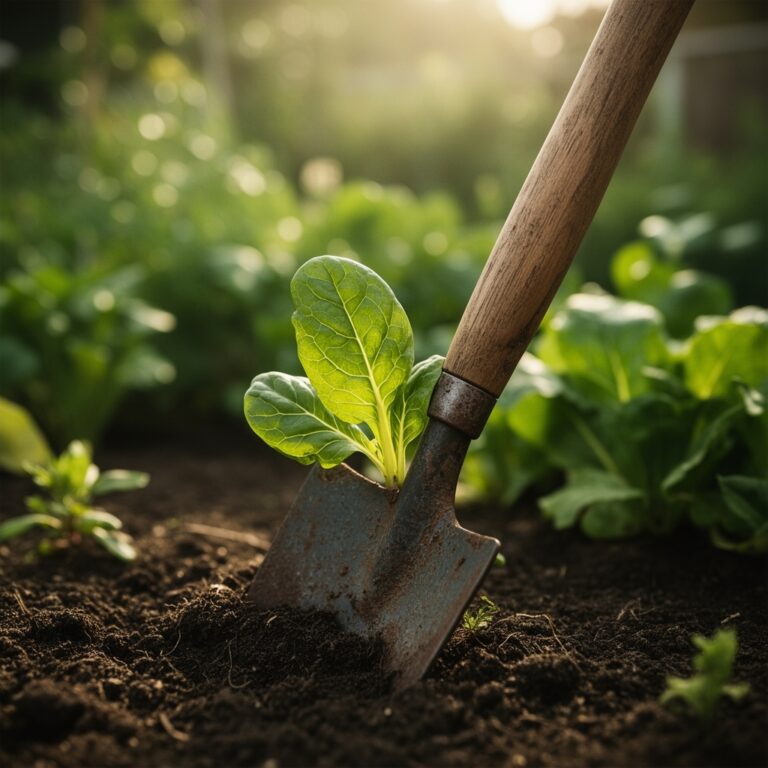
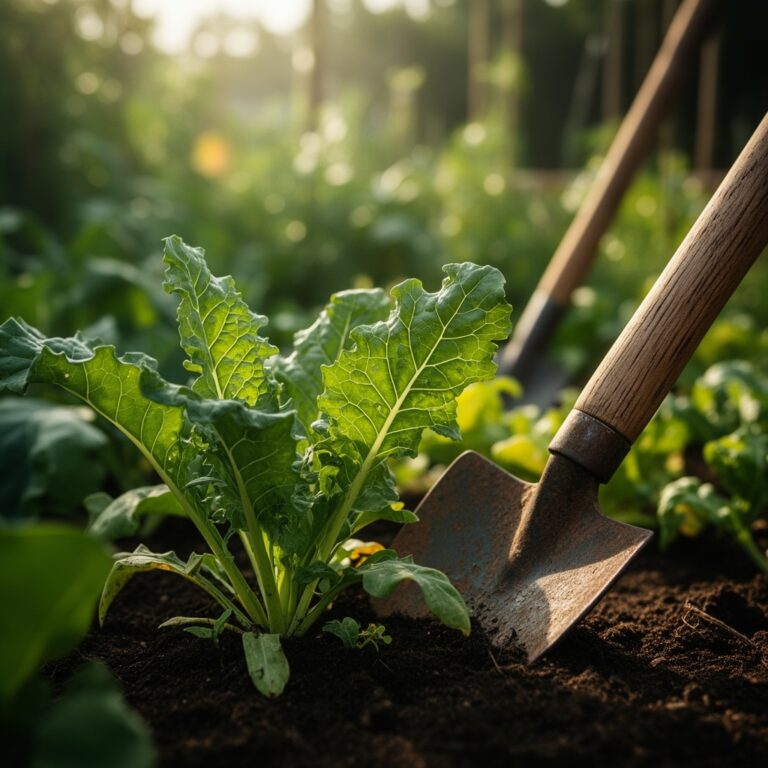
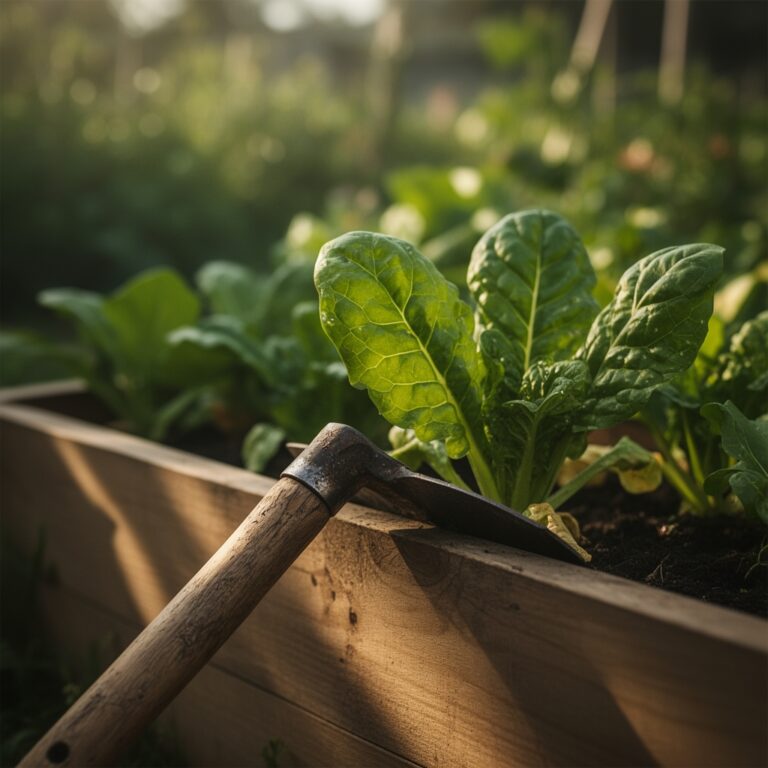
Adjusting humidity around a decorative vegetable fountain requires precise control over microclimate variables to support both ornamental aesthetics and edible crop productivity. The steps for installing a vegetable garden fountain begin with understanding that water features generate localized humidity gradients through evaporation, creating distinct growing zones within a 3- to 6-foot radius. Moisture-loving vegetables such as celery, watercress, and Asian greens thrive in these elevated humidity pockets, while the fountain structure itself becomes a vertical growing surface for vining crops when properly prepared with moisture-retentive substrates.
Materials

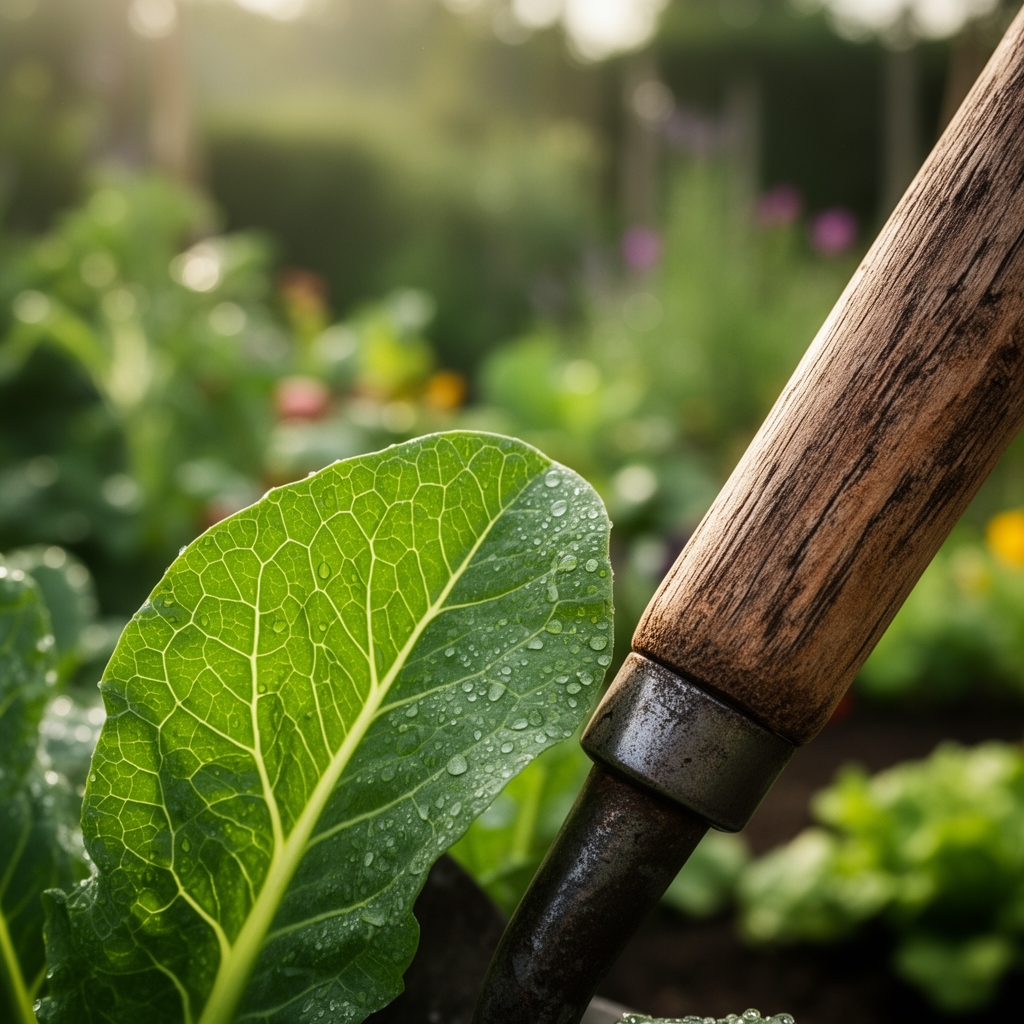
Fountain basin selection determines root zone capacity. Choose food-grade resin or glazed ceramic containers with minimum 18-inch depth to accommodate dwarf tomato or pepper root systems. The substrate requires a blend of 60% coconut coir (pH 5.5-6.5), 30% perlite for aeration, and 10% worm castings delivering a balanced 1-0-0 NPK with high cation exchange capacity.
Pump specifications matter for humidity generation. A 200-gallon-per-hour submersible pump creates adequate surface agitation for evaporative cooling without excessive spray that damages tender foliage. Fountain tiers need non-toxic sealant rated for potable water contact. Kelp meal (1-0-2 NPK) added at 2 tablespoons per gallon of substrate provides trace minerals and natural auxin precursors.
Structural amendments include mycorrhizal fungi inoculant (Glomus intraradices species) applied at 1 teaspoon per transplant hole to enhance phosphorus uptake in the humid environment where nutrient leaching accelerates. A 4-4-4 organic fertilizer blended from feather meal, bone meal, and greensand maintains steady macronutrient availability through a 90-day growing window.
Timing
Hardiness Zones 6 through 9 allow fountain installation after final spring frost when soil temperatures stabilize above 55°F. Northern gardeners in Zones 3-5 should wait until two weeks post-frost to prevent cold water stress on transplants. The humidity buffer created by the fountain extends the growing season by 10-14 days in fall for cold-sensitive crops like basil and summer squash.
Installation timing coordinates with transplant schedules. Set up the fountain structure three weeks before introducing vegetable starts to allow substrate pH equilibration and beneficial microbial colonization. In arid Zones 8-10, mid-March installation captures spring moisture while establishing the humidity microclimate before summer heat peaks.
Phases

Sowing Phase: Direct-seed moisture-dependent crops like lettuce and spinach in concentric rings around the fountain perimeter where humidity maintains 65-75% relative levels. Plant seeds at twice the normal density in the outer 4-foot zone where conditions approximate standard garden beds. Thin to proper spacing after germination.
Pro-Tip: Apply 1/4-inch layer of milled sphagnum moss over seeds to maintain surface moisture and prevent damping-off fungal infections common in high-humidity environments.
Transplanting Phase: Position heat-loving crops including tomatoes, peppers, and eggplants in the immediate 18- to 24-inch radius where reflected warmth from water circulation raises ambient temperature 3-5°F. Bury transplants 2 inches deeper than nursery pot depth to encourage adventitious root formation along buried stem tissue. Apply mycorrhizal inoculant directly to root zone contact points.
Pro-Tip: Prune lower foliage at 45-degree angles to maintain 6 inches clearance from fountain spray zone, reducing foliar disease pressure while directing auxin distribution toward fruit production.
Establishing Phase: Monitor root development through weekly inspection of substrate moisture 4 inches below surface. Established plants show new terminal growth within 10 days. Supplement with foliar spray of fish emulsion (5-1-1 NPK) diluted to half-strength every 14 days during the first six weeks. The fountain's evaporative cooling prevents heat stress that typically reduces transplant success rates by 20-30% in conventional beds.
Pro-Tip: Install a rain gauge modified as humidity trap by adding 2 inches of glycerin to measure actual moisture deposition rates in different fountain zones.
Troubleshooting
Symptom: Yellowing lower leaves with interveinal chlorosis appearing within three weeks of transplanting.
Solution: Nitrogen deficiency accelerated by leaching in high-moisture conditions. Side-dress with blood meal (12-0-0) at 1 tablespoon per plant, scratched into top 2 inches of substrate.
Symptom: White powdery coating on leaf surfaces despite humid conditions.
Solution: Powdery mildew thrives in high humidity with poor air circulation. Prune interior foliage to open plant canopy. Apply sulfur dust at 1 tablespoon per gallon of water as foliar spray in early morning.
Symptom: Blossom end rot on tomatoes and peppers.
Solution: Calcium uptake disruption from inconsistent moisture despite fountain proximity. Apply gypsum (calcium sulfate) at 2 tablespoons per square foot, watered in thoroughly. Maintain substrate moisture at 70% field capacity.
Symptom: Aphid colonies concentrated on new growth near water features.
Solution: Humidity attracts pest populations. Release lacewing larvae at 10 per plant. Install yellow sticky traps 18 inches above fountain rim to monitor population dynamics.
Maintenance
Maintain water level within 2 inches of fountain overflow to sustain consistent humidity output. Top off reservoir daily during temperatures exceeding 85°F when evaporation rates double. Clean pump intake monthly to prevent organic debris accumulation that reduces flow by 30-40%.
Apply 1 inch of water weekly to substrate beyond the fountain's immediate humidity zone, measured with rain gauge placed at 5-foot radius. Fertilize every three weeks with liquid kelp (0-0-1 NPK) at 2 tablespoons per gallon to replenish potassium leached by constant moisture cycling.
Prune vigorous crops like tomatoes to single-stem vertical training, tied to fountain structure every 8 inches of growth. Remove suckers when they reach 2 inches length to concentrate carbohydrate allocation into fruiting bodies rather than vegetative mass.
FAQ
How close can vegetables grow to fountain spray?
Minimum 12-inch clearance prevents constant leaf wetness that triggers bacterial spot and early blight. Leafy greens tolerate 8-inch proximity due to natural moisture requirements.
Does fountain water need treatment?
Municipal water with chlorine below 1 ppm is safe. Dechlorinate by filling reservoir 24 hours before circulating to protect beneficial soil bacteria populations.
Which vegetables benefit most from fountain humidity?
Celery, bok choy, mizuna, watercress, and lettuce show 40% yield increases in 70-80% relative humidity zones compared to standard garden conditions at 50-60% humidity.
Can fountains operate through winter in cold zones?
Drain completely before first freeze. Ice expansion cracks basin materials. Store pump indoors to prevent seal degradation.
How does fountain placement affect sun exposure?
Position on east side of garden to provide morning sun with afternoon shade from the structure itself. This arrangement reduces heat stress while maintaining 6-8 hours of direct light for fruiting crops.