6 Moisture Prep Steps for Repotting a Boston Fern
The scent of damp, acidic peat combined with the sharp tang of humic acid signals the start of a successful transplant. When you grasp a Nephrolepis exaltata, the fronds should exhibit high turgor pressure; they must feel firm and resilient rather than limp or desiccated. Mastery of the steps for repotting a Boston fern begins with moisture management to prevent transplant shock. Failure to hydrate the rhizosphere properly before disturbance leads to immediate vascular collapse. A healthy specimen requires a root ball that is saturated but not anaerobic. This preparation ensures the plant maintains its physiological functions while transitioning to a larger vessel. You are not merely moving a plant; you are recalibrating its entire hydraulic system to accommodate new growth. Proper execution requires a deep understanding of soil physics and the specific osmotic needs of tropical epiphytes. By the time the fern leaves its old container, it should be at peak hydration to survive the mechanical stress of root manipulation and soil integration.
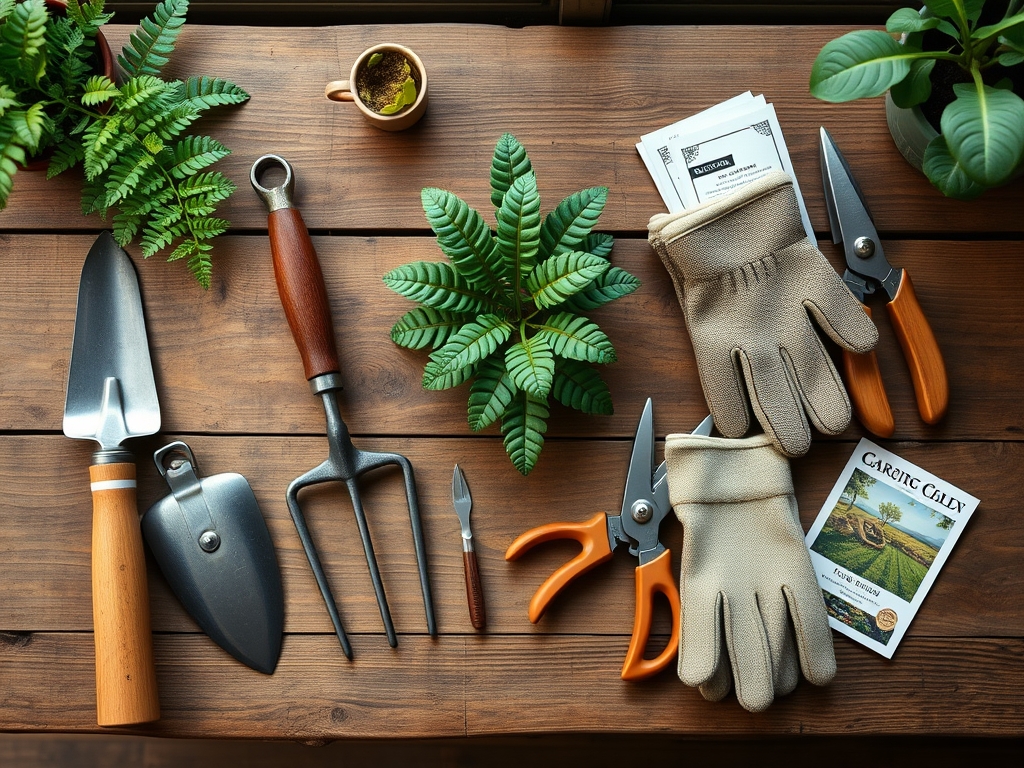
Materials:
The substrate is the most critical component of the repotting process. Boston ferns thrive in a pH range of 5.0 to 5.5. You require a friable loam that balances water retention with high porosity. The ideal mix consists of 50 percent Canadian sphagnum peat moss, 30 percent perlite for aeration, and 20 percent sterilized compost or worm castings.
For nutrition, integrate a slow-release fertilizer with an NPK ratio of 20-10-20. This specific ratio provides the high nitrogen levels necessary for frond development while maintaining sufficient potassium for cellular strength. Avoid heavy clay soils; they collapse the air pockets required for root respiration. The Cation Exchange Capacity (CEC) of your mix should be high to ensure that nutrients like magnesium and calcium remain available to the roots rather than leaching out during frequent watering. The physical texture must be "fluffy" to the touch, allowing for rapid capillary action.
Timing:
Boston ferns are typically grown in Hardiness Zones 9 through 11, though they are kept as indoor perennials globally. The biological clock for repotting is dictated by the transition from winter dormancy to the active vegetative stage. Perform this procedure in early spring, specifically between the last frost date and the onset of peak summer temperatures. In temperate regions, this window usually falls between late March and early May.
Repotting during the active growth phase allows the plant to utilize its peak metabolic rate to repair root damage. During this time, the plant is producing high levels of auxins, the hormones responsible for root initiation and elongation. If you wait until the senescence phase in autumn, the fern will lack the energy reserves to colonize the new substrate, leading to root rot and fungal pathogens. Monitor the photoperiod; once daylight exceeds 12 hours, the plant is primed for expansion.
Phases:

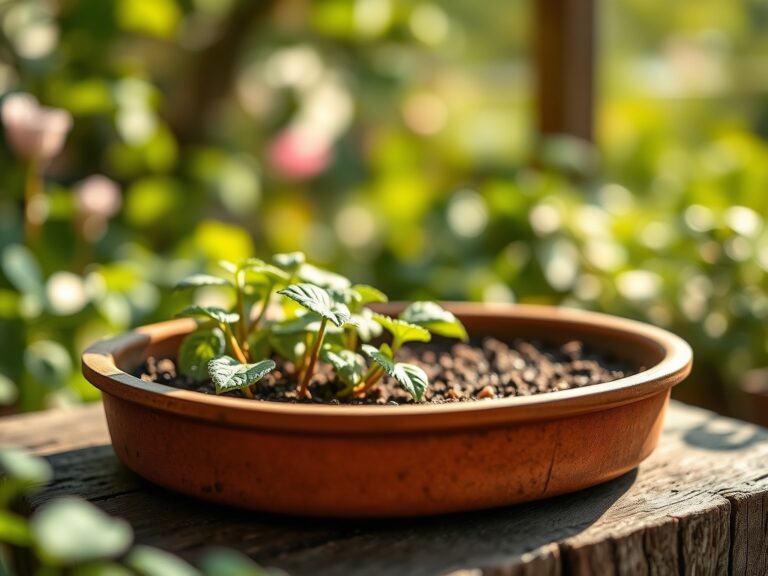
Sowing the Hydration Foundation
Twenty-four hours before the move, drench the fern until water exits the drainage holes. This ensures the plant enters the process with maximum cellular turgor. If the soil is hydrophobic, submerge the entire pot in a bucket of room-temperature water for 15 minutes. This pre-soak makes the root mass pliable and reduces the risk of snapping the delicate rhizomes during extraction.
Pro-Tip: Pre-hydrating the plant prevents "osmotic shock." When a dry root system is suddenly placed in fresh, moist soil, the rapid movement of water into the cells can cause them to rupture. Maintaining consistent water potential across the root membrane is essential for survival.
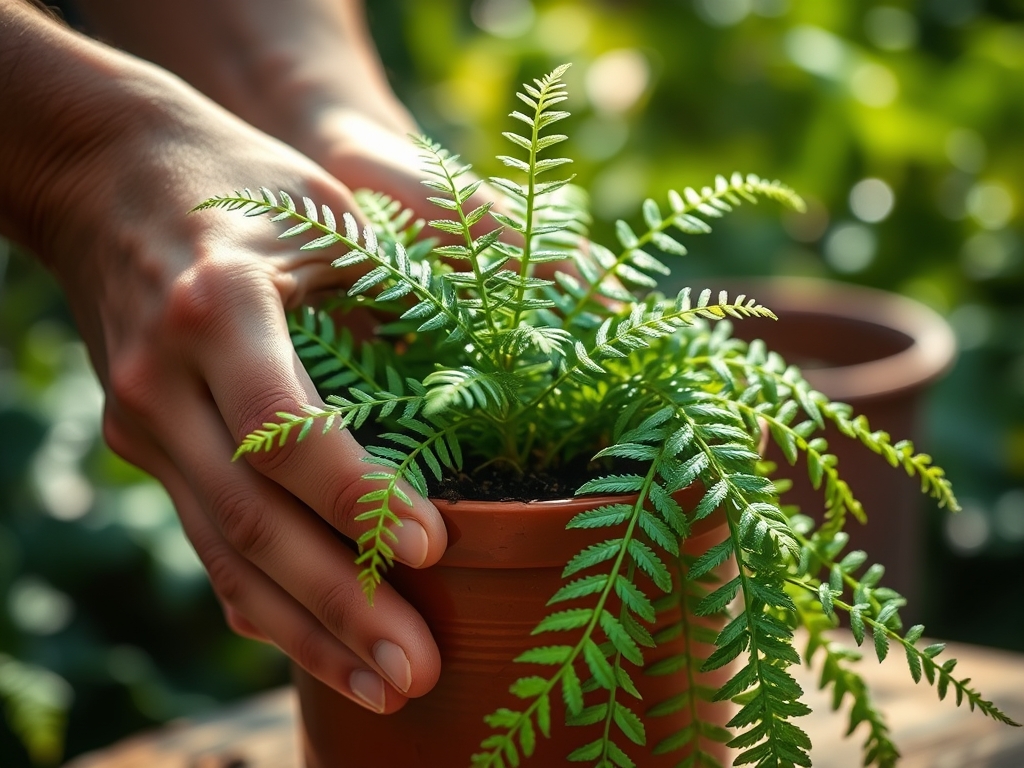
Transplanting and Root Pruning
Invert the pot and support the base of the fern with your palm. If the plant is root-bound, use a hori-hori knife to slice vertically through the outer inch of the root mass in four places. This mechanical disruption breaks the "circling" habit and encourages the roots to grow outward into the new medium. Place the fern in a container that is only 2 inches wider than the previous one. Centering the plant is vital for uniform moisture distribution.
Pro-Tip: Mechanical root pruning triggers "auxin suppression" at the tips, which stimulates the growth of lateral roots. This process mimics the natural disturbance found in forest floors, forcing the plant to explore new soil volume for minerals.
Establishing the New Rhizosphere
Fill the gaps with your prepared substrate, tamping down lightly to eliminate large air pockets without compacting the soil. The crown of the fern must sit exactly at the soil surface. Planting too deep leads to crown rot; planting too shallow causes the rhizomes to desiccate. Immediately after transplanting, apply a liquid seaweed solution to provide micronutrients and reduce stress.
Pro-Tip: Mycorrhizal symbiosis is often disrupted during repotting. Adding a handful of the old soil to the new mix inoculates the fresh substrate with existing beneficial fungi, ensuring the continuation of the plant's nutrient-absorption network.
The Clinic:
Physiological disorders in Boston ferns often manifest as visual cues in the fronds.
-
Symptom: Marginal Chlorosis (Yellowing edges).
Solution: This indicates a salt buildup from tap water or over-fertilization. Flush the soil with 2 gallons of distilled water per gallon of soil to leach out excess sodium and minerals. -
Symptom: Tip Burn.
Solution: This is a sign of low humidity or underwatering. Maintain relative humidity above 50 percent and ensure the soil never dries out completely. Use a soil moisture meter to keep the level at a "4" or "5" on a 10-point scale. -
Symptom: Nitrogen Chlorosis (Overall pale green/yellow leaves).
Fix-It: Apply a water-soluble fertilizer with a high Nitrogen (N) value immediately. The plant is cannibalizing nitrogen from older fronds to support new growth. -
Symptom: Frond Drop.
Solution: This is usually a reaction to a sudden change in light or temperature. Move the plant to a location with consistent 65 to 75 degree Fahrenheit temperatures and filtered light.
Maintenance:
Post-repotting care requires precision. Provide 1.5 inches of water per week, delivered directly to the soil surface to avoid wetting the crown excessively. Use bypass pruners to remove any brown or dead fronds at the base; this improves airflow and prevents the incubation of gray mold.
Check the soil daily with a soil moisture meter. If the top inch of soil feels dry, it is time to hydrate. Avoid "misting," which provides only seconds of humidity; instead, use a pebble tray or a dedicated humidifier to maintain a constant vapor pressure deficit (VPD) that favors transpiration. Every six months, use your hori-hori knife to gently aerate the top layer of soil, preventing the surface from becoming "capped" and impermeable to water.
The Yield:
While Boston ferns are not edible, their "yield" is measured in biomass and air filtration efficiency. For propagation, you can harvest "runners" or offsets. Use a sharp blade to sever the stolon connecting the baby fern to the parent. Ensure the offset has at least three developed fronds and its own root system. Place the harvest in a 4-inch pot with the same high-peat mix. To maintain "day-one" freshness for these clones, keep them in a high-humidity "tent" (a clear plastic bag) for the first 14 days to prevent moisture loss while the new roots establish.
FAQ:
How do I know when to start the steps for repotting a Boston fern?
Look for roots emerging from drainage holes or water running straight through the pot without soaking in. If the fern requires daily watering to stay turgid, the root-to-soil ratio is too high, necessitating a larger container.
What is the best soil pH for a Boston fern?
Boston ferns require an acidic environment between 5.0 and 5.5 pH. This acidity ensures that essential micronutrients like iron and manganese remain soluble and available for root uptake. Use peat-based mixes to maintain this specific chemical balance.
Can I use regular garden soil for repotting?
No. Garden soil is too dense and lacks the necessary Cation Exchange Capacity for ferns. It often contains pathogens and weed seeds. Use a sterile, professional-grade soilless mix containing peat, perlite, and vermiculite for optimal drainage and aeration.
How much larger should the new pot be?
Select a pot that is 1 to 2 inches larger in diameter than the current one. Using a pot that is too large leads to "perched water tables," where excess soil stays saturated too long, eventually causing root rot.