6 Sleek Steps to Prepare a Contemporary Garden with Sleek Lines
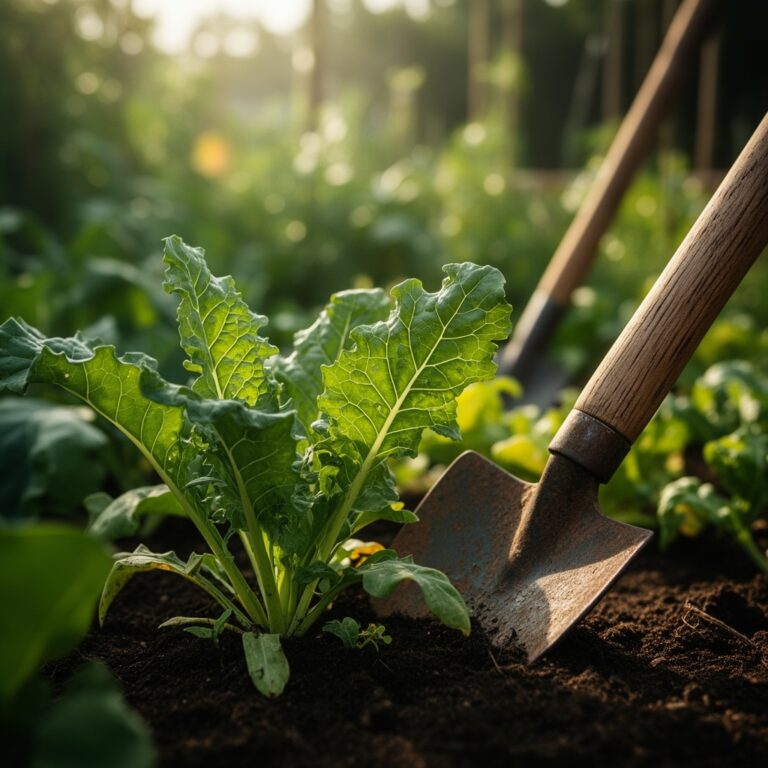
The scent of freshly turned soil rises in the morning air. Clean geometry replaces the chaotic sprawl of traditional kitchen gardens. Angular raised beds, modular planting grids, and precision-edged borders define the contemporary vegetable garden. How to prepare a garden for a contemporary vegetable garden requires understanding that sleek design emerges from systematic soil preparation, structural planning, and disciplined maintenance protocols. This approach marries mid-century minimalism with horticultural science.
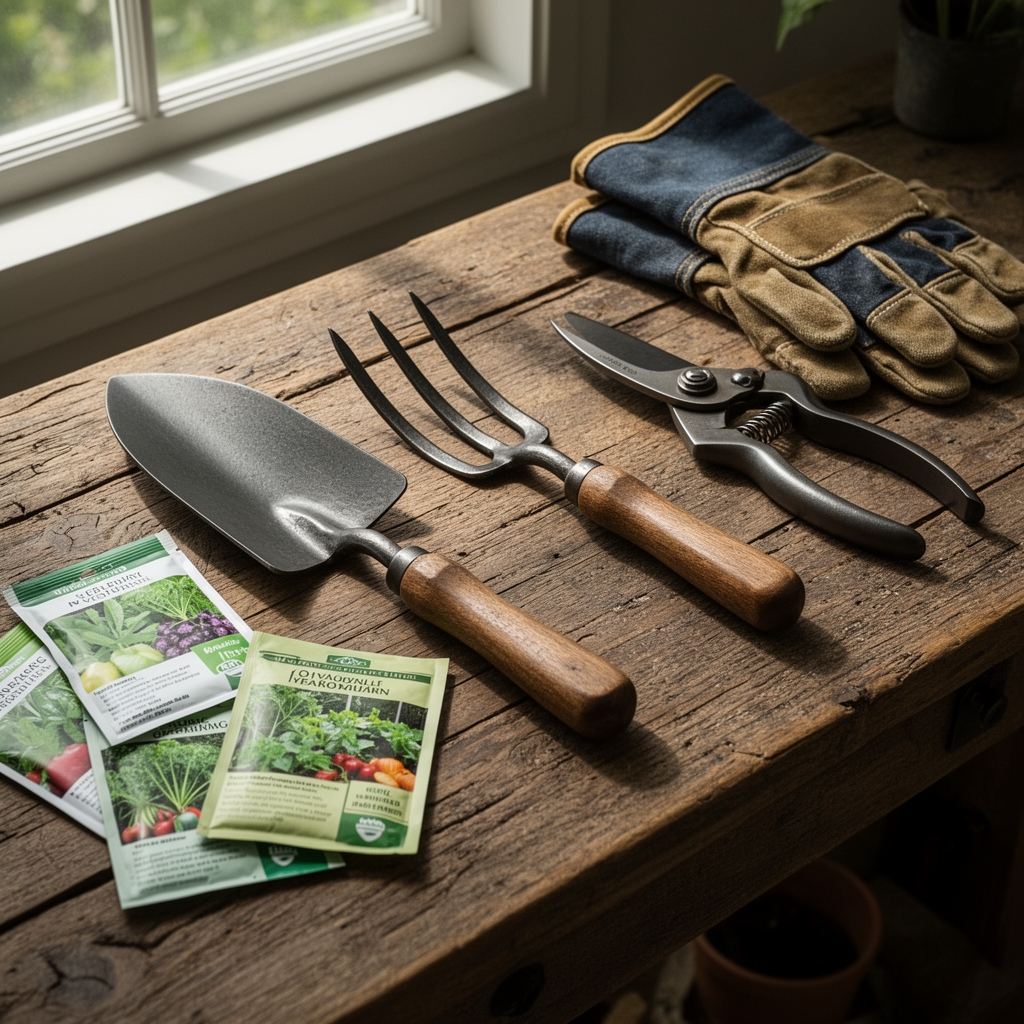
Materials
Substrate preparation begins with soil amendment selection based on baseline chemistry. Test existing soil pH using a calibrated digital meter. Target range falls between 6.2 and 6.8 for most vegetable crops. If pH registers below 6.0, incorporate dolomitic limestone at 5 pounds per 100 square feet. For alkaline soils above 7.2, add elemental sulfur at 1 pound per 100 square feet.
Organic matter improves cation exchange capacity. Use composted bark fines (carbon-to-nitrogen ratio 25:1) at 3 cubic yards per 100 square feet for clay-dominant soils. Sandy profiles require aged manure compost with NPK ratio near 1-1-1, applied at 4 cubic yards per 100 square feet.
Balanced granular fertilizer with 4-4-4 NPK formulation supplies baseline macronutrients. Apply at 3 pounds per 100 square feet during initial bed construction. Mycorrhizal fungi inoculant (Glomus intraradices) at 0.25 ounces per plant accelerates root colonization and phosphorus uptake.
Hardscape materials establish geometric precision. Use 2-inch-thick cedar or composite boards for raised bed frames. Galvanized steel edging (14-gauge, 6-inch depth) creates crisp borders. Decomposed granite pathways, compacted to 95% density, provide neutral-toned circulation corridors 36 inches wide.
Timing
Soil preparation aligns with USDA Hardiness Zone frost schedules. In Zones 5-6, begin site work 4-6 weeks before last average frost date (typically April 15-May 1). This interval allows organic amendments to integrate and settle.
Zones 7-8 gardeners should complete bed construction by February 28. Soil temperatures reach 50°F by mid-March, permitting early brassica establishment. Zones 9-10 face inverse challenges. Prepare beds between October 1 and October 31 for cool-season production windows.
Fall preparation offers distinct advantages in all zones. September through November soil work allows freeze-thaw cycles to break apart clay aggregates. Microbial populations process organic matter over winter dormancy, stabilizing nutrient availability by spring.
Phases

Step 1: Site Clearing and Grading
Remove existing vegetation using a sod cutter set to 2-inch depth. Rent a laser level to establish grade planes. Contemporary design demands flat, level planting surfaces. Variations exceeding 0.5 inches per 10 feet disrupt visual geometry and create drainage inconsistencies.
Step 2: Bed Frame Installation
Construct modular raised beds in 4-foot widths. Length varies according to site, but maintain consistent bay dimensions. Anchor corner joints with 3-inch galvanized deck screws. Orient beds along north-south axis to optimize solar exposure across both east and west faces.
Pro-Tip: Pre-drill frame boards at 45-degree angles to prevent splitting. This preserves clean edges essential to contemporary aesthetics.
Step 3: Soil Mixing and Bed Filling
Blend native soil (40%), aged compost (40%), and coarse perlite (20%) by volume. Mix in batches using a cement mixer for homogeneity. Fill beds to 1 inch below frame top. This prevents irrigation overflow and maintains sharp visual lines.
Pro-Tip: Inoculate soil mix with Trichoderma harzianum at 1 gram per cubic foot. This fungal species colonizes root zones and suppresses Pythium damping-off.
Step 4: Hardscape Integration
Install edging along pathway borders. Excavate trenches 8 inches deep. Backfill with 4 inches of crushed stone base, then 4 inches of decomposed granite. Compact in 2-inch lifts using a plate tamper.
Step 5: Irrigation Infrastructure
Embed drip tape 2 inches below soil surface on 12-inch centers. Use pressure-compensating emitters rated at 0.6 gallons per hour. Connect to a programmable controller with rain sensor override. This precision watering eliminates foliar moisture that disrupts clean plant silhouettes.
Pro-Tip: Run irrigation lines through conduit beneath pathways. Surface hoses compromise geometric design intent.
Step 6: Initial Nutrient Charge
Broadcast granular 4-4-4 fertilizer at specified rate. Incorporate to 6-inch depth using a broadfork. Water beds to field capacity (soil holds maximum moisture without saturation). Allow 7-day equilibration before transplanting.
Pro-Tip: Apply liquid kelp extract (0-0-1 plus micronutrients) at 2 tablespoons per gallon. Auxin distribution improves root initiation in transplants.
Troubleshooting
Symptom: Yellowing lower leaves progressing upward (chlorosis).
Solution: Nitrogen deficiency. Side-dress with blood meal (12-0-0) at 0.5 pounds per 10 linear feet. Symptoms reverse within 10 days.
Symptom: Purpling leaf undersides and stunted growth.
Solution: Phosphorus lockout from cold soil. Apply mono-ammonium phosphate (11-52-0) as foliar spray at 1 tablespoon per gallon. Warm soil with black landscape fabric between rows.
Symptom: Irregular holes in brassica leaves with slime trails.
Solution: Slug feeding. Apply iron phosphate bait (Ferramol) at 0.5 pounds per 1,000 square feet. Reapply after rain events.
Symptom: White powdery coating on cucurbit foliage.
Solution: Powdery mildew (Podosphaera xanthii). Spray potassium bicarbonate solution (1 tablespoon per gallon) weekly. Ensure 24-inch plant spacing for airflow.
Symptom: Blossom-end rot on tomatoes (dark, sunken fruit base).
Solution: Calcium transport disruption from inconsistent watering. Maintain soil moisture at 60-70% field capacity. Foliar-apply calcium chloride at 2 teaspoons per gallon.
Maintenance
Water established beds to deliver 1 inch per week measured via rain gauge. Split into two 0.5-inch applications on Monday and Thursday mornings. Early timing reduces foliar disease pressure.
Fertilize every 3 weeks during active growth. Alternate between fish emulsion (5-1-1) at 2 tablespoons per gallon and balanced granular 4-4-4 at 0.25 pounds per 10 linear feet. Stop nitrogen applications 4 weeks before first fall frost.
Prune indeterminate tomatoes to single leader. Remove suckers when 2 inches long. Maintain 18-inch plant spacing. This creates vertical architectural elements consistent with contemporary design language.
Mulch pathways annually with 1-inch layer of decomposed granite. Replenish bed surfaces with 0.5 inches of screened compost each spring. Avoid bark mulches that obscure bed edges.
FAQ
How deep should contemporary garden beds be?
Twelve inches minimum for root crops, 8 inches sufficient for leafy greens. Depth consistency across all beds strengthens visual cohesion.
Can I use treated lumber for bed frames?
Modern alkaline copper quaternary (ACQ) treatments pose minimal leaching risk. Cedar and composite materials eliminate concerns entirely while offering superior longevity.
What vegetables suit geometric planting patterns?
Lettuces, chard, and dwarf kale maintain compact forms. Bush beans and determinate tomatoes respect spatial boundaries. Avoid sprawling squash varieties.
How do I prevent weeds without mulch?
Dense planting on 10-inch centers shades soil surface. Drip irrigation starves weed seeds between crop rows. Hand-pull escapees weekly before seed set.
Should I rotate crops in permanent bed systems?
Yes. Follow a four-year rotation: fruiting crops, legumes, brassicas, roots. This interrupts pest cycles and balances nutrient demand. Map rotations annually to maintain protocol.