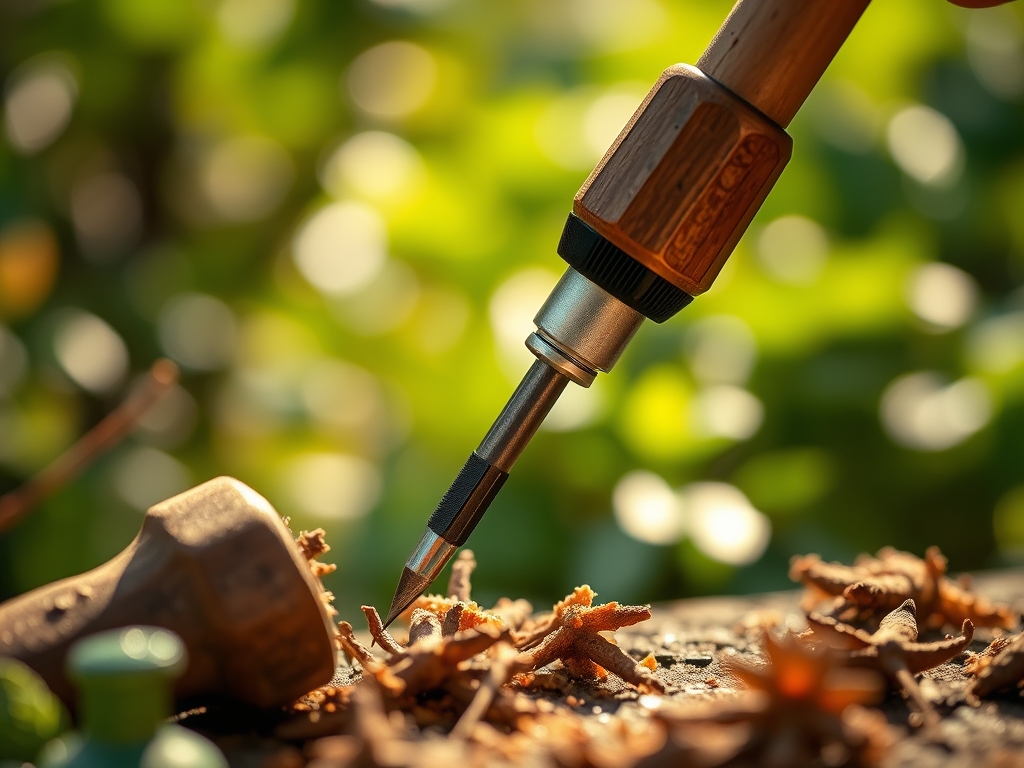
6 Tips: Using a Precision Screwdriver for Tool Assembly
The smell of damp earth and the crisp turgor of a healthy leaf define the success of a horticultural operation. Precision in the garden begins long before the first seed hits the soil; it starts with the structural integrity of the equipment used to manage the rhizosphere. Using a screwdriver set for garden tool assembly ensures that hand cultivators, specialized seeders, and ergonomic trowels operate without mechanical failure. Loose fasteners lead to inefficient leverage and physical strain. Tightening a stainless steel bolt into a carbon fiber handle requires the tactile feedback only a high quality precision driver can provide. When every component is secured to factory specifications, the gardener maintains maximum control over soil displacement and root zone disturbance. A stable tool is the primary interface between the grower and the complex biological systems of the nursery.
Materials:
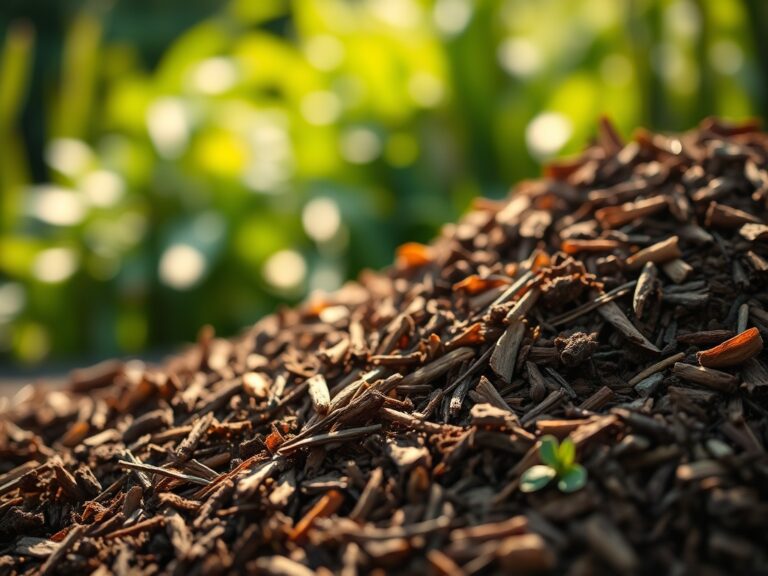
Successful cultivation requires a substrate with a high Cation Exchange Capacity (CEC) to hold essential nutrients. For most intensive garden applications, aim for a **friable loam** consisting of 40 percent sand, 40 percent silt, and 20 percent clay. This texture allows for optimal pore space and oxygen diffusion to the root tips. The chemical profile should maintain a **pH between 6.2 and 6.8** to ensure nutrient bioavailability.
Prepare the site with specific NPK ratios based on the growth stage. For initial establishment, use a 5-10-5 ratio to prioritize phosphorus for root development. As the plant enters the vegetative stage, transition to a 10-5-5 ratio to provide the nitrogen necessary for chlorophyll production and leaf expansion. Avoid heavy clay soils that compact easily; compaction reduces the oxygen available to aerobic microbes and can lead to anaerobic root rot.
Timing:
The biological clock of the garden is dictated by photoperiodism and thermal units. In Hardiness Zones 5 through 7, the primary planting window opens after the final frost date, typically between late April and mid May. Monitor the soil temperature using a probe; most temperate species require a consistent 60 degrees Fahrenheit at a depth of four inches for successful germination.
The transition from vegetative growth to the reproductive stage is triggered by changes in light duration. Short day plants require a specific period of darkness to initiate flowering, while long day plants respond to the increasing light of the summer solstice. Understanding these windows allows the gardener to time the assembly of support structures and irrigation lines. Use your precision tools to calibrate automated timers and tighten trellis clamps before the plant biomass increases and puts stress on the system.
Phases:
Sowing
Place seeds at a depth exactly three times their diameter. This ensures the emerging hypocotyl has enough energy to reach the surface before exhausting its endosperm reserves. Maintain a consistent moisture level to trigger imbibition without drowning the embryo.
Pro-Tip: Proper seed depth prevents premature exposure to light, which can trigger photomorphogenesis too early. This biological process ensures the seedling allocates energy to vertical growth until it clears the soil surface.
Transplanting
When moving starts from the nursery to the field, minimize root exposure to prevent desiccation. Dig a hole twice the width of the root ball. Ensure the crown of the plant sits flush with the soil line to prevent stem rot.
Pro-Tip: Inoculate the planting hole with mycorrhizal fungi. This creates a mycorrhizal symbiosis where the fungi extend the reach of the root system, increasing the absorption of phosphorus and water in exchange for plant sugars.
Establishing
During the first 14 days, the plant focuses on root architecture rather than canopy expansion. Avoid heavy fertilization during this period to prevent salt burn on delicate new root hairs. Use a soil moisture meter to ensure the root zone stays between 60 and 80 percent field capacity.
Pro-Tip: Pinch off early flower buds to encourage auxin suppression in the lateral meristems. By removing reproductive sinks, the plant redirects hormones to the roots and foliage, creating a stronger structural foundation for later yields.
The Clinic:
Physiological disorders often mimic pest damage but result from environmental or nutritional stress. Observe the foliage closely for early warning signs of systemic failure.
- Nitrogen Chlorosis: Symptoms include the uniform yellowing of older, lower leaves while new growth remains green. Fix this by applying a water soluble fertilizer with a high N-value to restore chlorophyll density.
- Blossom End Rot: This appears as a dark, leathery spot on the base of the fruit. It is caused by a calcium deficiency often linked to inconsistent watering. Maintain steady soil moisture to ensure calcium transport through the xylem.
- Interveinal Chlorosis: Yellowing between the leaf veins while the veins remain dark green suggests a magnesium or iron deficiency. Check the soil pH; if it is above 7.0, iron becomes "locked" and unavailable to the plant.
- Turgor Loss: Wilting despite moist soil indicates root damage or high salinity. Flush the rhizosphere with three times the pot volume of fresh water to leach excess salts.
Maintenance:
Precision maintenance extends the life of both the plant and the tool. Provide 1.5 inches of water per week delivered directly at the drip line to minimize fungal pathogens on the foliage. Use a hori-hori knife to remove deep rooted weeds without disturbing the primary root architecture of your crops.
Clean your bypass pruners with isopropyl alcohol between every cut to prevent the transmission of vascular pathogens. Regularly inspect your equipment handles. If you notice wobbling, use your screwdriver set for garden tool assembly to tighten the set screws. A tool that vibrates or shifts during a cut can cause jagged wounds on a plant, leading to slow healing and increased susceptibility to infection. Store tools in a dry environment to prevent oxidation of the metal components.
The Yield:
Harvesting is the culmination of the plant's life cycle. For leafy greens, harvest in the early morning when turgor pressure is at its peak. This ensures the cell walls are fully hydrated, providing a crisp texture. For fruiting bodies, wait for the "abscission layer" to form at the base of the stem; this is a biological signal that the plant has finished transferring sugars to the fruit.
Post harvest handling is critical for "day one" freshness. Immediately submerge harvested greens in 40 degree Fahrenheit water to remove field heat and slow the rate of senescence. For woody herbs, use sharp snips to make a clean 45 degree cut, which maximizes the surface area for water uptake if the stems are stored in a vase.
FAQ:
Why is my screwdriver set important for gardening?
Mechanical stability in tools prevents hand fatigue and ensures precise cuts. Tightening fasteners on shears and cultivators prevents jagged wounds on plant tissue, which reduces the risk of opportunistic fungal infections entering the vascular system.
How do I fix yellow leaves on my plants?
Determine if the yellowing is uniform or interveinal. Uniform yellowing on old growth usually indicates nitrogen deficiency. Apply a high nitrogen fertilizer and ensure the soil pH is between 6.2 and 6.8 for optimal nutrient uptake.
How much water do my garden plants actually need?
Most temperate garden plants require 1 to 1.5 inches of water per week. Use a rain gauge or soil moisture meter to verify that the moisture is reaching the root zone at a depth of six inches.
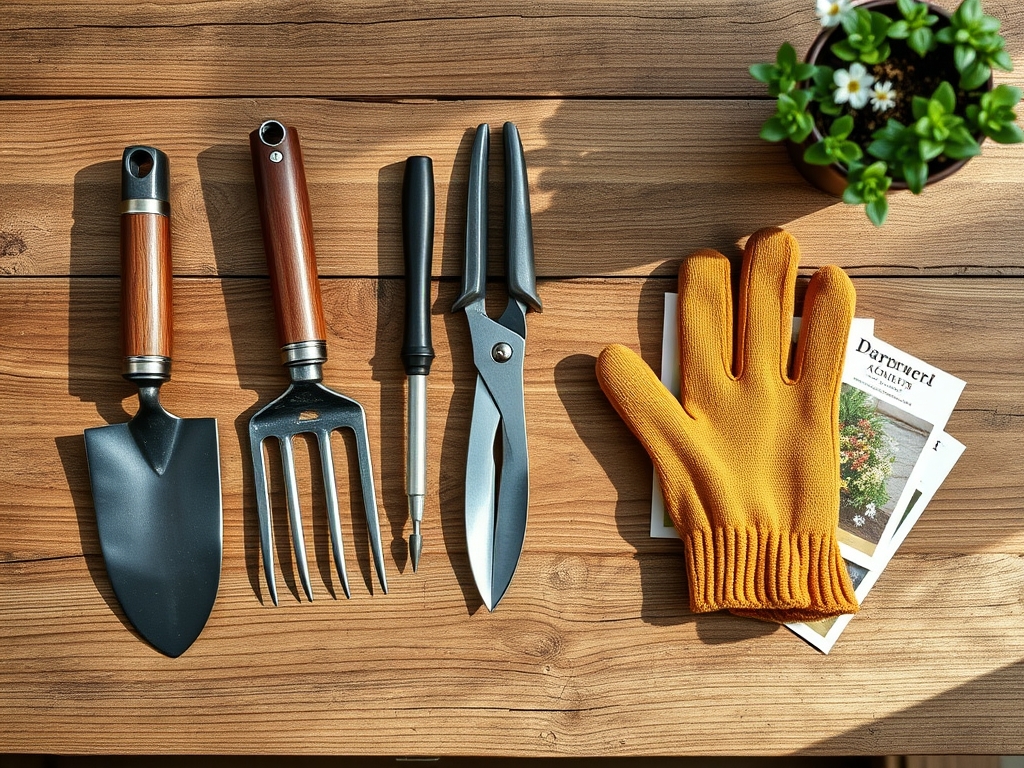
What is the best way to assemble new garden tools?
Use a precision screwdriver set to ensure all hardware is seated flush. Avoid over tightening, which can strip threads in wooden or composite handles. Periodically check for "play" in the tool head during the growing season.