7 Minimalist Steps to Prepare a Modern Minimalist Garden
The scent of turned earth rises from bare ground as you mark clean, parallel lines in freshly amended soil. How to prepare a garden for a modern style vegetable garden begins not with ornamental flourishes but with structural clarity: straight edges, uniform bed widths, and soil composition calibrated to support high-density plantings. Modern vegetable gardens reject the chaos of traditional cottage layouts. Instead, they prioritize spatial efficiency, modular planting zones, and substrate formulations that deliver nutrients on a predictable schedule. Each square foot becomes a production unit, measured and accountable.
Materials
Soil Amendments (pH 6.0–7.0)
- Aged compost (1-0.5-1), applied at 2 cubic yards per 100 square feet
- Alfalfa meal (3-1-2), 5 pounds per 100 square feet for nitrogen-hungry brassicas
- Kelp meal (1-0.5-2.5), 2 pounds per 100 square feet for micronutrient density
- Dolomitic lime (51% calcium carbonate, 40% magnesium carbonate) if initial pH tests below 6.0
Structural Materials
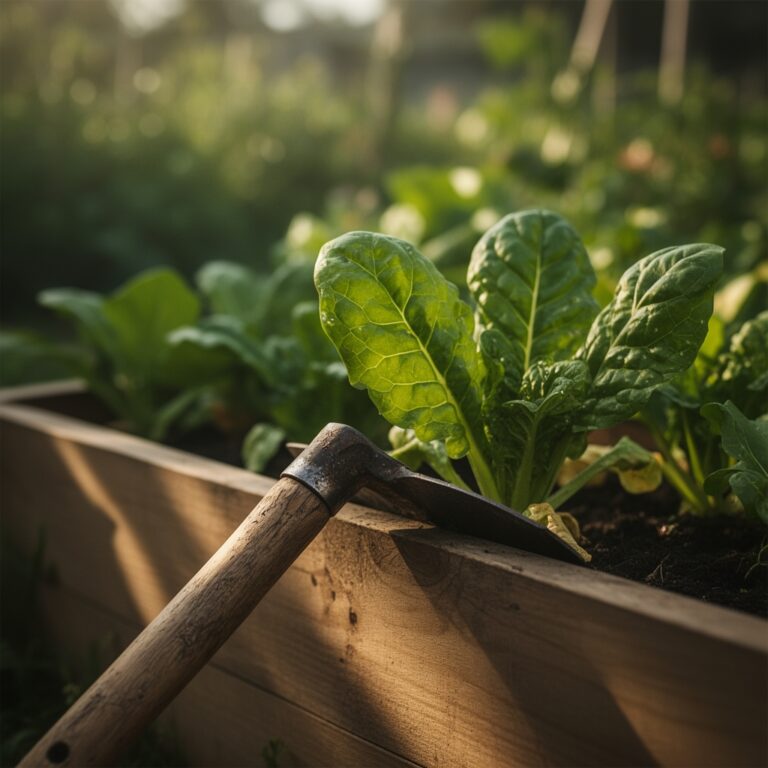
- Untreated cedar boards (2×8 or 2×10) for raised beds, 4 feet wide for arm-reach efficiency
- Galvanized corner brackets, corrosion-resistant to 15 years
- Landscape fabric (3 oz/sq yd minimum) to suppress perennial weeds beneath pathways
- Crushed granite (3/8-inch minus) for pathways, 2 inches deep post-compaction
Irrigation Components
- Drip tape (8-inch emitter spacing, 0.4 GPH per emitter)
- Pressure regulator (15-25 PSI)
- Timer with rain delay function
The cation exchange capacity of your base soil determines amendment ratios. Sandy loams require double the organic matter of clay soils. Test labs quantify this within 7–10 business days.
Timing
Zones 3–5: Prepare beds 2–3 weeks before last frost (mid-April to early May). Soil temperature must reach 50°F at 4-inch depth for warm-season crops.
Zones 6–8: Begin preparation in late February through March. Cool-season brassicas and alliums tolerate soil temperatures as low as 40°F.
Zones 9–11: Establish beds from October through January for winter production cycles. Summer heat exceeding 95°F halts most brassica and lettuce varieties.
Fall preparation offers distinct advantages. Amendments overwinter, microbial populations stabilize, and spring planting proceeds without delay. Mark your frost-free date, then count backward 21 days for optimal bed conditioning.
Phases

Step 1: Site Assessment and Layout
Measure insolation across the growing season. Modern vegetable gardens require 8+ hours of direct sun. Use stakes and twine to mark beds in 4-foot widths. Pathways measure 18–24 inches for wheelbarrow access.
Pro-Tip: Orient beds on a north-south axis. This alignment distributes light evenly across both sides of tall crops like tomatoes and pole beans.
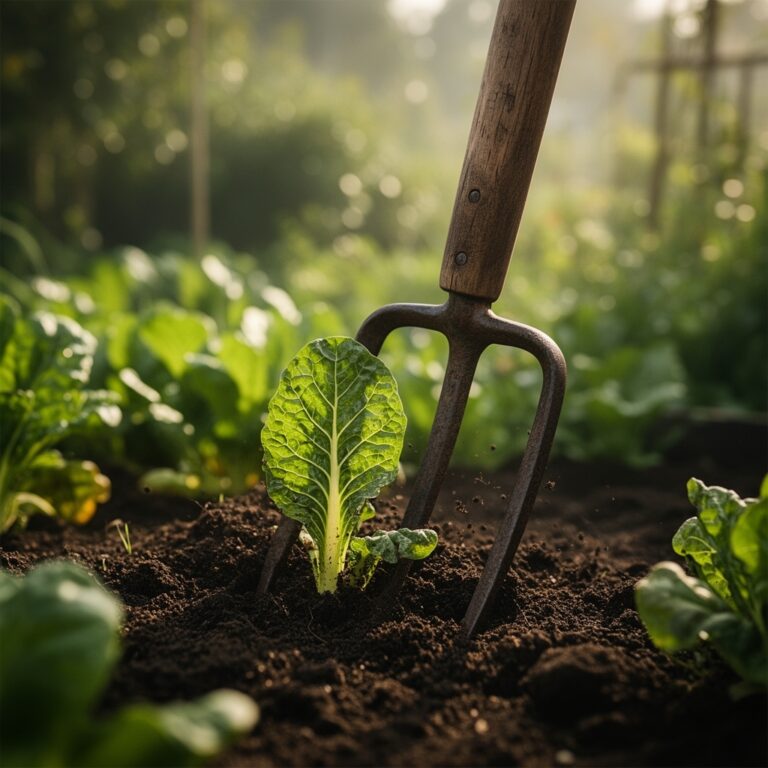
Step 2: Excavation and Edging
Remove sod to 3-inch depth. Excavate an additional 8–10 inches for raised bed interiors. Install cedar frames, checking corners with a carpenter's square.
Pro-Tip: Bury frame bottoms 2 inches below grade. This anchor point prevents frost heave and maintains crisp visual lines.
Step 3: Base Layer and Drainage
Line bed bottoms with 1/4-inch hardware cloth to exclude voles. Add 2 inches of coarse sand if native soil contains more than 40% clay. This layer improves percolation without sacrificing nutrient retention.
Pro-Tip: Incorporate biochar at 5% by volume. Its porous structure hosts beneficial bacteria and increases cation exchange capacity by 15–30%.
Step 4: Amendment Integration
Spread compost, meals, and minerals across bed surfaces. Work amendments to 8-inch depth using a broadfork. Avoid rototilling, which destroys soil aggregates and disrupts fungal hyphal networks.
Pro-Tip: Inoculate with mycorrhizal fungi (Glomus intraradices, Rhizophagus irregularis) at transplant. Apply granules directly to root zones at 1 teaspoon per plant.
Step 5: Irrigation Installation
Lay drip tape down bed centers. Secure with landscape staples every 3 feet. Connect to header lines, then flush the system to clear debris.
Pro-Tip: Bury drip tape 1 inch below the surface. This protects emitters from UV degradation and reduces evaporative loss by 12–18%.
Step 6: Pathway Establishment
Lay landscape fabric between beds. Top with crushed granite, raked level. Compact lightly with a tamper.
Pro-Tip: Slope pathways 1–2% toward drainage swales. Even minimal grading prevents standing water after heavy rain.
Step 7: Pre-Planting Moisture Calibration
Irrigate beds to field capacity 48 hours before transplanting. Soil should form a ball when squeezed, then crumble with light pressure. This moisture level supports auxin distribution and root hair expansion.
Pro-Tip: Apply a starter solution of fish emulsion (5-1-1) diluted to 1/4 strength. Phosphorus supports immediate root development.
Troubleshooting
Symptom: Yellowing lower leaves (chlorosis) 2–3 weeks post-transplant.
Solution: Nitrogen deficiency. Side-dress with blood meal (12-0-0) at 1/4 cup per plant, scratched into the top 2 inches of soil.
Symptom: Stunted growth, purplish leaf veins.
Solution: Phosphorus lockout due to pH below 5.8. Apply dolomitic lime at 5 pounds per 100 square feet, water thoroughly.
Symptom: Wilting despite adequate moisture, yellow stippling on leaves.
Solution: Spider mites. Spray insecticidal soap (2% potassium salts of fatty acids) at 7-day intervals for 3 applications.
Symptom: Blossom end rot on tomatoes and peppers.
Solution: Calcium transport disruption. Maintain even moisture (1–1.5 inches per week) and mulch with 2 inches of straw.
Symptom: Damping off in seedlings.
Solution: Pythium or Rhizoctonia fungi. Improve air circulation, reduce watering frequency, apply Streptomyces griseoviridis biocontrol.
Maintenance
Water 1–1.5 inches per week, delivered in two sessions. Irrigate early morning to minimize foliar disease. Fertigate every 14 days with compost tea (brewed 24 hours, aerated). Apply 1 gallon per 10 square feet.
Mulch with 2 inches of straw or shredded leaves once plants reach 6 inches. This layer moderates soil temperature, suppresses weeds, and reduces evaporation by 30%.
Scout for pests twice weekly. Remove affected leaves immediately. Rotate crop families annually to interrupt disease cycles.
FAQ
When is the ideal time to start bed preparation?
Begin 3–4 weeks before your intended planting date. This allows amendments to integrate and microbial populations to stabilize.
What bed width works best for accessibility?
Four feet permits arm-reach to the center from either side without stepping on growing areas.
How deep should raised beds measure?
Eight to ten inches provides adequate rooting volume for most vegetables. Carrots and parsnips benefit from 12 inches.
Can I prepare beds in fall for spring planting?
Yes. Fall preparation allows organic matter to decompose slowly, improving soil structure before spring.
Do I need a soil test?
Absolutely. Testing reveals pH, nutrient levels, and cation exchange capacity. This data eliminates guesswork and prevents over-application of amendments.