7 Steps to Build a Functional Outdoor Garden Path
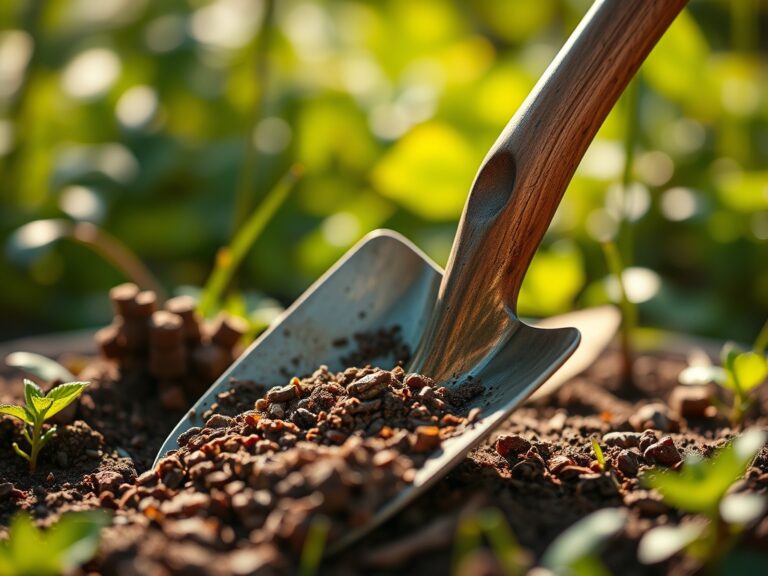
Damp earth releases geosmin as the spade cuts through the rhizosphere; this earthy scent signals a healthy microbial community ready for structural change. Establishing a functional walkway requires more than aesthetic placement. It demands an understanding of soil compaction, drainage, and plant physiology. Following the correct steps for building a garden path ensures that your foot traffic does not compromise the turgor pressure of nearby root systems or lead to anaerobic soil conditions.
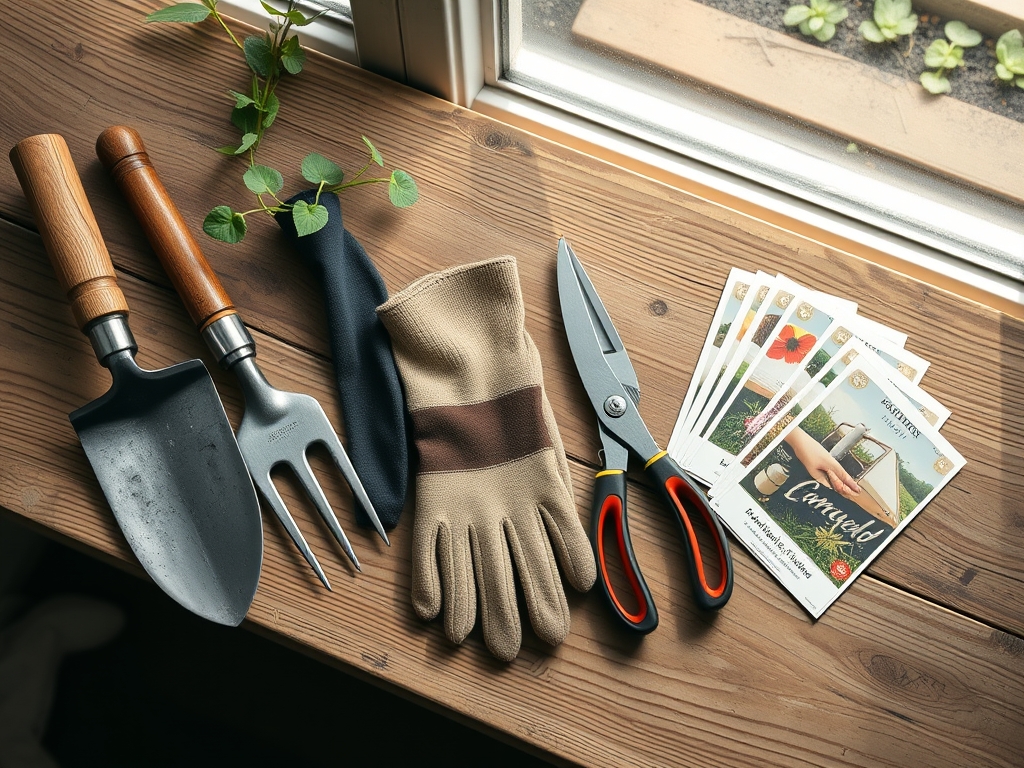
Materials:
The foundation of a path must interact correctly with the surrounding soil chemistry. For gardens focused on acid-loving species like Ericaceae, ensure your base materials do not leach lime, which would raise the **pH above 5.5**. A friable loam in the adjacent beds should maintain a **Cation Exchange Capacity (CEC) between 15 and 25** to hold nutrients effectively.
The substrate layers require specific materials:
- Base Aggregate: Crushed limestone or recycled concrete, graded to 0.75 inches, provides structural stability and drainage.
- Bedding Sand: Coarse washed sand with a neutral pH prevents shifting during freeze-thaw cycles.
- Nutrient Buffer: Along the path edges, incorporate a 5-10-10 NPK ratio fertilizer. High phosphorus levels encourage root elongation away from the compacted path zone.
- Geotextile Fabric: A woven barrier with a high flow rate prevents the migration of fines into the subgrade while allowing gas exchange for the soil biota.
Timing:
Path construction is most effective during the dormant season or early spring before the "Biological Clock" triggers the transition from vegetative to reproductive stages. In Hardiness Zones 5 through 7, the ideal window opens after the first hard frost has stabilized the ground but before the spring thaw creates saturated, unworkable mud.
Wait for a soil temperature of 45 degrees Fahrenheit at a 4-inch depth. Construction during active growth periods can cause mechanical damage to the xylem and phloem of nearby perennials. If you must build during the growing season, monitor the photoperiod; plants under high light stress are less resilient to the root zone disturbance caused by excavation.
Phases:

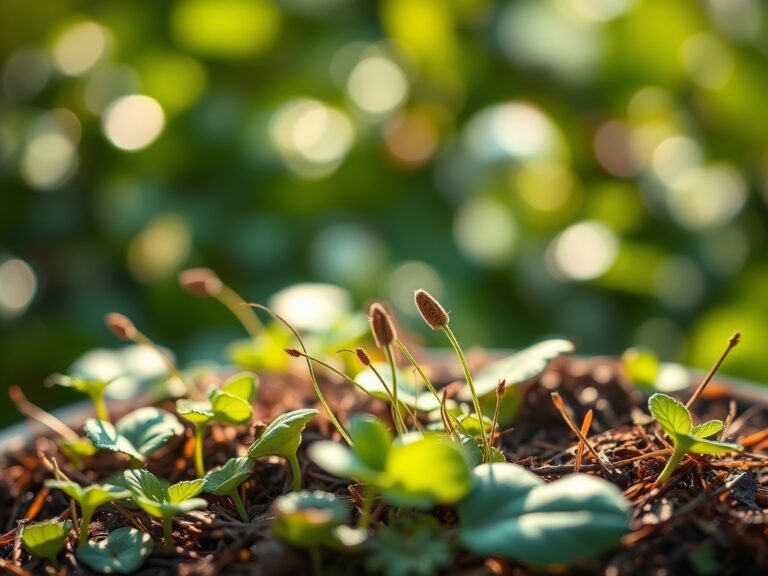
Sowing the Edges
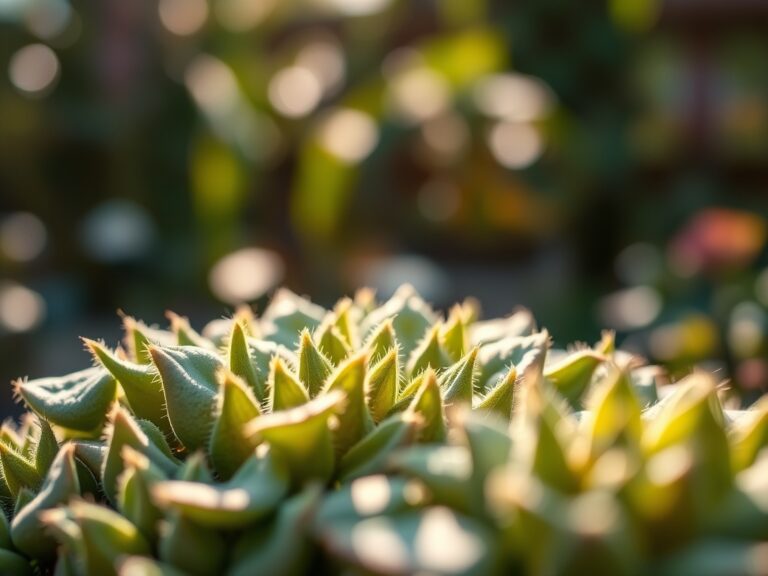
Once the path is excavated to a depth of 6 inches, focus on the transition zone. If using "steppable" groundcovers like Thymus serpyllum, sow seeds or plugs at the margins. Ensure the soil is not overly enriched with nitrogen; an excess can lead to leggy growth with low cellular density.
Pro-Tip: Maintain a low nitrogen profile to prevent auxin suppression. High nitrogen levels can inhibit the lateral branching needed for groundcovers to fill the gaps between pavers.
Transplanting and Integration
When placing larger specimens along the path, dig holes twice the width of the root ball. Position the crown exactly at the soil line to prevent stem rot. Observe the root structure in the step-by-step photos to ensure no circling roots are present, which would eventually lead to girdling.
Pro-Tip: Inoculate the transplant site with mycorrhizal fungi. This symbiotic relationship expands the surface area of the root system, allowing the plant to scavenge for water even when the path base restricts lateral expansion.
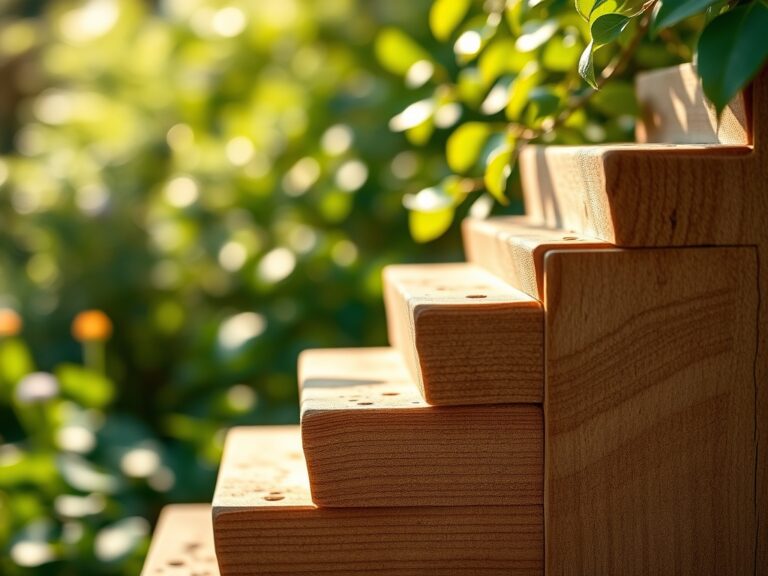
Establishing the Grade
The final surface must have a 2 percent cross-slope to ensure water sheds away from the center. This prevents standing water, which limits oxygen availability in the rhizosphere and leads to root senescence.
Pro-Tip: Use a soil moisture meter to verify that the path's drainage system isn't over-drying the adjacent beds. The "edge effect" can cause localized drought stress through increased evaporation at the path-soil interface.
The Clinic:
Physiological disorders often manifest at the intersection of hardscaping and horticulture.
-
Symptom: Interveinal chlorosis (yellowing leaves with green veins).
Solution: This is often Iron deficiency caused by high pH runoff from concrete pavers. Apply chelated iron and mulch with pine needles to lower the local pH. -
Symptom: Marginal leaf scorch.
Solution: This indicates Potassium deficiency or salt accumulation from path de-icers. Flush the soil with 2 inches of water and apply a sulfate of potash supplement. -
Symptom: Wilting despite moist soil.
Solution: Root asphyxiation due to soil compaction. Use a broadfork to aerate the soil 12 inches from the path edge to restore gas exchange.
Maintenance:
Precision is the hallmark of a functional path. Use a hori-hori knife to extract deep-taproot weeds like Taraxacum officinale without disturbing the leveled sand base. For adjacent shrubs, use bypass pruners to maintain a clear 6-inch clearance from the walkway; this prevents physical abrasion of the leaf cuticle, which can serve as an entry point for pathogens.
Irrigation must be targeted. Apply 1.5 inches of water per week at the drip line of plants bordering the path. Avoid overhead watering that splashes grit onto foliage, as this can cause mechanical damage and encourage fungal spores. Monitor the compaction levels annually; if the soil resistance exceeds 300 psi, mechanical aeration is required to protect the soil structure.
The Yield:
If your path winds through a kitchen garden, harvesting must be systematic. For woody herbs like rosemary, harvest in the morning when turgor pressure is at its peak. Use sharp shears to cut just above a node, leaving at least 60 percent of the foliage to ensure continued photosynthesis.
Post-harvest, submerge herbs in 40-degree Fahrenheit water for 15 minutes to remove field heat. This process slows the metabolic rate and preserves the volatile oils. For floral yields, cut stems at a 45-degree angle and immediately place them in a solution with a pH of 3.5 to 4.5 to maximize water uptake through the xylem.
FAQ:
How deep should I excavate for a gravel path?
Excavate to a depth of 4 to 6 inches. This allows for a 3-inch base of compacted aggregate and a 2-inch top layer of decorative stone. Proper depth prevents shifting and suppresses weed emergence from the seed bank.
What is the best way to prevent weeds between pavers?
Use polymeric sand in the joints. This material hardens when misted, creating a semi-permanent barrier that resists erosion and prevents seeds from reaching the moist substrate. Maintain a pH-neutral environment to discourage specialized weed growth.
Can I build a path over tree roots?
Avoid cutting roots larger than 2 inches in diameter. Instead, use a "floating" path design with a layer of coarse wood chips or a raised boardwalk. This protects the vascular system and prevents pathogens from entering through root wounds.
How do I fix drainage issues on an existing path?
Install a French drain or a dry well at the lowest point of the grade. Ensure the path has a 1:50 slope to direct runoff. Improving the soil porosity in adjacent areas also helps absorb excess precipitation.