7 Vining Steps to Prepare a Sphagnum Moss Pole
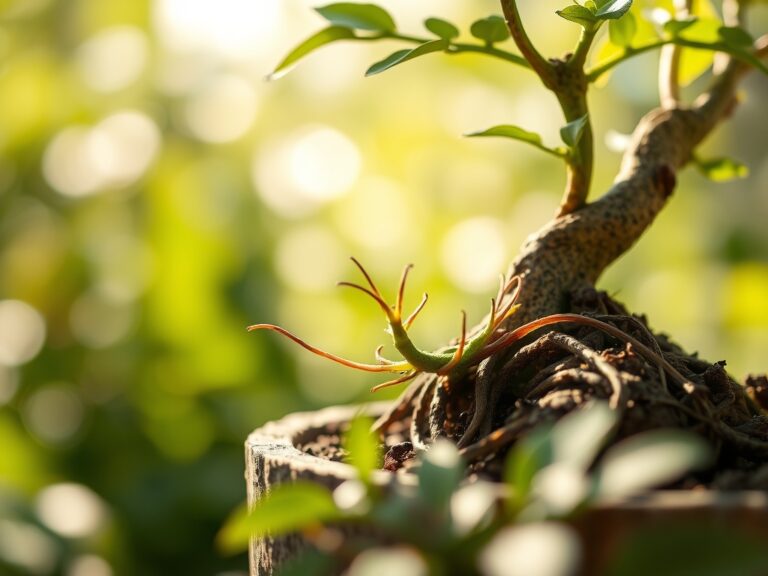
The smell of damp, decomposing peat moss signals a shift in the indoor rhizosphere from a stagnant pot to a vertical ecosystem. When a climbing aroid achieves maximum turgor pressure, its petioles stiffen and the lamina expands to capture more photons. Learning how to prepare a sphagnum moss pole allows you to mimic the humid bark of a tropical canopy; this triggers the transition from juvenile to mature foliage. This process requires precise hydration and structural integrity to support adventitious roots.
Materials:
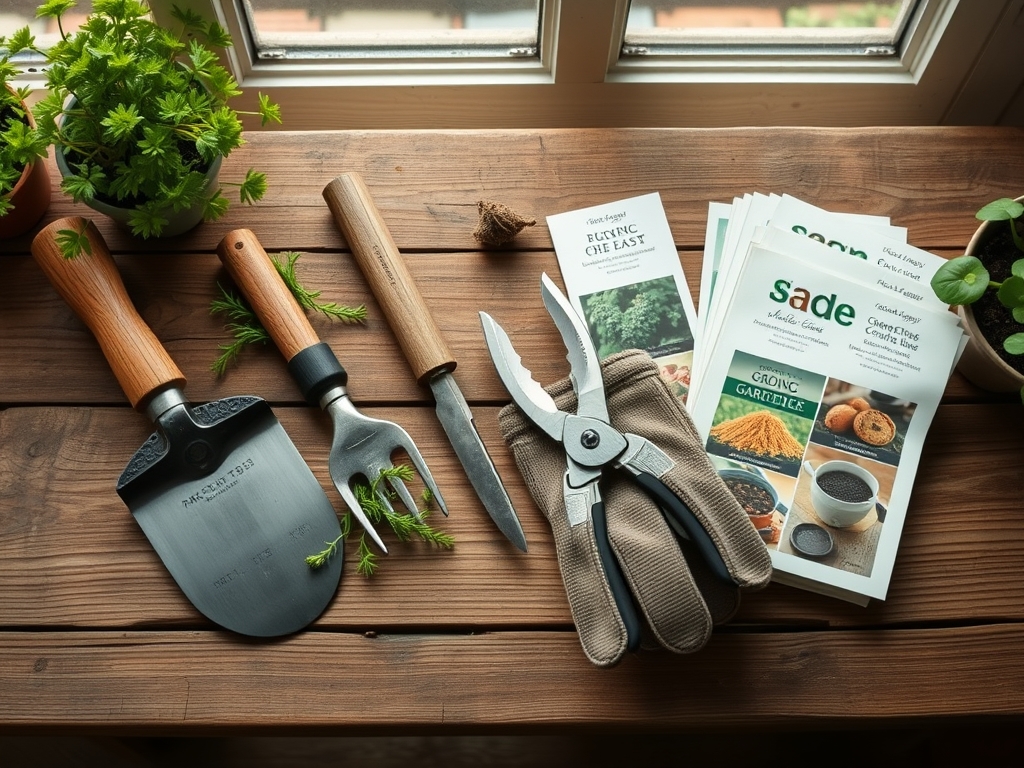
The foundation of a successful pole is high quality long fiber sphagnum moss with a **pH between 4.0 and 4.8**. This acidity inhibits many pathogenic fungi while providing a high Cation Exchange Capacity (CEC) for nutrient retention. You will need **PVC coated galvanized hardware cloth** with a half inch mesh size to ensure structural rigidity. Avoid untreated wood stakes which succumb to rot within six months.
The substrate inside the pole should be a friable mix of 70 percent hydrated moss and 30 percent chunky perlite or orchid bark. If you are incorporating fertilizer at this stage, use a slow release granule with an NPK ratio of 15-5-10. This high nitrogen concentration supports the rapid vegetative growth required for vertical climbing. Use a soil moisture meter to verify the moss is at 60 percent saturation before packing.
Timing:
In Hardiness Zones 9 through 11, moss pole installation can occur year round. However, in Zones 4 through 8, the ideal window is during the spring equinox when the photoperiod extends beyond 12 hours. This timing aligns with the plant's biological clock as it moves from winter dormancy into a high metabolic state. Attempting to train a plant during the late autumn senescence period increases the risk of mechanical damage to the nodes, as the plant is not actively producing the auxins necessary for rapid root attachment.
Phases:

Sowing the Foundation
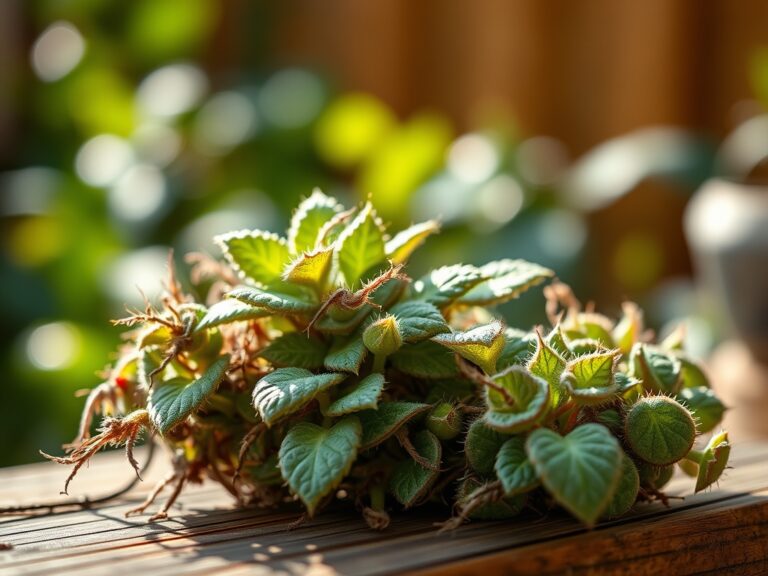
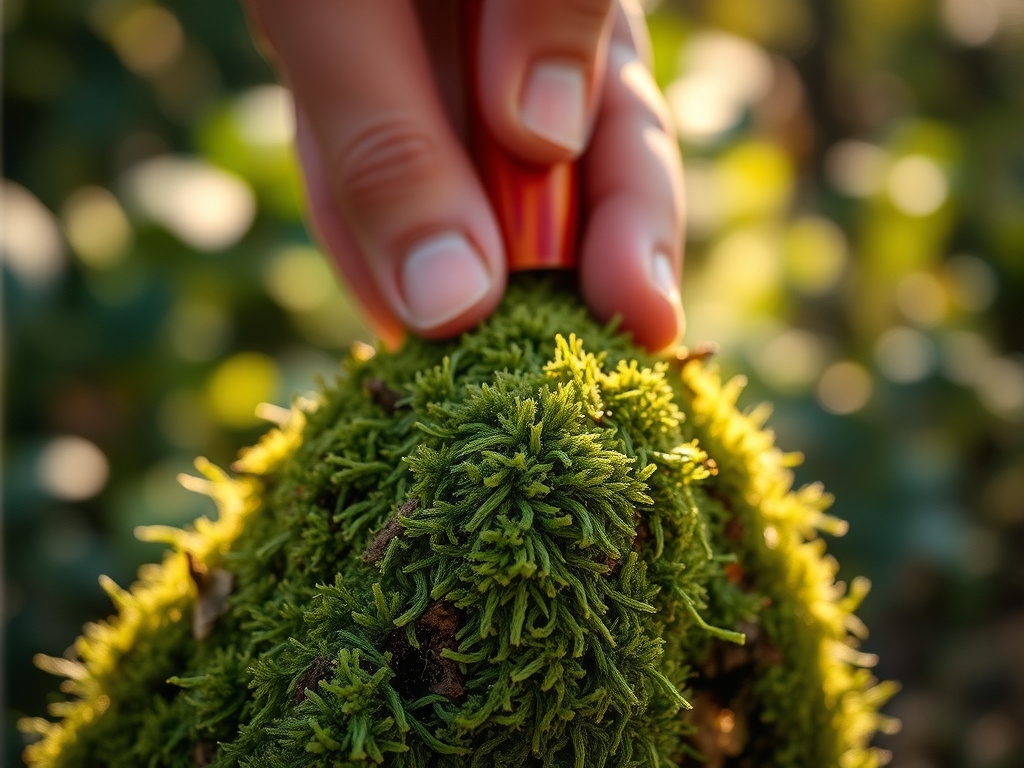
Hydrate your moss in a bucket of distilled water for at least 20 minutes. Squeeze out excess moisture until it reaches the consistency of a wrung out sponge. Lay the hardware cloth flat and spread the moss evenly across the center, leaving a two inch margin on the edges. Roll the mesh into a cylinder and secure it with zip ties every four inches.
Pro-Tip: Proper hydration ensures that the moss fibers expand. This creates capillary action, allowing water to travel vertically through the pole via surface tension rather than simply draining out the bottom.
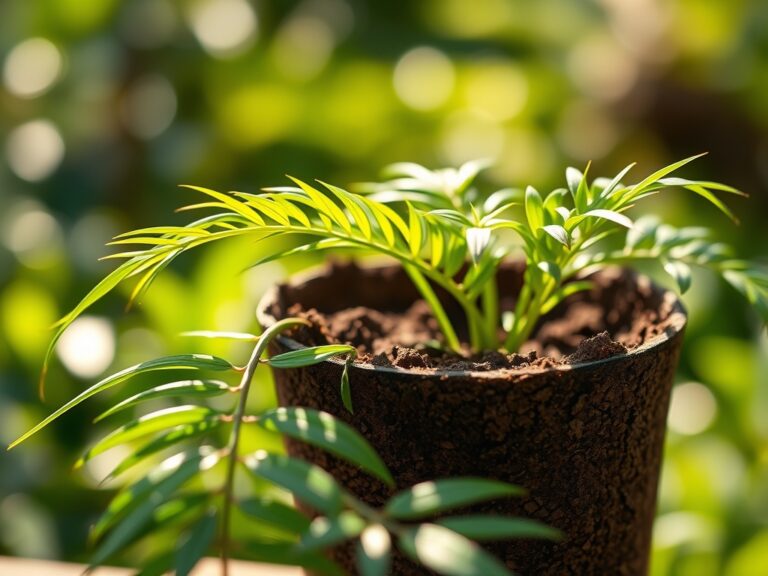
Transplanting and Anchoring
Position the pole at the back of the pot before adding the plant. This prevents the disruption of the existing root system. Secure the main stem of the plant to the pole using soft plant ties, ensuring that at least one node is in direct contact with the damp moss. Do not tie the petioles; only the stem should be restricted.
Pro-Tip: This contact triggers thigmotropism. When the plant's adventitious roots sense a solid, moist surface, they alter their growth direction to penetrate the substrate, increasing the plant's overall stability and nutrient uptake.
Establishing the Vertical Root System
Keep the pole consistently moist. Use a targeted watering vessel to saturate the top of the pole, allowing gravity to pull the moisture through the internal column. Monitor the turgor pressure of the leaves; if they appear flaccid despite moist soil, the pole may be dry, preventing the aerial roots from contributing to the plant's hydraulic system.
Pro-Tip: Aerial roots that penetrate the moss pole function as secondary nutrient conduits. This bypasses the primary root system in the pot, allowing the plant to sustain larger leaves at the top of the vine through localized nutrient absorption.
The Clinic:
Physiological disorders often manifest when the interface between the pole and the plant is compromised.
- Symptom: Yellowing of lower leaves (Chlorosis).
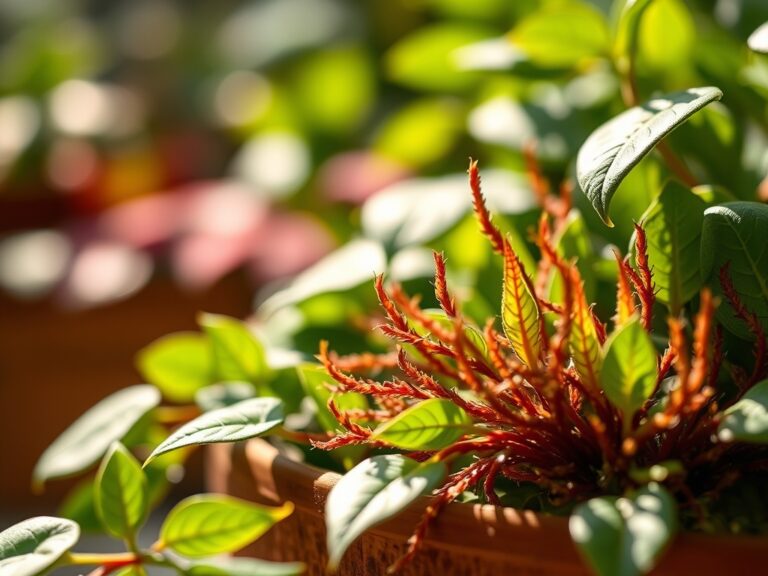
Solution: This typically indicates Nitrogen deficiency. Apply a liquid fertilizer with a 9-3-6 NPK ratio directly to the moss pole to ensure the upper roots receive immediate nutrition. - Symptom: Aerial roots browning and shriveling before entering the moss.
Solution: Ambient humidity is likely below 40 percent. Increase local humidity or mist the pole surface daily to prevent the root tips from desiccating. - Symptom: Mold or fungal growth on the moss surface.
Solution: Improve airflow. Use a fan to increase evaporation rates. A dilute solution of 3 percent hydrogen peroxide can be sprayed on the affected area to neutralize spores without harming the plant.
Maintenance:
Consistency is the primary requirement for vertical growth. Check the moisture level of the pole every 48 to 72 hours. A moss pole requires approximately 0.5 to 1.0 liters of water per week, depending on the ambient temperature and the size of the column. Use a hori-hori knife to occasionally probe the pot's soil to ensure it is not becoming waterlogged from the pole's runoff.
Pruning is essential to maintain the desired height. Use bypass pruners sterilized with isopropyl alcohol to take cuttings just below a node. If the plant outgrows the pole, you can "stack" a new section by inserting a wooden dowel into the top of the existing PVC or mesh frame and sliding a new moss cylinder over it.
The Yield:
While moss poles are primarily used for ornamental aroids, the "yield" is measured in leaf size and fenestration. As the plant climbs, the internodal distance should decrease while the leaf surface area increases. To harvest cuttings for propagation, wait until the aerial roots are at least two inches long and firmly embedded in the moss. Cut the stem and remove the section of moss with the root intact to ensure a high success rate for the new clone. This method maintains "day-one" freshness by preventing transplant shock.
FAQ:
How often should I water a moss pole?
Check the pole every two days. It should feel like a damp sponge. Depending on your home's humidity, you will likely need to saturate the column twice a week to maintain consistent moisture for the adventitious roots.
Can I use coco coir instead of sphagnum?
Coco coir has a lower water retention capacity and a higher salt content than sphagnum. While it is more sustainable, it requires more frequent watering and thorough leaching to prevent sodium buildup in the rhizosphere.
Why are my plant's leaves getting smaller?
Small leaves on a climbing plant usually indicate insufficient light or a dry moss pole. When the plant cannot anchor itself or lacks the energy for vertical expansion, it reverts to smaller, juvenile foliage to conserve resources.
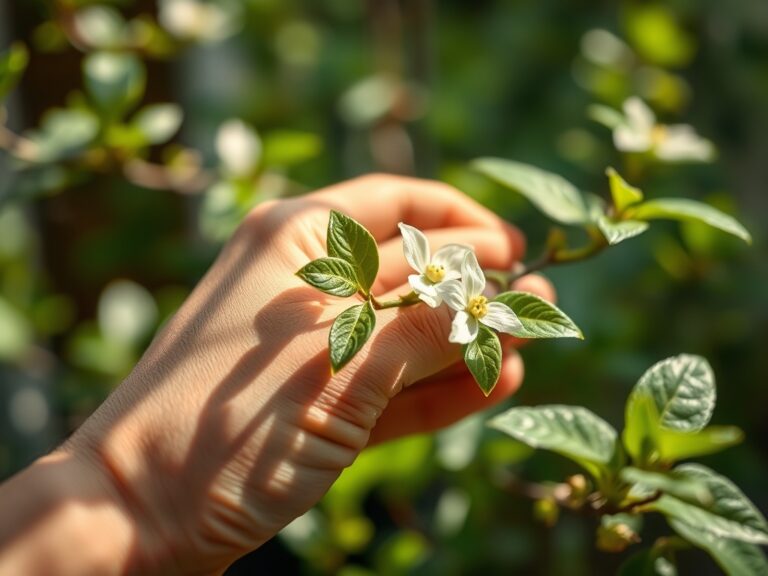
How do I attach the plant to the pole?
Use garden Velcro or soft plant ties. Secure the stem at the nodes, ensuring the nodes touch the moss. Avoid tying the petioles, as they need to move freely to track light sources throughout the day.