8 Time-Tested Steps to Prepare a Traditional Vegetable Garden
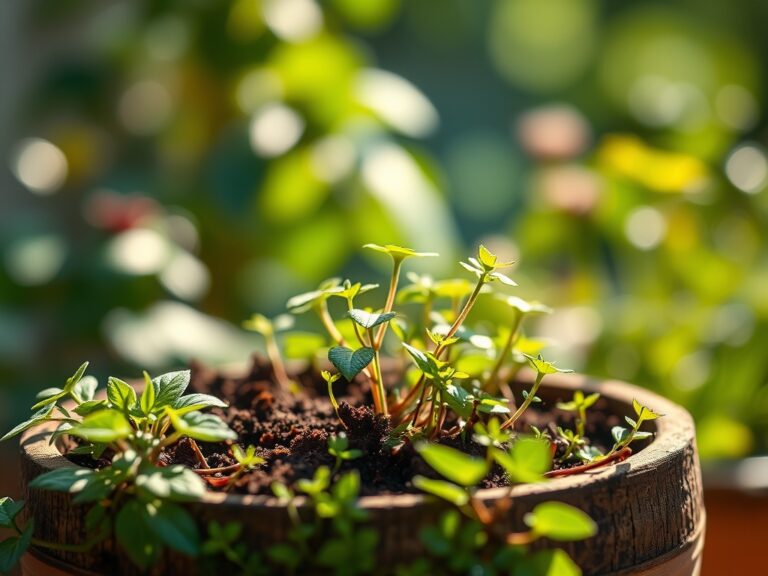
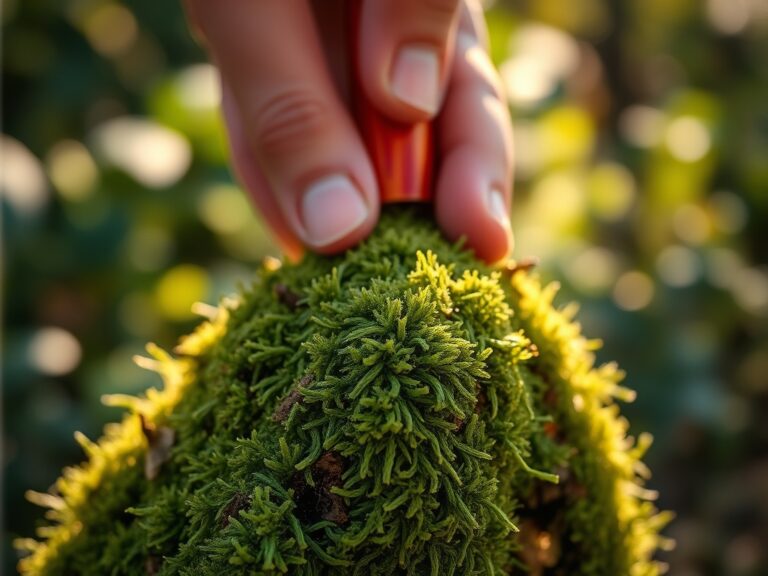
The scent of freshly turned earth, still cool from winter, signals the start of another growing season. Knowing how to prepare a garden for a traditional vegetable garden separates those who harvest bushels from those who watch their plants limp through summer. This preparation begins months before the first seedling touches soil, when soil structure, nutrient profiles, and microbial populations are at their most malleable.
Materials
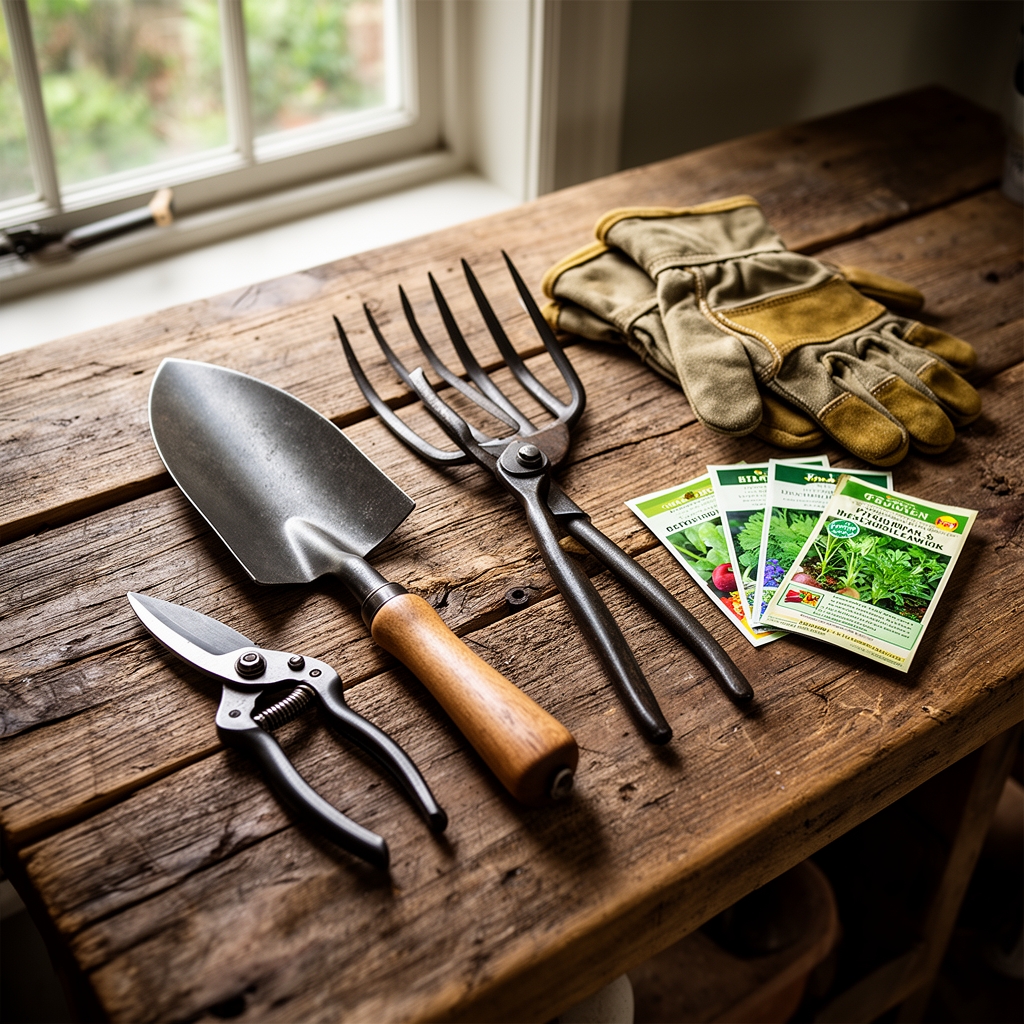
Assemble these materials before breaking ground:
Amendments (by function and ratio):
- Well-composted manure (approximately 1-1-1 NPK ratio, pH 6.5-7.0)
- Alfalfa meal (2-1-2, excellent nitrogen source)
- Bone meal (3-15-0, raises pH slightly, phosphorus for root development)
- Kelp meal (1-0.5-2, trace minerals and cytokinins)
- Agricultural sulfur (pH reduction, 0.5-2 lbs per 100 sq ft depending on soil test)
- Dolomitic lime (pH elevation, calcium and magnesium source)
Tools:
- Broadfork or spading fork (preservation of soil structure)
- Soil pH meter or test kit (accuracy to 0.1 pH unit)
- Wheelbarrow rated for 6 cubic feet
- Garden rake with 16-inch head
- Measuring tape (100-foot length)
Biological inoculants:
- Mycorrhizal fungi blend (endomycorrhizae for vegetables)
- Rhizobium inoculant (legume-specific strains)
Obtain a professional soil test showing pH, macronutrients (N-P-K), micronutrients, cation exchange capacity, and organic matter percentage. Tests from university extension services typically cost $15-30 and provide actionable data.
Timing
Preparation timing hinges on your USDA Hardiness Zone and last frost date.
Zones 3-5: Begin soil preparation 4-6 weeks before last frost (typically late April to mid-May). Fall preparation is superior; amend soil in September or October, allowing freeze-thaw cycles to break down organic matter and improve tilth.
Zones 6-7: Start 3-4 weeks before last frost (mid-March to early April). Fall amendments integrate fully by spring.
Zones 8-10: Prepare beds in late winter (January-February) for spring crops. For fall gardens, prepare in late August when soil temperatures drop below 85°F, optimizing microbial activity.
Soil workability matters more than calendar dates. Squeeze a handful of soil; if water drips out, wait. If it crumbles when poked, proceed. Working wet soil destroys aggregates and compacts structure, reducing pore space essential for root respiration.
Phases
Phase 1: Site Assessment and Clearing (Week 1)
Remove all vegetation to ground level. Existing grass and weeds harbor pest eggs and fungal pathogens. For plots with perennial weeds, remove roots to 8 inches depth. Mark the perimeter with stakes and string. Measure sun exposure; vegetable crops require 6-8 hours of direct sun daily.
Pro-Tip: Apply a 2-inch layer of newspaper or cardboard over cleared ground, then cover with 4 inches of compost. This sheet mulching suffocates remaining roots while feeding soil organisms.
Phase 2: Soil Amendment and Integration (Weeks 2-3)
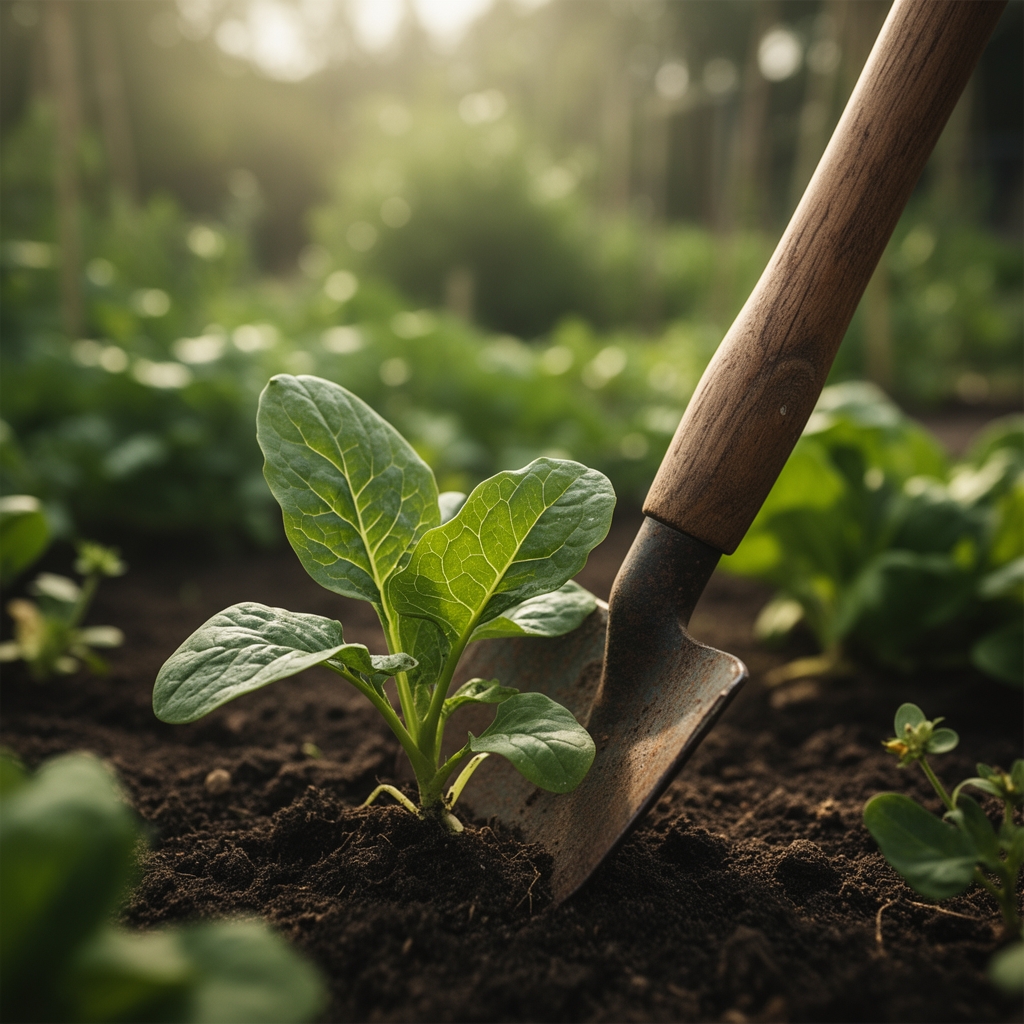
Based on soil test results, broadcast amendments evenly. A plot testing at pH 5.8 requires approximately 5 pounds of dolomitic lime per 100 square feet to reach pH 6.5, ideal for most vegetables. Spread 2-3 inches of compost across the entire bed. Use a broadfork to aerate to 12-inch depth, working in vertical motions to lift and separate soil without inversion. Turning soil disrupts fungal networks; aeration preserves them.
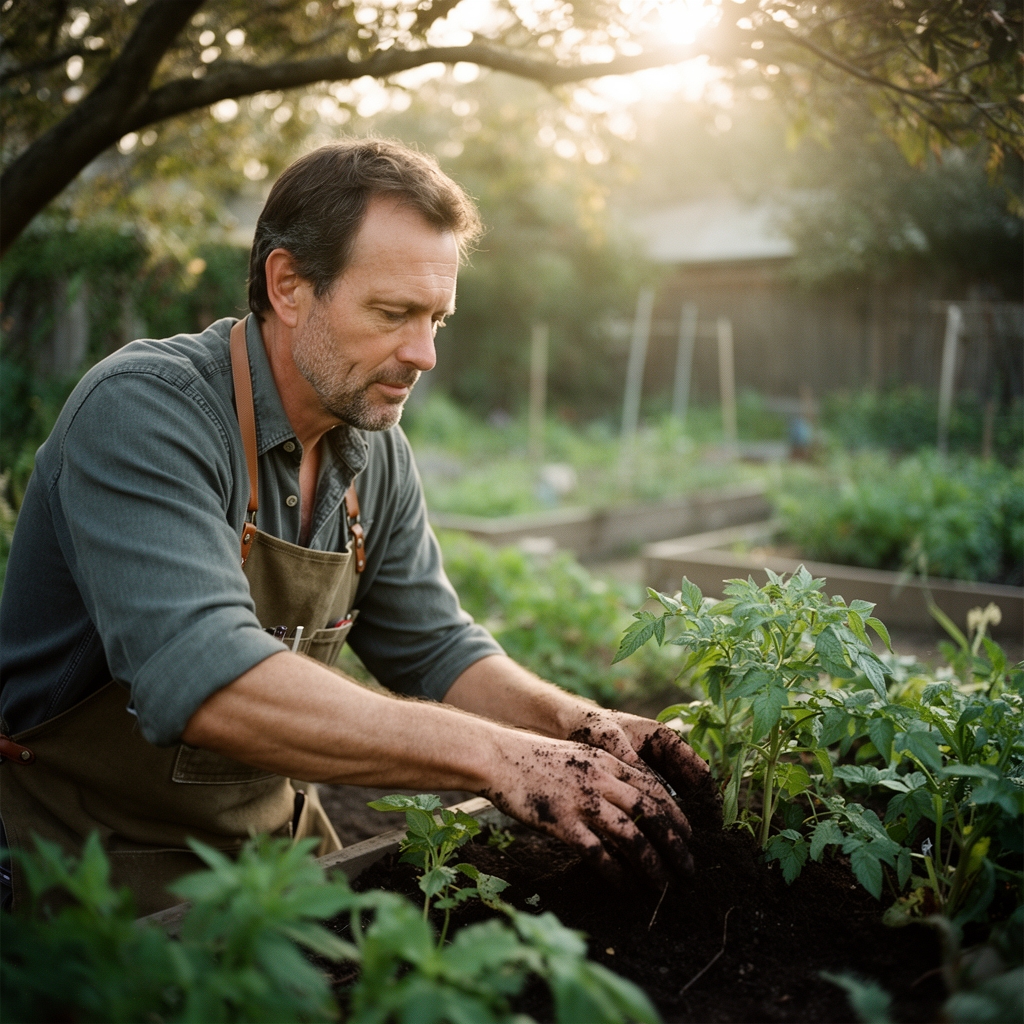
Incorporate mycorrhizal fungi during this phase. These symbiotic organisms colonize root systems, extending effective root surface area by 100-1000 times. Mix inoculant with compost at manufacturer-specified rates, typically 1-2 tablespoons per plant hole.
Pro-Tip: Test cation exchange capacity. Soils below 10 meq/100g benefit from clay additions (bentonite at 20 lbs per 100 sq ft) or increased organic matter to improve nutrient retention.
Phase 3: Bed Shaping and Path Definition (Week 4)
Form raised beds 3-4 feet wide, allowing access from both sides without compaction. Height depends on native drainage; poor-draining clay soils require 8-12 inch elevation, while sandy loam needs only 4-6 inches. Rake beds level. Compress paths to 6-inch depth using foot traffic or compaction tools, creating clear separation that prevents root competition and improves water distribution.
Pro-Tip: Orient beds north-south for equal light distribution to both sides. East-west orientation creates southern shade zones unsuitable for sun-demanding crops like tomatoes and peppers.
Troubleshooting
Symptom: Seedling damping-off (stem collapse at soil line)
Solution: Reduce watering frequency, improve air circulation, apply Bacillus subtilis drench at 1 tablespoon per gallon.
Symptom: Chlorosis (yellowing between veins) in new growth
Solution: Iron deficiency common in alkaline soils (pH above 7.2). Apply chelated iron at 1 tablespoon per gallon as foliar spray or soil drench.
Symptom: Blossom end rot (black, sunken spots on fruit bottoms)
Solution: Calcium transport disruption from inconsistent watering. Maintain even moisture; mulch with 3 inches of straw. Apply calcium nitrate foliar spray at 1 tablespoon per gallon.
Symptom: Stunted growth with purple leaf undersides
Solution: Phosphorus deficiency or cold soil temperatures (below 55°F) limiting uptake. Warm soil with black plastic mulch; side-dress with bone meal at 2 tablespoons per plant.
Symptom: Cutworm damage (seedlings severed at base)
Solution: Install 3-inch cardboard collars around transplants, pressed 1 inch into soil. Apply Steinernema carpocapsae nematodes to soil at dusk.
Maintenance
Water deeply to 6-8 inches once or twice weekly rather than shallow daily watering. This encourages deep root systems with improved drought tolerance. New beds require 1 inch of water weekly from rain or irrigation. Measure using straight-sided containers placed throughout the garden.
Apply 2-3 inches of organic mulch after soil warms to 60°F. Earlier application delays warming in spring. Use straw, shredded leaves, or aged wood chips. Maintain 2-inch clearance around stems to prevent fungal issues.
Side-dress heavy feeders (tomatoes, squash, corn) every 3-4 weeks with balanced organic fertilizer at 2 tablespoons per plant, scratched into top 2 inches of soil. Monitor leaf color; dark green verging on blue-green indicates excess nitrogen, promoting vegetative growth at the expense of fruiting.
FAQ
How deep should I prepare garden soil?
Prepare to 12 inches for most vegetables, 18 inches for deep-rooted crops like carrots, parsnips, and tomatoes. Root penetration correlates directly with available loose soil depth.
Can I plant immediately after tilling?
Wait 7-10 days after amendment incorporation. This settling period allows microbial populations to stabilize and nutrient availability to equilibrate through mineralization processes.
What pH range works for mixed vegetable gardens?
Target pH 6.2-6.8. This range maximizes nutrient availability for 90% of common vegetables. Exceptions include potatoes (prefer 5.0-6.0) and brassicas (tolerate up to 7.5).
How often should I retest soil?
Test annually in fall after harvest. Nutrient depletion varies by crop intensity and amendment schedules. pH shifts occur gradually but require monitoring in high-rainfall areas prone to leaching.
Is double-digging necessary for vegetable gardens?
No. Double-digging to 24 inches provides minimal benefit unless addressing hardpan layers confirmed by soil probe testing. Standard 12-inch preparation suffices for most situations and preserves soil structure better than excessive disturbance.