9 Simple Steps to Prepare a DIY Wine Bottle Self-Waterer
Learning how to prepare a DIY self-watering wine bottle transforms discarded glass into a precision irrigation tool that delivers moisture directly to root zones while reducing evaporation by up to 70 percent. This technique mimics the slow-release patterns of commercial ollas, creating a buffer against irregular watering schedules and supporting consistent auxin distribution in developing root systems. The wine bottle's narrow neck regulates flow rate naturally through capillary action and gravity.
Materials and Tools
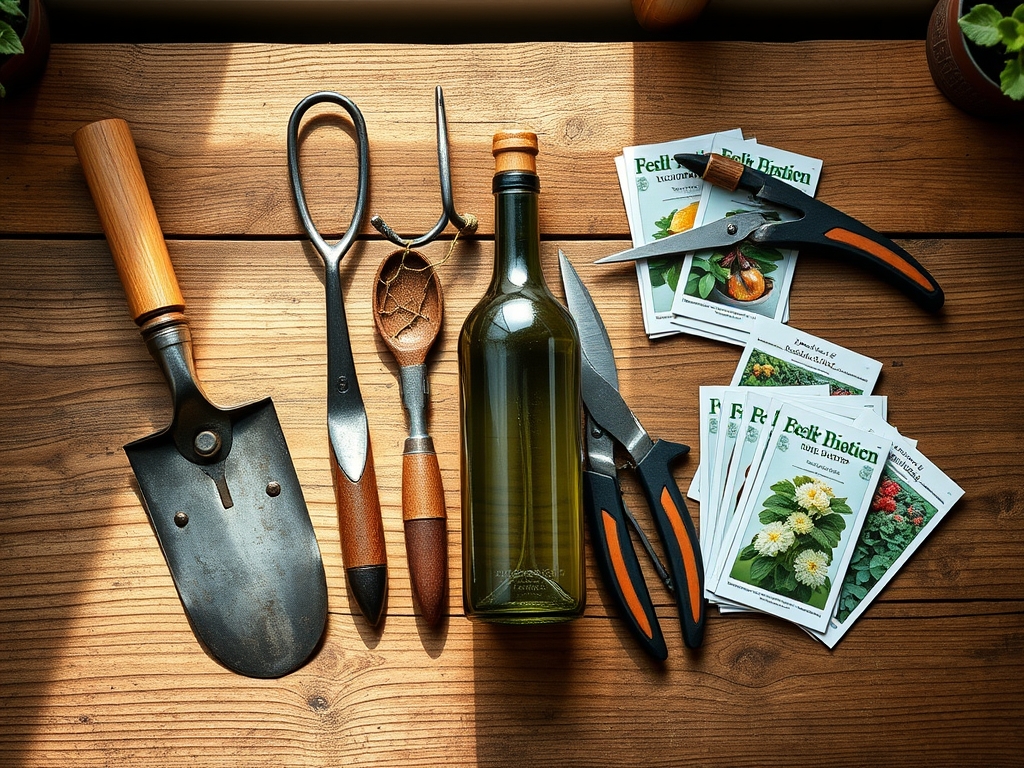
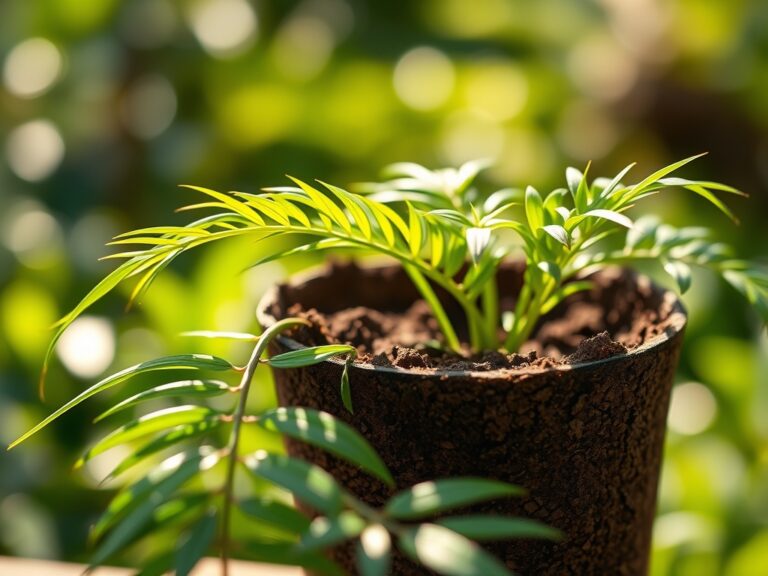
Select a 750 mL wine bottle with straight sides and minimal shoulder taper. The glass must be intact without chips or cracks that compromise structural integrity during soil insertion.
Primary Components:
- One empty wine bottle (clear or colored glass)
- Diamond-tipped glass drill bit (3/8-inch diameter for drainage control)
- Spray bottle filled with water (cooling agent during drilling)
- Coarse-grade sandpaper (80-grit for smoothing cut edges)
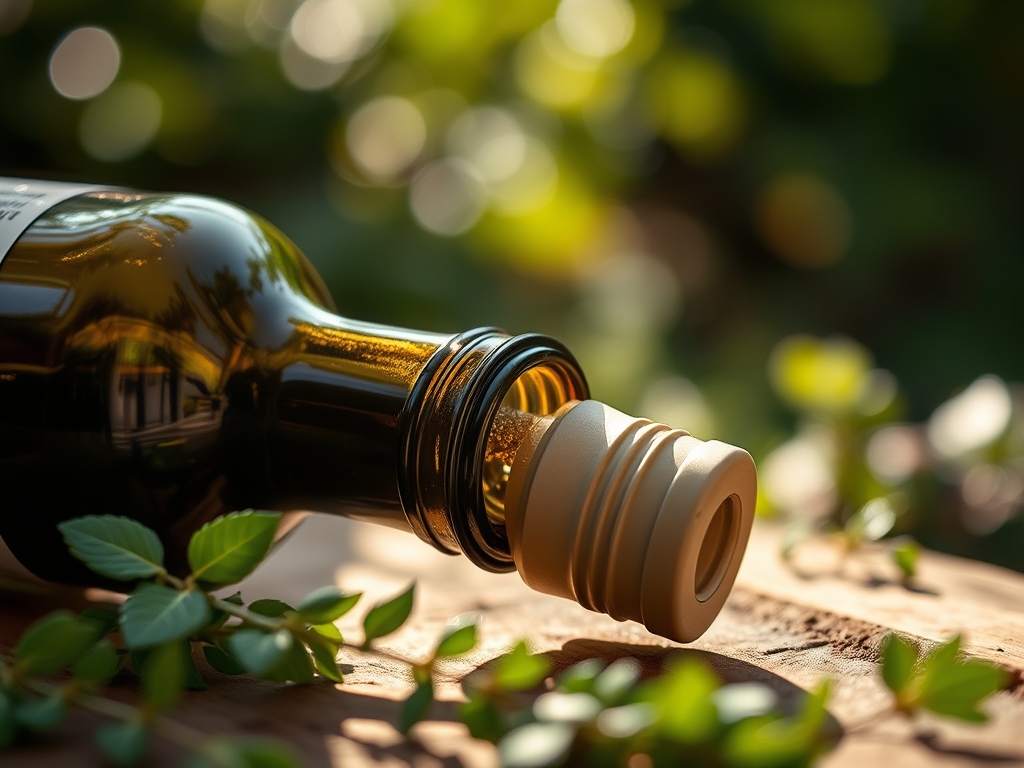
- Cork or rubber stopper (sized to bottle opening)
- Cotton twine or felt strips (capillary wicking material)
Optional Amendments for Reservoir:
For container plants requiring acidic conditions (pH 5.5 to 6.2), add 1 tablespoon of elemental sulfur per gallon of reservoir water. For heavy feeders, incorporate water-soluble fertilizer at one-quarter strength (analysis approximately 3-1-2 for vegetative growth or 1-3-2 for fruiting phases). This approach maintains cation exchange capacity in potting media without salt accumulation.
Timing and Seasonal Considerations
Install self-watering wine bottles two weeks after transplanting seedlings to outdoor positions. Root systems require initial establishment before introducing passive irrigation. In USDA Hardiness Zones 7 through 10, install bottles in late April through May after final frost dates. For Zones 4 through 6, delay installation until soil temperatures stabilize above 60°F at four-inch depth.
Container gardens benefit from installation at any growth stage. Transplant shock decreases when bottles are positioned within 48 hours of potting. During periods exceeding 85°F with relative humidity below 40 percent, bottles require refilling every 72 hours. Winter dormancy in Zones 8 and above allows removal until spring flush begins.
Step-by-Step Preparation Phases

Phase One: Bottle Modification
Remove labels by soaking bottles in warm water with 2 tablespoons of baking soda per gallon for 30 minutes. Residual adhesive dissolves completely, preventing soil contamination with synthetic polymers.
Mark a drilling point 2 inches from the bottle base using a permanent marker. Submerge the bottle in a shallow pan of water, maintaining the drill site below the waterline. Drill at a 45-degree angle using consistent pressure. Water acts as both coolant and debris trap, preventing thermal stress fractures. The 3/8-inch hole provides a flow rate of approximately 50 mL per hour in loamy soil with 25 percent moisture content.
Pro-Tip: Drill two opposing holes for plants requiring high transpiration rates (tomatoes, squash, peppers). This configuration doubles delivery rate to 100 mL per hour.
Sand all cut edges with circular motions for 60 seconds. Sharp edges slice through fine root hairs and damage mycorrhizal networks during soil contact.
Phase Two: Establishing the Reservoir System
Fill the bottle with dechlorinated water. Municipal water containing chlorine concentrations above 2 ppm disrupts beneficial bacterial colonies in the rhizosphere. Allow tap water to sit uncovered for 24 hours, or add 50 mg of ascorbic acid (vitamin C) per gallon to neutralize chlorine instantly.
Insert the cork or stopper firmly. For enhanced capillary action, thread cotton twine through a drilled cork, allowing 4 inches to extend into the water and 2 inches to protrude above. The wick draws water upward through capillary tension, then releases it gradually into surrounding soil. Felt strips cut to 1-inch width provide superior wicking compared to synthetic materials.
Phase Three: Installation Protocol
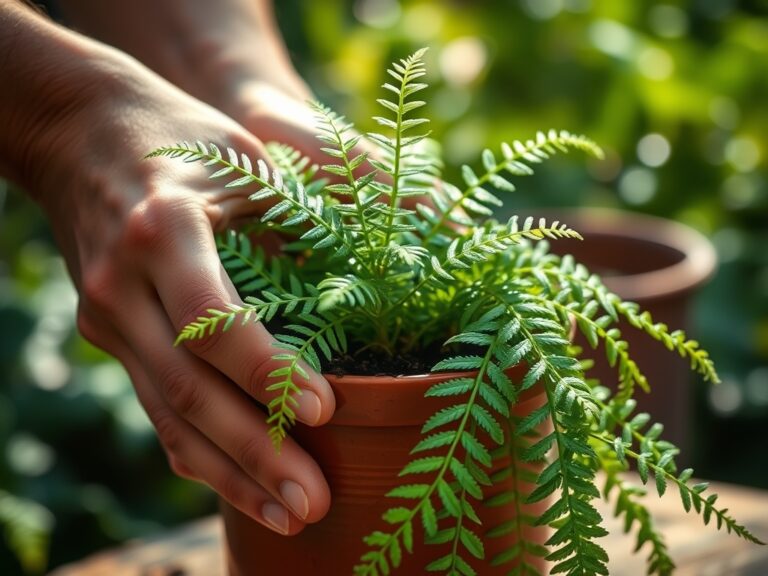
Dig a hole adjacent to the target plant, positioning it 4 to 6 inches from the main stem. Depth should equal the submerged portion of the bottle (typically 6 inches for standard installation). Angle the bottle at 30 degrees with the drilled holes facing the root zone. This orientation prevents clogging from soil particles while maximizing water contact with active feeder roots.
Backfill around the bottle with native soil, tamping gently to eliminate air pockets. The bottle neck should protrude 3 to 4 inches above soil grade for easy refilling and visual monitoring.
Pro-Tip: Mix 1 tablespoon of hydrated bentonite clay per cup of backfill soil. The clay's high cation exchange capacity creates a moisture-retentive collar around the bottle, extending the effective irrigation radius to 12 inches.
Troubleshooting Common Issues
Symptom: Bottle empties within 24 hours.
Solution: Soil texture is excessively sandy with drainage exceeding field capacity. Amend surrounding zone with coconut coir at a 1:3 ratio (coir to native soil). Coir increases water-holding capacity by 8 to 10 times its dry weight.
Symptom: Water level remains unchanged after 72 hours.
Solution: Drill holes are clogged with fine particles or algal biofilm. Remove bottle, flush holes with pressurized water, and reinstall. Apply a 1-inch layer of horticultural sand around the insertion point to filter sediment.
Symptom: Fungal growth appears on bottle exterior or soil surface.
Solution: Excess moisture combined with poor air circulation. Reduce watering frequency by 25 percent. Apply a thin layer of perlite as a physical barrier against fungal spore germination. Ensure spacing allows 6 inches of airflow around each bottle.
Symptom: Root growth encircles bottle, causing girdling.
Solution: Bottle installed too close to primary taproot. Reposition to target lateral feeder roots in the upper 8 inches of soil profile. Prune circling roots at 90-degree angles to encourage radial growth patterns.
Symptom: Algae proliferates inside clear glass bottles.
Solution: Photosynthetic organisms thrive in light-exposed water. Switch to colored glass (amber or green) or wrap bottles with opaque fabric. Algae competes for dissolved oxygen and releases compounds that inhibit root function.
Maintenance Schedule
Refill bottles every 4 to 7 days during active growth periods. Monitor soil moisture at 4-inch depth using a probe. Target range is 60 to 75 percent of field capacity for most vegetables and ornamentals.
Flush bottles biweekly with a 3 percent hydrogen peroxide solution (1 tablespoon per cup of water) to prevent bacterial biofilm accumulation. Rinse thoroughly before refilling.
Every 30 days, remove bottles and inspect drill holes. Use a pipe cleaner or thin wire to dislodge accumulated sediment. Examine surrounding soil for compaction. Aerate with a garden fork to 6-inch depth if penetration resistance exceeds moderate pressure.
Rotate bottle positions by 90 degrees quarterly. This practice prevents preferential root growth patterns and encourages symmetrical development of the root system architecture.
Frequently Asked Questions
How many bottles does a single tomato plant require?
One bottle per plant suffices for determinate varieties in 5-gallon containers. Indeterminate types in garden beds benefit from two bottles positioned on opposite sides of the main stem, spaced 8 inches from center.
Can I add liquid fertilizer directly to the bottle?
Yes, but dilute to one-quarter label strength. Full-strength solutions cause localized salt accumulation and osmotic stress. Apply fertilizer-charged water every third refill, alternating with plain water to flush residual salts.
What is the effective radius of moisture distribution?
In loam soils, water migrates 8 to 10 inches radially from drill holes. Clay soils reduce spread to 6 inches due to slower percolation rates. Sandy soils show vertical migration with minimal lateral spread.
Do bottles work in raised beds or only in-ground gardens?
Both applications succeed. Raised beds drain faster, requiring bottles with dual holes and refills every 3 days. In-ground installations with native clay-loam maintain moisture for 7 days between refills.
When should I remove bottles seasonally?
Extract bottles after first frost in annual gardens. Perennial beds retain bottles year-round in frost-free zones. In cold climates (Zone 6 and below), remove bottles in October to prevent freeze-thaw cycles from cracking glass and damaging dormant roots.