9 Aquatic Steps to Prepare a Productive Water Vegetable Garden
Learning how to prepare a garden for a water vegetable garden transforms the familiar rhythm of soil-based cultivation into an amphibious enterprise where roots anchor in saturated substrates or float freely in nutrient-dense solutions. The scent of wet clay mingles with the tang of decomposing aquatic plant matter. Water cress stems bend beneath the current. Taro leaves catch morning dew in droplets the size of marbles. Establishing this system demands attention to container waterproofing, substrate composition, and dissolved oxygen levels that soil gardeners rarely encounter.
Materials
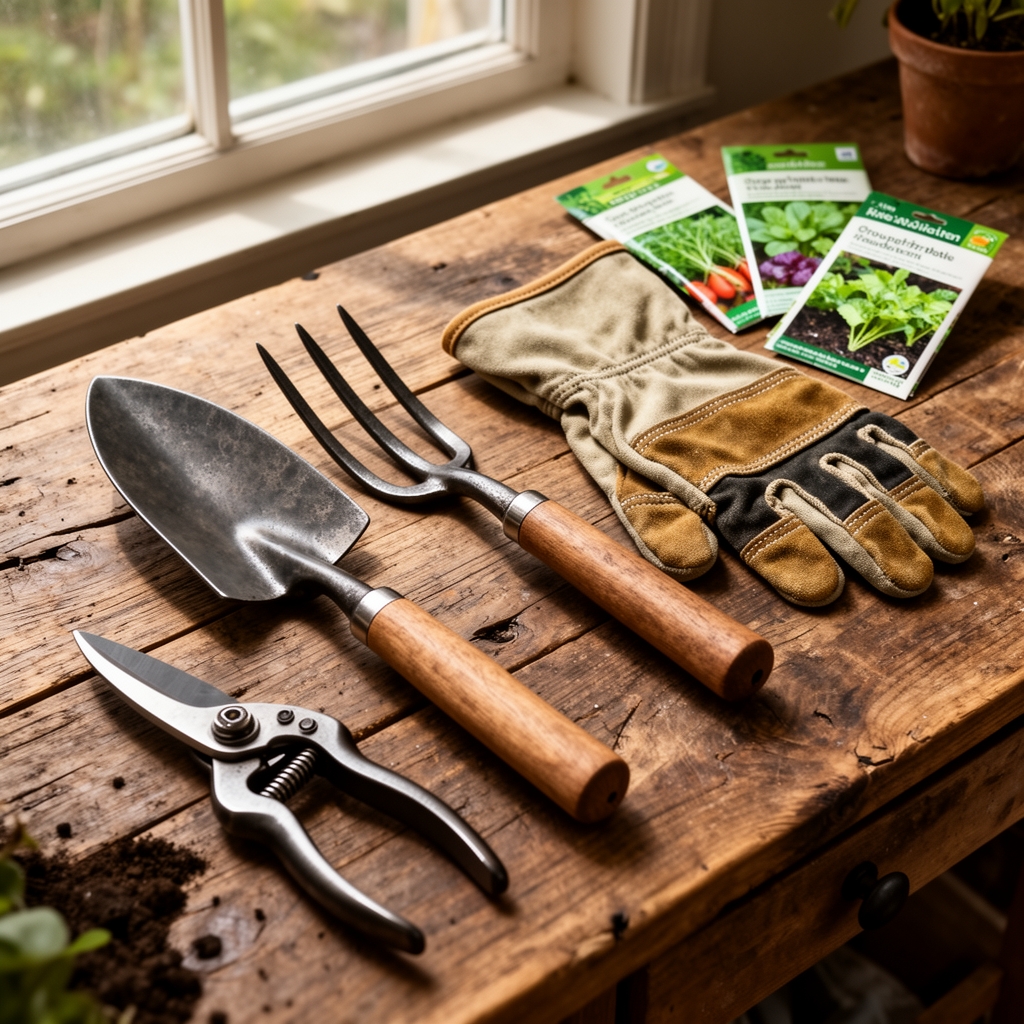
Select containers rated for constant submersion: food-grade polyethylene stock tanks (100–300 gallon capacity), glazed ceramic planters with sealed drainage holes, or pond liners (45-mil EPDM rubber minimum) installed in timber-framed beds. Avoid galvanized metal, which leaches zinc at toxic concentrations above pH 6.5.
Substrate selection hinges on crop type. For rooted aquatics like lotus and water spinach, blend 60% calcined clay (Turface or equivalent, cation exchange capacity 30–35 meq/100g), 30% composted pine bark fines, and 10% worm castings to achieve a stable medium that resists compaction under water. This mix delivers an NPK ratio near 2-1-1 with slow mineralization. For floating species such as water lettuce, no substrate is required; instead, prepare a liquid feed at 5-10-5 with chelated micronutrients (iron EDDHA at 2 ppm, manganese sulfate at 0.5 ppm).
Maintain pH between 6.0 and 7.0 for most water vegetables. Buffer low-pH sources with dolomitic lime at 2 tablespoons per cubic foot of substrate. Test total dissolved solids weekly with a calibrated TDS meter; target 400–800 ppm for leafy greens, 200–400 ppm for delicate herbs.
Aeration equipment is non-negotiable. Install one 4-watt diaphragm air pump per 50 gallons of water volume, paired with ceramic air stones to maintain dissolved oxygen above 6 mg/L. Stagnant water triggers anaerobic decomposition, driving pH below 5.5 and releasing hydrogen sulfide.
Timing
Hardiness zones govern outdoor water garden establishment. In zones 7–11, initiate setup from late March through early May, after the final frost date when ambient water temperatures stabilize above 55°F. Cold-sensitive species like water spinach (Ipomoea aquatica) abort growth below 60°F; delay transplanting until soil and water temps reach 65°F at dawn.
Zones 3–6 require season extension. Deploy water garden containers in late May or early June. Consider greenhouse enclosures or floating row covers to trap solar heat, raising water temperature 8–12°F above ambient air. In microclimates with fewer than 120 frost-free days, cultivate only fast-maturing varieties such as watercress (Nasturtium officinale), which reaches harvest size in 40–50 days.
Autumn plantings succeed in zones 8–10 from September through October. Shortening photoperiods trigger bolting in some aquatics; select day-neutral cultivars or provide supplemental lighting (14 hours minimum) to sustain vegetative growth.
Phases
Sowing: Germinate seeds of water celery and water spinach in shallow trays filled with 1 inch of moistened seed-starting mix (peat-perlite blend at 1:1). Surface-sow or cover lightly with vermiculite to depths not exceeding twice the seed diameter. Maintain substrate temperature at 70–75°F using heating mats. Expect emergence in 5–10 days. Introduce mycorrhizal fungi inoculum (Glomus species) at 1 gram per 4-inch pot during transplanting to enhance phosphorus uptake in low-oxygen root zones.
Pro-Tip: Soak hard-coated lotus seeds by scarifying with a file or sandpaper on the flat end opposite the dimple, then submerge in room-temperature water for 48 hours to triple germination rates.
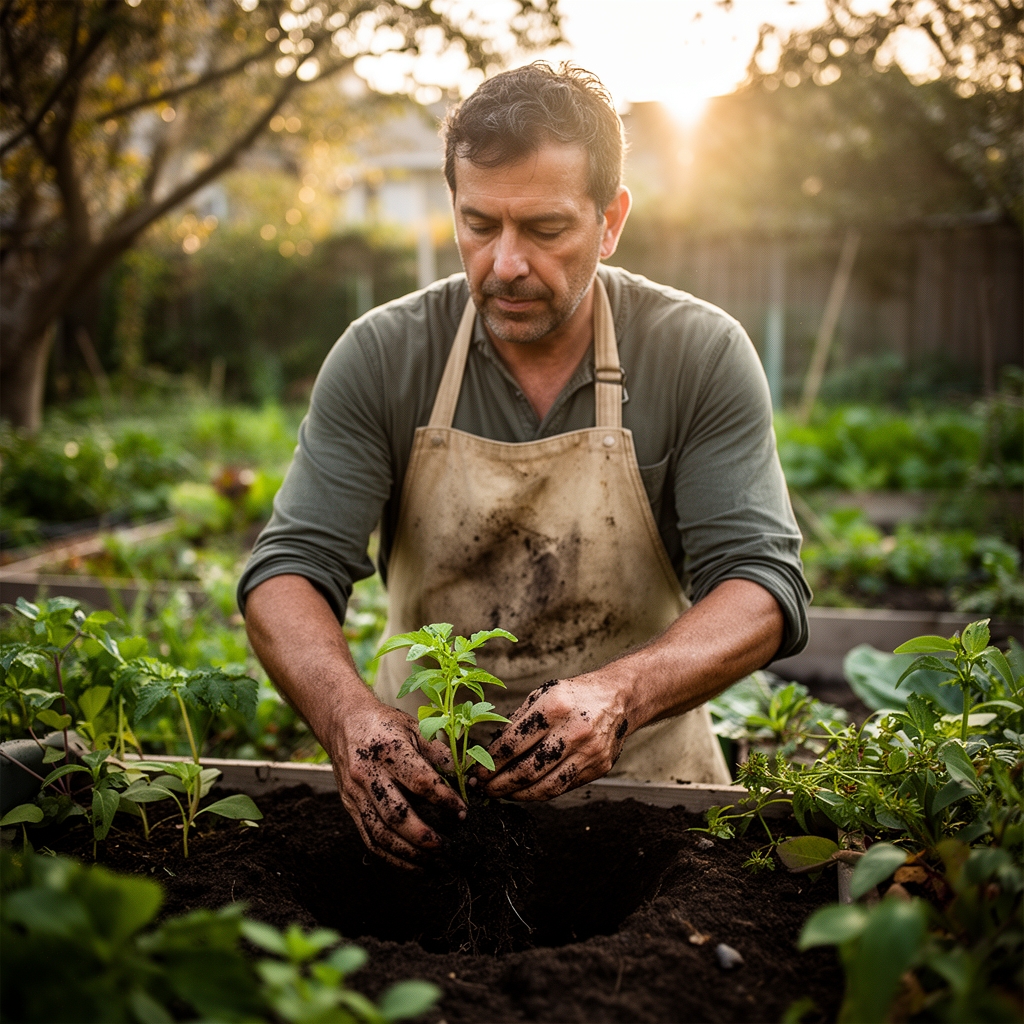
Transplanting: Move seedlings to water containers when they develop two to three true leaves and roots extend 2–3 inches. Plant rooted cuttings of watercress or Vietnamese coriander directly into substrate-filled mesh pots (6-inch diameter), setting crowns level with the substrate surface. Submerge pots so water depth above the substrate surface measures 2–4 inches for emergent species, 6–12 inches for deep-water types like taro.
Pro-Tip: Trim root tips at a 45-degree angle with sterilized shears before planting to stimulate lateral root proliferation and increase auxin distribution to new growth points.
Establishing: Introduce beneficial bacteria (Bacillus subtilis, Pseudomonas fluorescens) at 10^6 CFU per gallon during the first week to colonize root surfaces and outcompete pathogenic fungi. Monitor water clarity; pea-soup turbidity indicates excess nutrients. Reduce feeding by 50% and introduce freshwater snails (Pomacea bridgesii) at 1 per 10 gallons to graze on algae without damaging crops.
Pro-Tip: Apply foliar kelp extract (0-0-1 with 2% soluble potash) at 1 tablespoon per gallon every 14 days to boost stress tolerance during heat waves above 90°F.
Troubleshooting
Symptom: Yellowing leaves with green veins (interveinal chlorosis) appearing first on new growth.
Solution: Iron deficiency caused by pH above 7.5. Lower pH to 6.5 using chelated citric acid at 1 teaspoon per 10 gallons. Foliar-spray iron EDDHA at 1 gram per gallon.
Symptom: Brown, crispy leaf margins and stunted growth.
Solution: Potassium deficiency common in low-CEC substrates. Side-dress with langbeinite (0-0-22) at 1 tablespoon per square foot of substrate surface or dissolve potassium sulfate in water at 1 teaspoon per 5 gallons.
Symptom: Slimy, foul-smelling roots with black discoloration.
Solution: Pythium root rot from inadequate aeration. Increase air pump capacity, raise containers to improve circulation, and drench substrate with hydrogen peroxide at 3% concentration (1 cup per 5 gallons).
Symptom: Pinhole damage on leaves; small beetles visible.
Solution: Flea beetles (Phyllotreta spp.). Apply spinosad (organic OMRI-listed insecticide) at labeled rates in early morning when beetles are sluggish. Install floating row covers to exclude adults.
Symptom: White cottony masses at leaf axils.
Solution: Mealybug infestation. Dab with isopropyl alcohol on cotton swabs or spray insecticidal soap at 2% concentration weekly until eliminated.
Maintenance
Apply water-soluble fertilizer every 7–10 days at half the labeled rate to prevent salt accumulation. Maintain electrical conductivity between 1.0 and 2.0 mS/cm using a conductivity meter. Replace 25% of water volume every two weeks to flush metabolic byproducts and replenish trace elements.
Prune spent leaves and stems at the node junction to redirect energy toward productive growth. Watercress benefits from aggressive trimming; cut back by one-third every three weeks to prevent flowering and maintain tender shoots.
Monitor water temperature with a submersible thermometer. Temperatures exceeding 85°F stress most aquatic vegetables and reduce dissolved oxygen. Shade containers with 30–50% shade cloth during afternoon heat or add frozen water bottles to large systems.
Check pH and TDS every three days. Record readings in a garden log to identify trends. Sudden pH swings indicate decomposition events; remove decaying plant matter immediately.
FAQ
How deep should water be for taro?
Maintain 8–12 inches above the substrate surface. Taro (Colocasia esculenta) thrives in deeper water than most aquatics, with corms developing optimally when submerged but leaves emergent.
Can I use tap water without treatment?
Only if chlorine and chloramine levels are below 0.5 ppm. Municipal water often contains 2–4 ppm chlorine, which kills beneficial bacteria. Dechlorinate with sodium thiosulfate (1 teaspoon per 100 gallons) or let water stand for 48 hours in open containers.
When do I harvest watercress?
Begin cutting 40 days after transplanting when stems reach 6–8 inches. Harvest the top 4 inches, leaving lower nodes intact to resprout. Yields continue for 8–12 weeks under optimal conditions.
What causes foam on the water surface?
Foam indicates high dissolved organic carbon from decomposing roots or overfeeding. Skim manually, reduce fertilizer by 50%, and perform a 50% water change. Add a surface skimmer if foam persists.
Why are my lotus leaves turning brown?
Either wind damage or insufficient water depth. Lotus leaves act as sails; stake or shelter plants in exposed locations. Ensure tubers sit 6–10 inches below the water surface to prevent crown desiccation.