8 Light-Need Steps for Repotting a Parlor Palm
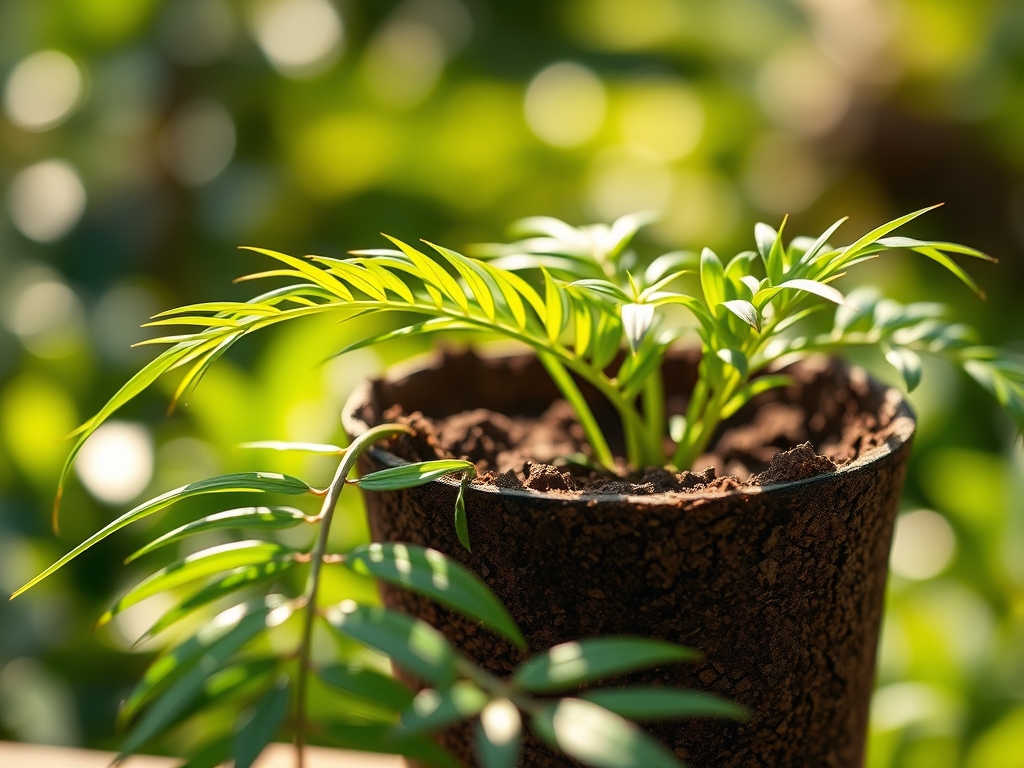
Damp peat moss releases a sharp, earthy scent that signals a successful transition for Chamaedorea elegans. A healthy specimen maintains high turgor pressure within its pinnate leaves, presenting a stiff, upright posture rather than a drooping silhouette. Mastering the steps for repotting a parlor palm requires an understanding of the delicate root system and its specific atmospheric needs. This slow growing species often remains in the same container for several years; however, when the roots begin to circle the interior perimeter, the plant enters a state of restricted growth. You must intervene before the substrate becomes hydrophobic or the Cation Exchange Capacity (CEC) of the old soil collapses. Proper repotting ensures the rhizosphere remains oxygenated and capable of nutrient uptake. This guide provides the technical framework to move your palm into a larger vessel without triggering transplant shock or root senescence. Precision in timing and substrate composition is the difference between a thriving understory specimen and a failing one.
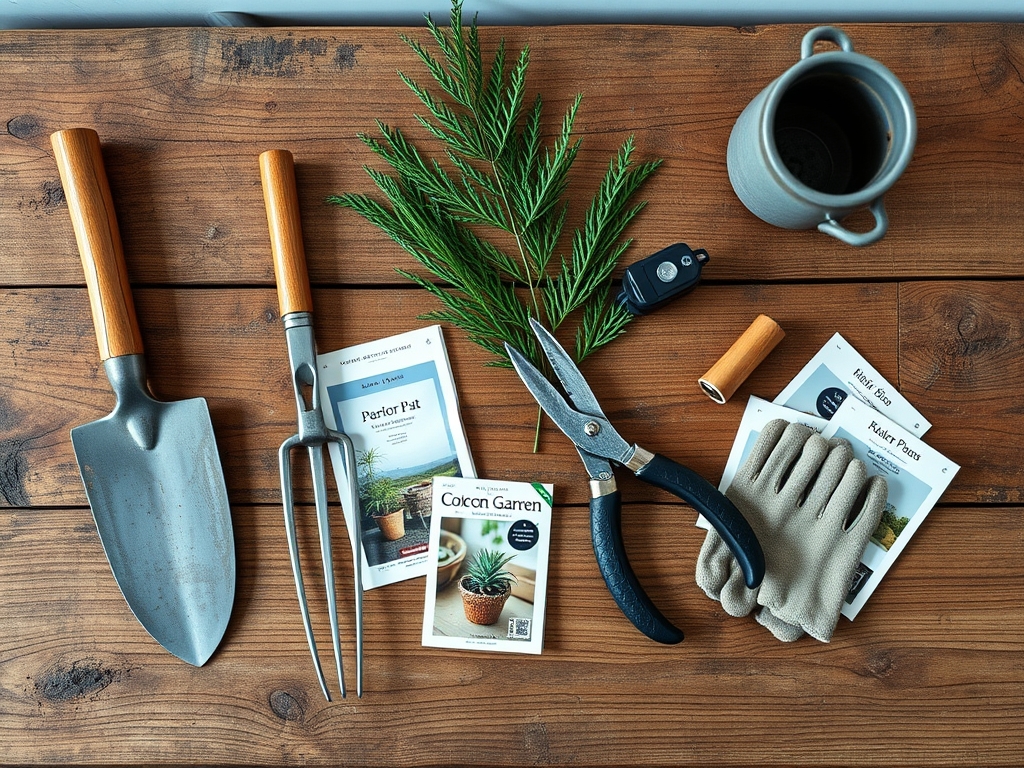
Materials:
The ideal substrate for Chamaedorea elegans is a friable loam that balances moisture retention with rapid drainage. You must target a soil pH between **5.5 and 7.5** to ensure micronutrient availability. Parlor palms are sensitive to high salt concentrations, so avoid heavy synthetic fertilizers during the initial potting phase.
- Substrate Blend: Mix two parts peat moss or coconut coir, one part pine bark fines, and one part coarse perlite. This creates a porous medium that prevents anaerobic conditions.
- NPK Ratios: Use a slow release fertilizer with an NPK ratio of 3-1-2 or 2-1-2. Nitrogen (N) supports the development of dark green fronds, while Potassium (K) regulates stomatal opening and water retention.
- Container: Select a pot only 1 to 2 inches wider than the current one. Use a vessel with multiple drainage holes to prevent perched water tables.
- Water Source: Use distilled or filtered water. These palms are sensitive to fluoride and chlorine commonly found in municipal tap water.
Timing:
The biological clock of the parlor palm is tied to light intensity and ambient temperature. While usually grown indoors, these plants follow a seasonal rhythm. The optimal window for repotting is during the early spring or summer months when the plant enters its active vegetative stage. In USDA Hardiness Zones 10 through 12, these palms can grow outdoors, but most specimens are kept in controlled environments between 65 and 80 degrees Fahrenheit.
Avoid repotting during the winter dormancy period. During this time, the metabolic rate of the plant slows, and root regeneration is sluggish. If you disturb the roots when the plant is not actively growing, you risk fungal pathogens colonizing the damaged tissue before the plant can heal. Monitor the root tips; if you see white, fleshy growth, the plant is in an active state and ready for a larger container.
Phases:
Sowing and Preparation
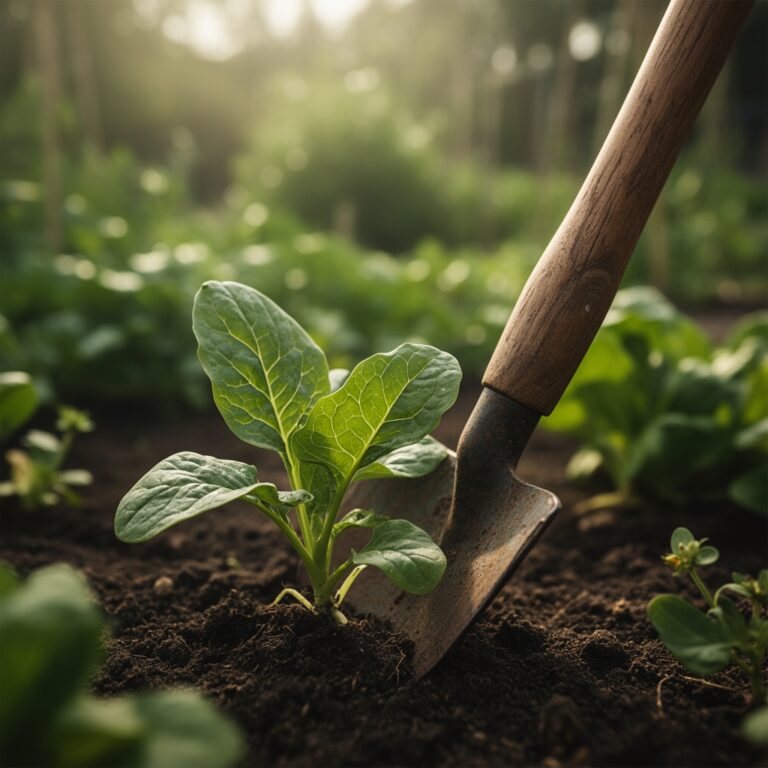
Before removing the palm from its current container, hydrate the plant thoroughly 24 hours in advance. This increases the turgor pressure in the cells and makes the roots more flexible. Sanitize your tools, including your hori-hori knife and bypass pruners, using a 10 percent bleach solution or isopropyl alcohol to prevent the spread of soil-borne pathogens.
Pro-Tip: Pre-moistening the substrate ensures that the fine root hairs do not suffer from immediate desiccation. This maintains the mycorrhizal symbiosis between the roots and beneficial soil fungi, which is essential for phosphorus uptake.
Transplanting
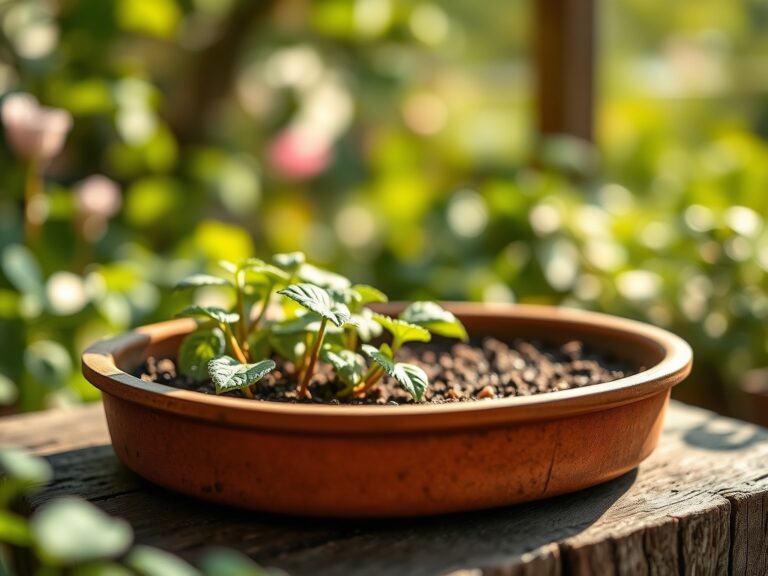
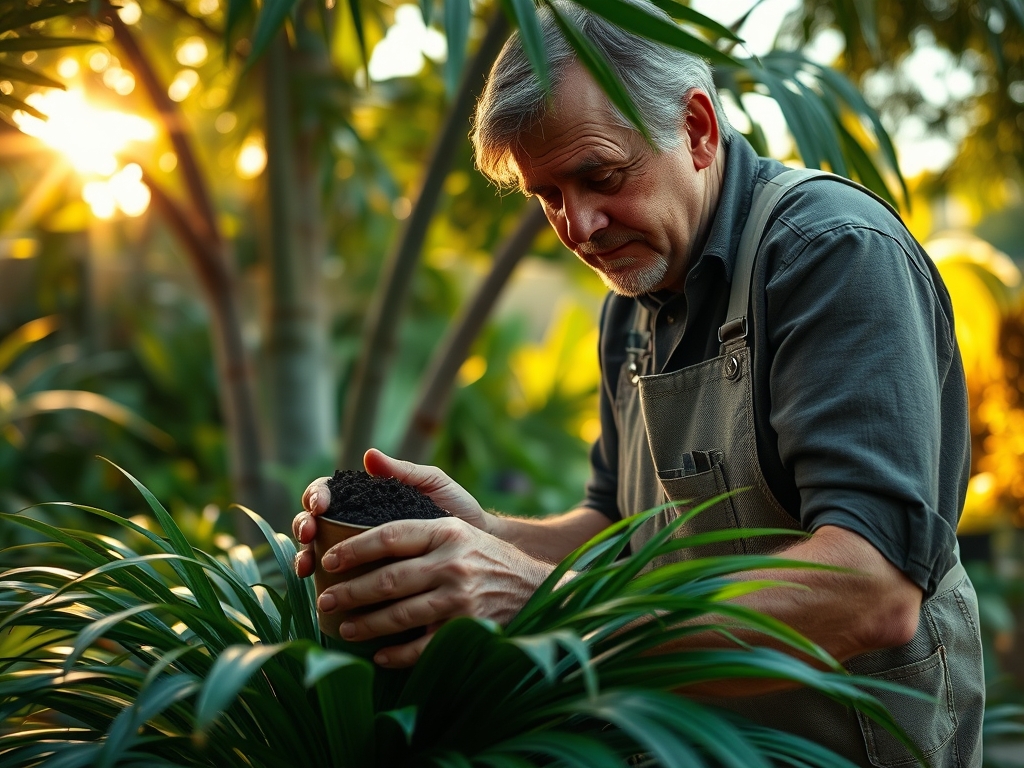
Grasp the base of the palm stems firmly and invert the pot. If the plant is stuck, slide a thin blade around the interior edge to break the suction. Once removed, inspect the root ball. Do not aggressively tease the roots; parlor palms have a brittle root system that does not respond well to disturbance. If the roots are tightly bound, gently loosen only the outer half inch of the mass. Place the palm in the new container, ensuring the top of the root ball sits 0.5 inches below the rim of the pot.
Pro-Tip: Maintaining the original soil line is critical. Planting the palm too deep can lead to stem rot, as the base of the plant is not adapted to constant moisture. This prevents the suppression of auxin transport, which is necessary for apical dominance and vertical growth.
Establishing
Fill the gaps around the root ball with your prepared substrate. Press down lightly with your fingers to remove large air pockets, but do not compress the soil. Over-compaction reduces the pore space, limiting the oxygen available to the roots for cellular respiration. Water the plant until liquid flows freely from the drainage holes to settle the soil.
Pro-Tip: Place the newly repotted palm in a location with filtered light. Avoiding direct sunlight for the first 14 days prevents photoinhibition, allowing the plant to redirect energy from photosynthesis toward root repair and establishment in the new medium.
The Clinic:
Physiological disorders in parlor palms often manifest in the foliage. Use the following data to diagnose and treat common issues.
- Symptom: Brown, crispy leaf tips.
Solution: This indicates low humidity or fluoride toxicity. Increase ambient humidity to 50 percent or higher and switch to distilled water. - Symptom: Yellowing of lower leaves (Nitrogen Chlorosis).
Solution: Apply a liquid fertilizer with a 3-1-2 NPK ratio at half strength. Nitrogen is a mobile nutrient; the plant pulls it from older leaves to support new growth when soil levels are depleted. - Symptom: Soft, blackened stem bases.
Solution: This is a sign of Pythium root rot caused by overwatering. Reduce irrigation frequency and ensure the substrate pH has not dropped below 5.5. - Symptom: White, crusty buildup on soil surface.
Solution: These are accumulated mineral salts. Leach the soil by running a volume of water equal to three times the pot volume through the substrate.
Maintenance:
Precision in maintenance prevents the need for frequent repotting. Use a soil moisture meter to monitor the substrate; water when the top 1 to 2 inches of soil feel dry to the touch. In a standard indoor environment, this typically equates to approximately 1 cup of water per gallon of soil every 7 to 10 days.
Pruning should be minimal. Use bypass pruners to remove only completely brown fronds. Do not cut into green tissue, as the parlor palm cannot heal wounds on its trunk like a hardwood tree. If you notice dust accumulation, wipe the fronds with a damp cloth. This ensures the stomata remain unobstructed, allowing for efficient gas exchange and transpiration.
The Yield:
While the parlor palm is not an edible crop, its "yield" is measured in biomass and air filtration efficiency. To maximize the aesthetic and functional output, maintain a consistent photoperiod of 12 to 14 hours of indirect light. If the palm produces small, yellow flower clusters, you may choose to remove them with a hori-hori knife to redirect energy back into leaf production. For those wishing to keep the seeds, allow the fruit to turn black before harvesting, though germination rates in home environments are statistically low.
FAQ:
How do I know when to repot my parlor palm?
Repot when roots emerge from drainage holes or the plant requires daily watering. Growth stagnation and water sitting on the soil surface also indicate the plant is root bound and the substrate has lost its structural integrity.
What is the best soil for a parlor palm?
Use a well draining, peat based potting mix with a pH of 5.5 to 7.5. Incorporate perlite or coarse sand to ensure a high oxygen diffusion rate within the rhizosphere, preventing root rot and anaerobic conditions.
Can I use a much larger pot to save time?
No. A pot that is too large holds excess moisture that the small root system cannot absorb. This leads to "sour soil" and fungal infections. Increase the pot size by only 1 to 2 inches in diameter.
Why are my palm leaves turning yellow after repotting?
This is often transplant shock or Nitrogen deficiency. Ensure the palm is in indirect light and maintain consistent moisture. If yellowing persists on old growth, apply a balanced, water soluble fertilizer at half strength to restore nutrient levels.