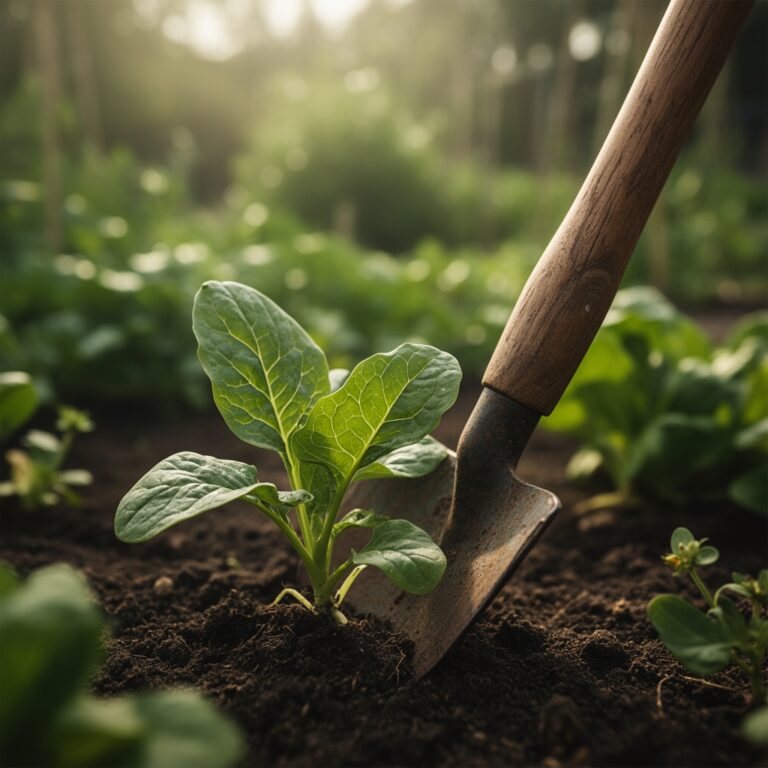
6 Moisture Steps to Treat Indoor Plant Edema Safely
Indoor plant leaves develop raised, blister-like bumps when cells absorb water faster than transpiration can release it. These corky lesions appear first on lower foliage, spreading upward as cellular rupture becomes systemic. Steps for treating edema in indoor plants require precise moisture management, environmental calibration, and strategic intervention to restore transpiration equilibrium without shocking sensitive root systems. This physiological disorder affects succulents, geraniums, and tropical species with particular severity during winter months when indoor humidity spikes and light levels drop.
Materials
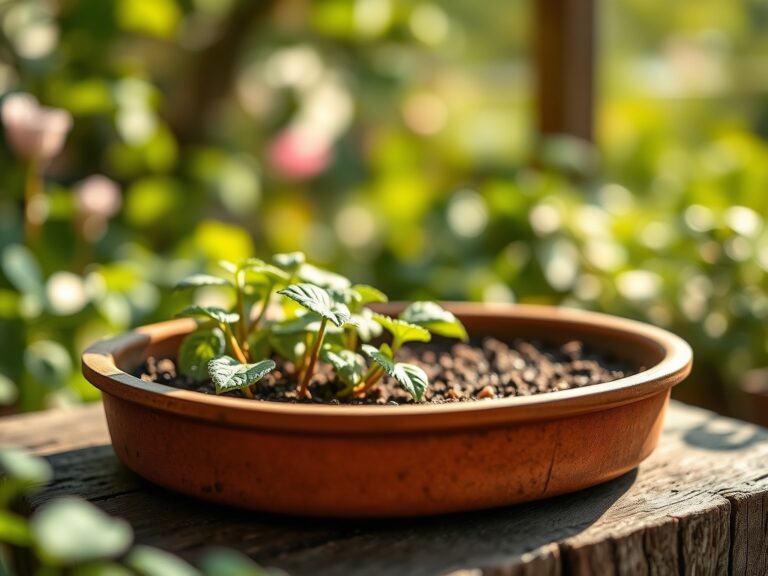
Assemble tools that address both symptom and cause. A moisture meter with a 6-inch probe reads volumetric water content at root zone depth, eliminating guesswork. Digital hygrometers track ambient humidity between 40-50%, the optimal range for most indoor species. Terracotta pots with 0.5-inch drainage holes accelerate evaporation through porous sidewalls, reducing substrate saturation by 30% compared to glazed ceramic.
Substrate amendments restore drainage capacity. Perlite graded at 3-6mm diameter improves aeration when mixed at 25% by volume. Coarse sand with particle size 1-2mm lowers water retention while maintaining cation exchange capacity above 8 meq/100g. Activated charcoal fragments absorb excess moisture and filter dissolved salts that accumulate during reduced watering cycles.
Nutritional adjustments prevent stress-related edema. Apply kelp extract at 1 tablespoon per gallon weekly to supply cytokinins that regulate cell expansion. Calcium amendments at 2-4-3 NPK ratios strengthen cell walls, particularly important for succulents where epidermal integrity prevents rupture. Avoid high-nitrogen formulations above 10-5-5 during recovery, as excessive vegetative growth outpaces vascular development.
Timing
Indoor edema peaks between November and February when heating systems reduce relative humidity below 30% while shortened photoperiods limit transpiration. Southern exposure windowsills register 4-6 hours of direct winter sun, insufficient for plants requiring 12+ hours during active growth. Hardiness zones become irrelevant indoors, but circadian rhythm disruption mimics the stress of a two-zone shift.
Begin treatment at first symptom appearance. Delaying intervention by 10-14 days allows secondary infections through compromised epidermal tissue. Fungal pathogens colonize ruptured cells within 72 hours under stagnant air conditions. Temperature differentials between day and night should maintain 10-15°F variance to drive natural moisture cycling through stomatal regulation.
Phases

Immediate Cessation: Suspend all irrigation for 7-10 days depending on pot size and substrate composition. A 6-inch pot with standard potting mix requires 9 days to reach 30% moisture content from saturation. Insert the moisture meter daily at 4-inch depth; resume watering only when readings drop to 25-30%. Remove saucers and cache pots that trap drainage water. Elevate containers on 0.5-inch risers to promote airflow beneath pot bases.
Pro-Tip: Tilt pots 15 degrees against a support for 24 hours immediately after symptom discovery. Gravity redistributes water away from root crown zones where edema originates.
Environmental Recalibration: Increase air circulation to 50-100 cubic feet per minute using oscillating fans positioned 4-6 feet from foliage. Direct airflow prevents desiccation damage to leaf margins while accelerating evapotranspiration through boundary layer disruption. Raise ambient temperature 5-7°F during daylight hours to boost vapor pressure deficit, the driving force behind water movement from roots to atmosphere.
Supplement natural light with full-spectrum LEDs delivering 200-400 foot-candles at canopy level for 14 hours daily. Photosynthetically active radiation between 400-700nm powers transpiration through stomatal opening triggered by blue light wavelengths. Position fixtures 12-18 inches above foliage depending on heat output and species tolerance.
Pro-Tip: Apply mycorrhizal fungi inoculant at 1 teaspoon per 4-inch pot diameter during substrate drying phase. Glomus intraradices species colonize roots within 14 days, improving water uptake efficiency by 40% through expanded hyphal networks.
Gradual Rehydration: Resume irrigation at 50% previous volume for three cycles. Water volume for a 6-inch pot reduces from 12 ounces to 6 ounces per session. Extend intervals from every 4 days to every 7 days, monitoring turgidity in newest growth. Apply water at soil level using a watering wand with a 0.25-inch diameter spout to avoid foliar contact.
Test substrate drainage velocity by measuring percolation time. Water should exit drainage holes within 30-45 seconds of application. Slower rates indicate compaction or hydrophobic peat requiring substrate replacement. Add auxin-rich willow water at 1:10 dilution to stimulate new root hair development that regulates moisture uptake more precisely than mature root systems.
Pro-Tip: Prune affected leaves at 45-degree angles 0.25 inches above the nearest node. Sterilize shears with 70% isopropyl alcohol between cuts to prevent pathogen transmission through sap contact.
Troubleshooting
Symptom: Brown, corky scabs spread despite reduced watering.
Solution: Secondary bacterial infection present. Apply copper fungicide at 0.5% concentration to affected areas. Isolate plant for 14 days and reduce humidity below 40%.
Symptom: New growth emerges pale and elongated.
Solution: Insufficient light during recovery causes etiolation. Increase supplemental lighting to 400 foot-candles minimum. Reduce nitrogen inputs by 50% until chlorophyll density normalizes.
Symptom: Lower leaves yellow and drop while edema persists.
Solution: Root rot compounds moisture imbalance. Unpot plant and inspect for black, mushy roots. Remove damaged tissue with sterile scissors. Repot in fresh substrate with 30% perlite content.
Symptom: White crystalline deposits form on soil surface.
Solution: Salt accumulation from hard water or over-fertilization. Leach substrate with distilled water at triple pot volume. Switch to rainwater or reverse osmosis water with TDS below 150 ppm.
Maintenance
Water when substrate moisture reads 30% at root depth, typically every 7-10 days for established plants. Apply 8-10 ounces per 6-inch pot until 10% drains from bottom holes. Morning irrigation between 6-9 AM allows excess moisture to evaporate during peak light hours.
Maintain relative humidity at 45-50% using ultrasonic humidifiers positioned 3-4 feet from plant clusters. Clean reservoirs weekly with white vinegar to prevent bacterial biofilm. Test substrate pH monthly; maintain 6.0-6.5 range for optimal nutrient availability and cell wall development.
Fertilize at half-strength every 3-4 weeks with balanced formulations between 5-5-5 and 8-8-8 NPK ratios. Reduce frequency to every 6 weeks during November through February when growth rates drop 60-70%. Rotate containers 90 degrees weekly to ensure even light exposure and prevent phototropic lean that stresses vascular transport.
FAQ
How long does edema recovery take?
Complete recovery requires 4-6 weeks as new foliage replaces damaged leaves. Environmental corrections prevent recurrence within one growth cycle.
Can I remove all affected leaves immediately?
Remove only leaves with 60%+ damage. Retain partially affected foliage to maintain photosynthetic capacity during recovery. Gradual pruning over 3 weeks prevents shock.
Does edema spread between plants?
No. Edema results from physiological stress, not pathogens. However, similar environmental conditions affect multiple specimens simultaneously. Adjust care for all plants in the affected space.
Should I repot plants with edema?
Repot only if root inspection reveals decay or if substrate drainage fails the 45-second percolation test. Otherwise, substrate disturbance adds transplant stress during recovery.
Will edema scars disappear?
Corky lesions remain permanent on affected leaves. Focus treatment on preventing new symptom development. Scarred foliage maintains partial function until natural senescence.