9 Steps to Prepare Your Yard for an Integrated Garden Light
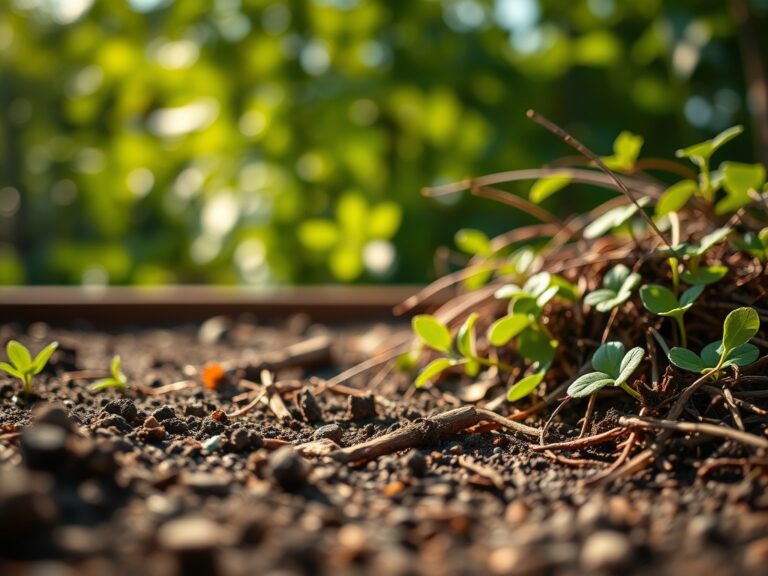
Crushed basalt and the sharp scent of damp humus signal a garden ready for technical intervention. When the turgor pressure in your perennials is high and the soil structure is stable, you have reached the ideal window for infrastructure upgrades. Learning how to prepare a garden for a light requires more than aesthetic placement; it demands an understanding of the rhizosphere and the physical impact of trenching on root systems. You must balance the electrical requirements of the fixture with the biological needs of the surrounding flora. Proper preparation ensures that the installation of low voltage wiring or solar anchors does not disrupt the delicate balance of soil microbes or cause unnecessary compaction in the root zone. A successful integration relies on precise depth measurements and a clear understanding of your site's specific drainage patterns.
Materials:

The substrate must be a **friable loam** with a **pH between 6.0 and 7.0** to prevent the corrosion of metal housing components. High acidity in the soil accelerates the oxidation of copper wiring and aluminum stakes. Ensure the area is treated with a balanced **10-10-10 NPK ratio** to support immediate root recovery post-disturbance. For heavy clay soils with a high Cation Exchange Capacity (CEC), incorporate organic matter to improve aeration. If your soil is sandy, a **5-10-15 NPK ratio** with higher potassium levels will help plants maintain cellular water pressure during the stress of installation. You will also need a **soil moisture meter** to calibrate the hydration levels before digging begins.
Timing:
Timing is dictated by the USDA Hardiness Zones and the biological clock of your specific cultivars. In Zones 5 through 7, the window for installation opens after the last spring frost when the soil temperature reaches a consistent 55 degrees Fahrenheit. This prevents working with frozen clods that damage delicate feeder roots. Avoid installation during the peak reproductive stage of your plants, as the transition from vegetative growth to flowering consumes significant metabolic energy. Perform the work during the early vegetative phase or late senescence to minimize the risk of transplant shock or stunted growth. Monitor the photoperiod; as days shorten, the plant's hormonal balance shifts toward dormancy, making it a safer time for structural changes.
Phases:

Sowing and Preparation
Clear a 12-inch radius around the intended light location. Remove all weeds and debris to prevent competition for nutrients during the recovery phase. If you are planting new specimens around the light, sow seeds at a depth three times their diameter.
Pro-Tip: Maintain soil porosity to encourage mycorrhizal symbiosis. These beneficial fungi extend the root system's reach, allowing the plant to recover faster after the soil has been disturbed by trenching.
Transplanting and Integration
When moving established plants to accommodate a light fixture, keep the root ball intact. Dig a hole twice as wide as the root system but no deeper than the original planting depth. This prevents crown rot and ensures the rhizosphere remains oxygenated.
Pro-Tip: Avoid excessive handling of the roots to prevent auxin suppression. Auxins are hormones that drive root elongation; if their production is disrupted, the plant will struggle to anchor itself near the new fixture.
Establishing the Site
Once the light is installed, backfill the trench with original soil to maintain consistent mineral density. Firm the soil gently with your hands to remove large air pockets without causing compaction. Apply a 2-inch layer of organic mulch to regulate soil temperature.
Pro-Tip: Position lights to avoid direct contact with foliage to prevent phototropism issues. If a light is too close, the plant may grow unevenly as it attempts to orient its leaves toward the artificial source rather than the sun.
The Clinic:
Physiological disorders often arise when the soil is disturbed for lighting projects. Use this diagnostic guide to monitor your garden's health:
- Nitrogen Chlorosis: Symptoms include the yellowing of older leaves while veins remain green. Fix-It: Apply a water-soluble fertilizer with a high first number (Nitrogen) to restore chlorophyll production.
- Root Desiccation: Symptoms include wilting despite moist soil, often caused by root exposure during digging. Fix-It: Prune back 20 percent of the leaf canopy to reduce the transpiration load on the damaged roots.
- Iron Deficiency: Symptoms show as interveinal chlorosis on new growth, common in high pH soils near concrete light bases. Fix-It: Apply chelated iron to the soil to lower the local pH and increase bioavailability.
- Leaf Scorch: Symptoms include brown, crispy edges on leaves closest to high-intensity bulbs. Fix-It: Increase the distance between the fixture and the plant or switch to low-heat LED bulbs.
Maintenance:
Precision is the hallmark of a professional garden. Provide 1.5 inches of water per week at the drip line, ensuring the moisture penetrates 6 to 8 inches deep. Use a soil moisture meter every three days to verify that the area around the light fixture is not collecting standing water, which can lead to anaerobic conditions. Use a hori-hori knife to sever any invasive roots that attempt to wrap around the underground conduit. Every spring, use bypass pruners to thin the canopy of nearby shrubs, ensuring light distribution remains consistent and the fixture does not become a harbor for fungal pathogens due to poor airflow.
The Yield:
For gardens featuring edible perennials or ornamental flowers near the light source, harvest during the "cool of the day" when turgor pressure is at its peak. This usually occurs between 6:00 AM and 8:00 AM. Use sharp, sterilized shears to make clean cuts at a 45-degree angle. For "day-one" freshness, immediately submerge the stems in 40-degree Fahrenheit water to slow down the rate of respiration and prevent wilting. If harvesting herbs, avoid taking more than one-third of the plant at a time to ensure it has enough leaf surface area to continue photosynthesis and support the energy needs of the root system.
FAQ:
How deep should I bury the light cables?
Bury low-voltage cables at least 6 inches deep to avoid damage from aeration or tilling. For high-voltage systems, local codes often require 18 inches of depth and the use of protective PVC or metal conduit.
Will artificial light disrupt my plants' growth cycles?
Most landscape lights lack the intensity to trigger a photoperiod response. However, avoid high-intensity floodlights on "short-day" plants like chrysanthemums, as constant light can inhibit their ability to produce flowers during the autumn months.
What is the best soil for a light base?
Use a well-draining sandy loam. This prevents water from pooling around the base of the fixture, which reduces the risk of electrical shorts and prevents the development of root rot in nearby ornamental plants.
How do I prevent soil compaction during installation?
Place plywood boards over the soil to distribute your weight while working. This protects the soil structure and prevents the collapse of macro-pores, ensuring that oxygen can still reach the rhizosphere of your garden plants.