7 Steps to Build a Practical Garden Patio in Your Yard
Crushed limestone grit and the smell of damp, anaerobic subsoil signal the beginning of a structural landscape shift. A well-constructed patio is more than a social space; it is a thermal mass that regulates the local microclimate of your yard. Understanding the technical steps for building a garden patio requires a focus on soil compaction and drainage physics to prevent shifting over time. Every square inch of the substrate must be engineered to withstand the hydrostatic pressure of the surrounding earth.
Success begins with a site analysis that accounts for the rhizosphere of nearby woody perennials. You must calculate the slope to ensure a minimum drop of one inch for every four feet of run. This prevents water pooling, which leads to root rot in adjacent garden beds and compromises the structural integrity of the patio base. By integrating the hardscape into the existing biological framework, you create a stable environment where both masonry and botany coexist. The following guide provides the mechanical and biological data required to execute this installation with professional precision.
Materials:
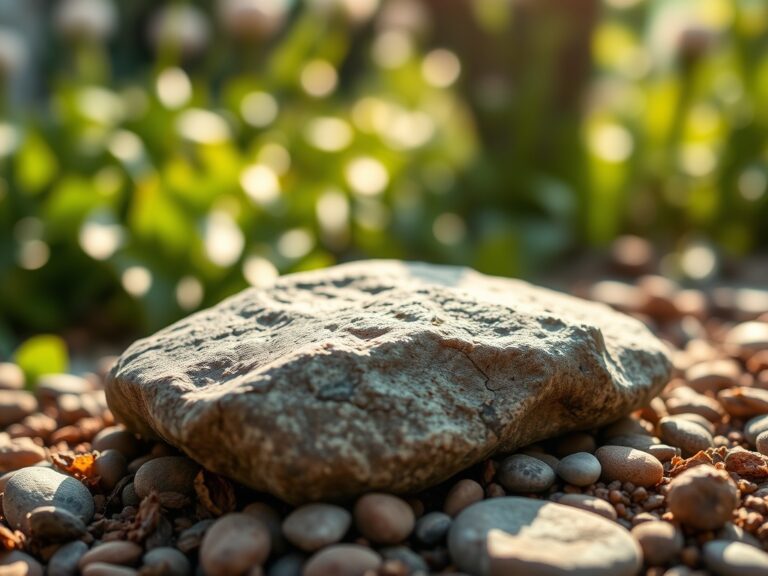
The foundation of a patio is a geological exercise. You require a base of **Class 5 crushed rock** or a similar well-graded aggregate that provides high Cation Exchange Capacity (CEC) if it interacts with surrounding soil. For the bedding layer, use coarse washed sand. Avoid fine play sand; it lacks the angularity needed for mechanical interlocking.
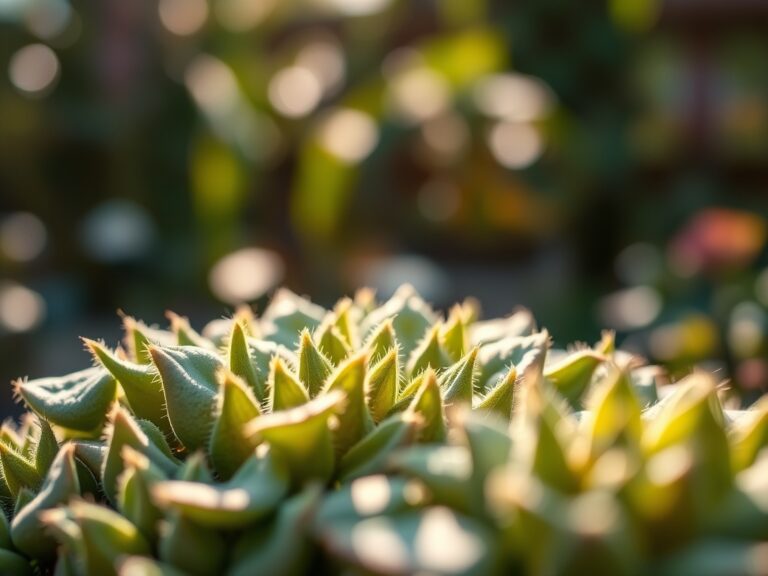
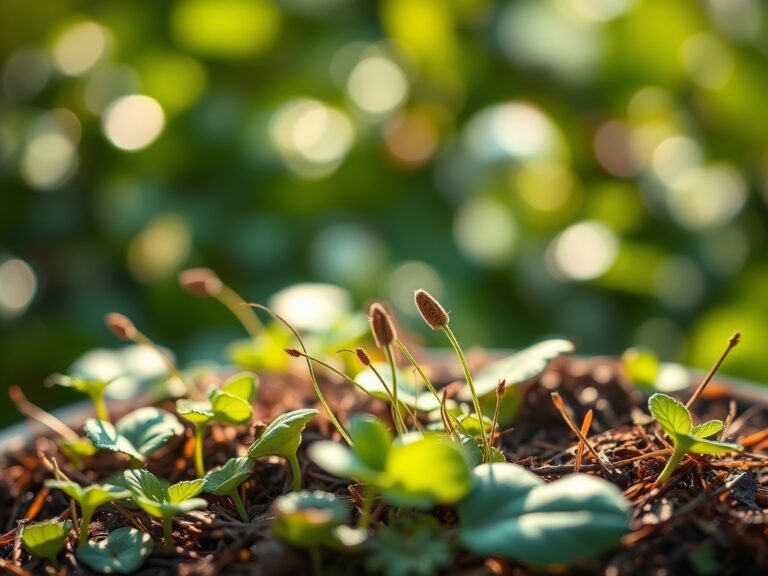
If you are planting within the patio gaps, the substrate must be a friable loam with a pH between 6.0 and 7.0. This range ensures maximum nutrient bioavailability. Incorporate a slow-release fertilizer with an NPK ratio of 5-10-5 into the planting pockets. High phosphorus encourages strong root establishment without forcing excessive succulent top growth that might be crushed by foot traffic. The physical texture should be granular enough to allow for rapid gas exchange in the root zone, preventing the buildup of carbon dioxide which can stifle cellular respiration in groundcovers.
Timing:
Installation should occur during the dormant season or early spring to avoid heat stress on surrounding vegetation. In Hardiness Zones 4 through 7, the ideal window is after the ground thaws but before the spring equinox. This timing aligns with the "Biological Clock" of the landscape; you want the heavy excavation completed before plants enter their high-growth vegetative stage.
Performing the work when the soil moisture is at field capacity (moist but not saturated) prevents the destruction of soil structure. If you compact saturated soil, you eliminate the macropores necessary for oxygen transport. Monitor the frost-date windows in your specific latitude; a sudden freeze-thaw cycle during construction can cause heaving in an uncompacted base. Aim for a soil temperature of at least 50 degrees Fahrenheit before attempting any supplemental planting in the patio perimeter.
Phases:

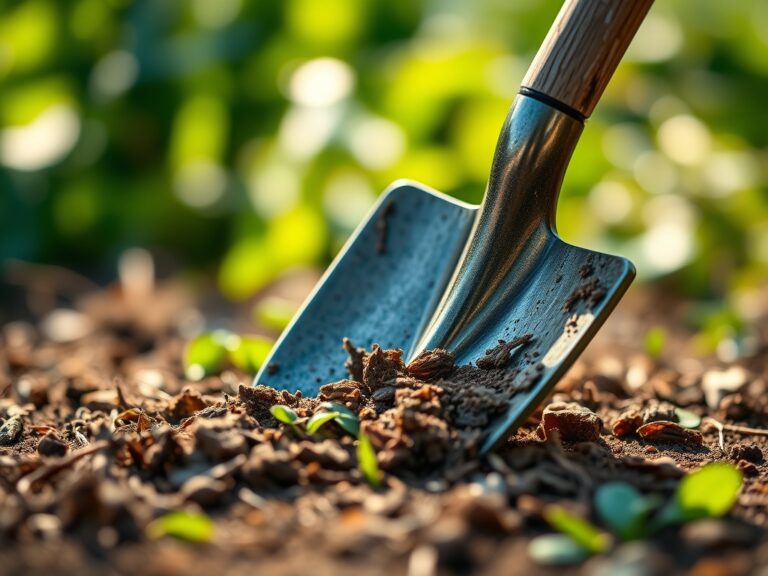
Sowing and Site Prep
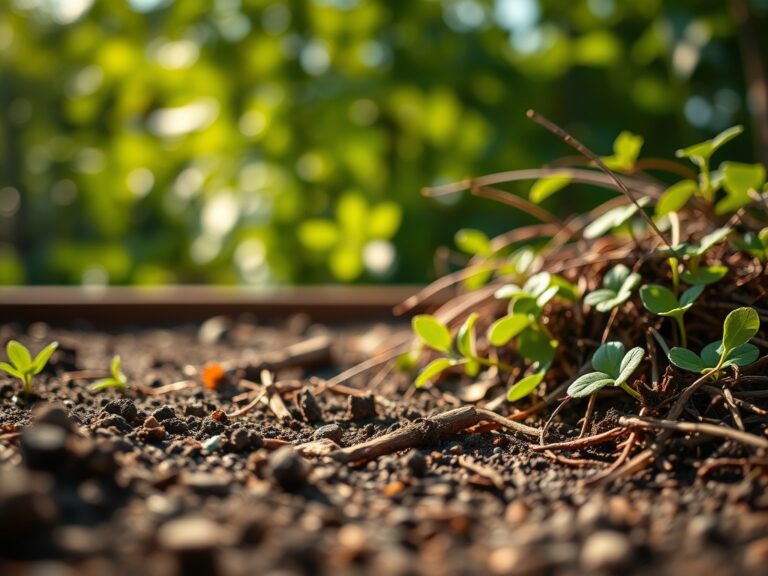
Excavate the area to a depth of 8 inches. This allows for 4 inches of compacted gravel, 1 inch of sand, and 3 inches of paver thickness. Remove all organic matter; decomposing roots create voids that lead to localized sinking. Use a plate compactor to reach 95 percent Proctor density.
Pro-Tip: Proper compaction prevents the disruption of mycorrhizal symbiosis in the surrounding garden. By stabilizing the soil, you ensure that the fungal networks connecting your plants remain intact rather than being sheared by shifting earth.
Transplanting and Leveling
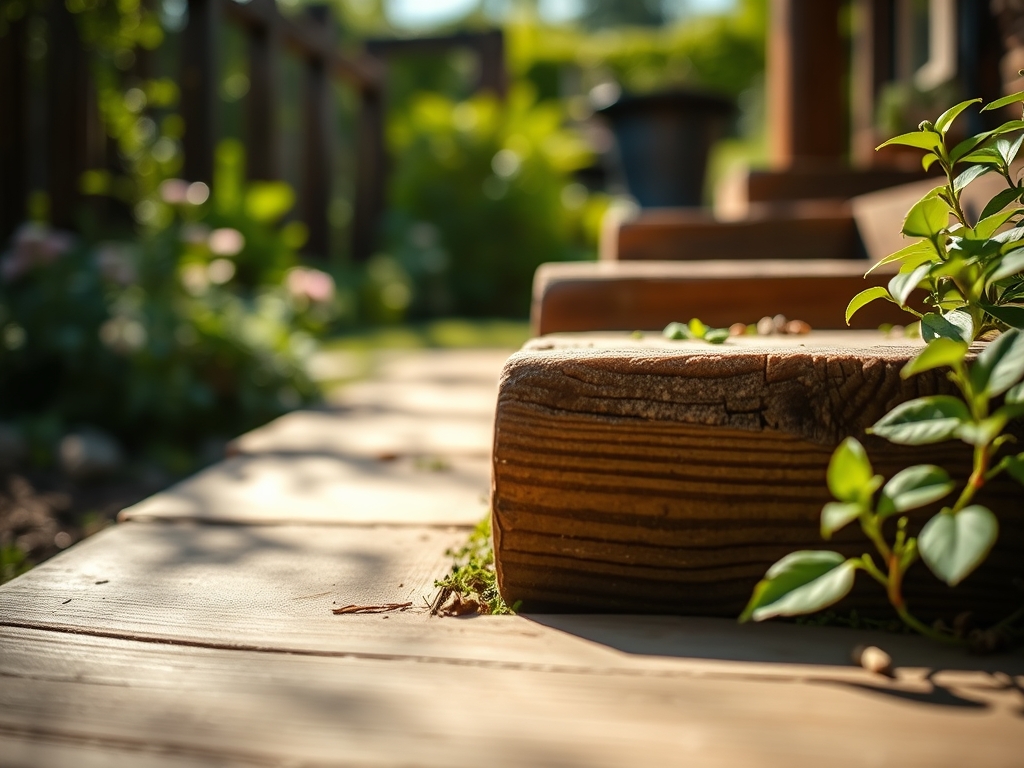
Lay your pavers starting from a straight edge. Maintain a 1/8-inch gap between units for polymeric sand or organic filler. Use a rubber mallet to set each stone, checking the pitch frequently with a four-foot level to ensure water moves away from the house foundation.
Pro-Tip: When placing plants in the margins, manage auxin suppression by avoiding heavy pruning of the central leader. Keeping the plant's natural hormonal balance helps it recover faster from the transplant shock associated with being moved into a new hardscape border.
Establishing the Border
Once the stones are set, fill the joints. If using "steppable" plants like Thymus praecox, ensure the root ball is slightly below the stone surface to protect the crown from mechanical damage. Water the entire area deeply to settle the sand.
Pro-Tip: Utilize the principle of phototropism when positioning larger peripheral plants. Ensure the patio does not cast a significant shadow over sun-dependent species, which would cause them to grow leggy and weak as they reach for the light.
The Clinic:
Physiological disorders in the patio garden often stem from the altered microclimate created by the stone's thermal mass.
- Symptom: Marginal leaf scorch on border plants.
Solution: Increase irrigation frequency. The stones absorb solar radiation and increase the transpiration rate of nearby foliage. - Symptom: Yellowing of young leaves with green veins (Interveinal Chlorosis).
Solution: This indicates an iron deficiency, often caused by high alkalinity leaching from concrete pavers. Apply chelated iron to lower the local pH. - Symptom: Nitrogen Chlorosis (general paling of older leaves).
Fix-It: Apply a water-soluble 20-20-20 fertilizer at half strength. The high drainage rate of patio sub-bases often leaches nitrogen faster than standard garden beds.
Maintenance:
Precision is the hallmark of a professional gardener. Use a soil moisture meter to ensure the root zone stays between 20 and 40 percent volumetric water content. Most patio-border plants require 1.5 inches of water per week delivered at the drip line.
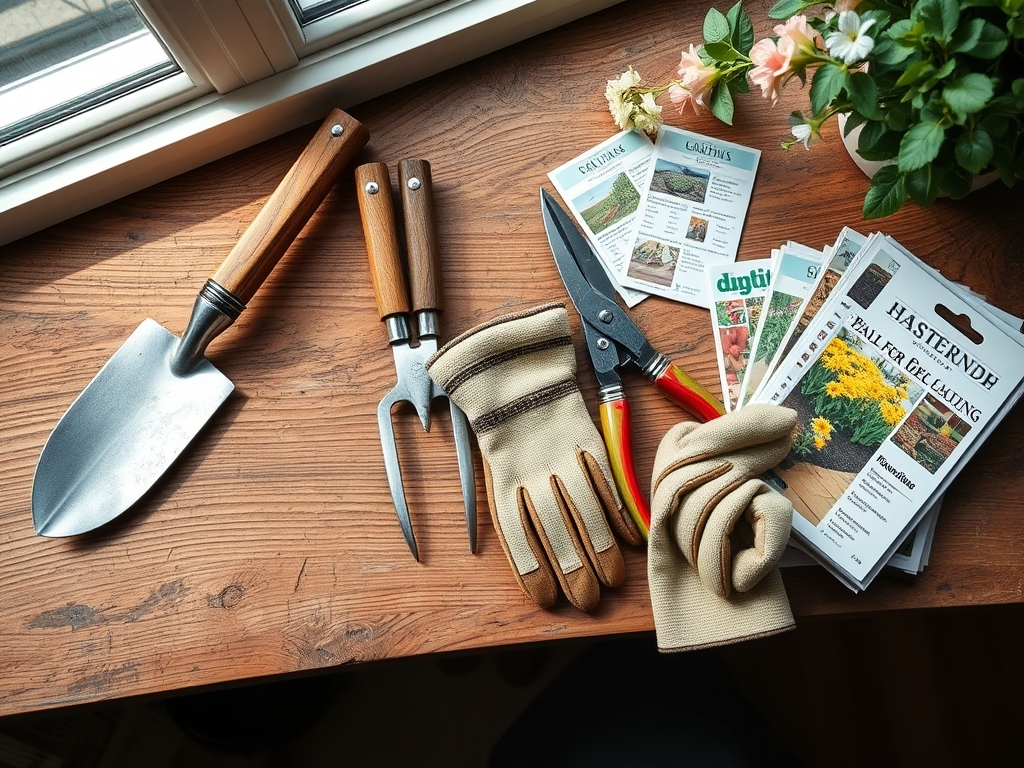
Keep a hori-hori knife sharpened for weeding between pavers; its serrated edge can cut through deep taproots that thrive in the cool, moist environment under the stones. Use bypass pruners for clean cuts on woody perennials to prevent the jagged edges that invite fungal pathogens. Check the integrity of the polymeric sand annually; if gaps appear, refill them to prevent weed seeds from reaching the mineral soil below.
The Yield:
If your patio includes an herb garden or edible borders, harvest during the "cool of the morning" when turgor pressure is at its peak. This ensures the cells are fully hydrated, extending the shelf life of the produce. For woody herbs like rosemary, never harvest more than one-third of the plant at once to avoid metabolic exhaustion. Use sterilized shears to make clean snips just above a node. To maintain "day-one" freshness, immediately plunge harvested stems into cool water to slow the rate of senescence and preserve volatile oils.
FAQ:
What is the best base material for a patio?
A compacted layer of Class 5 crushed stone provides the best structural support. It allows for drainage while maintaining the density required to support pavers without shifting during seasonal freeze-thaw cycles.
How do I prevent weeds between pavers?
Use polymeric sand in the joints. This material hardens when activated by water, creating a semi-permanent barrier that inhibits seed germination and prevents ants from excavating the bedding sand beneath the stones.
Can I build a patio over tree roots?
Excavating near trees can cause fatal damage to the root flare. If roots larger than two inches in diameter are encountered, you must adjust the patio height or location to avoid compromising the tree's structural stability.
How do I fix a sunken paver?
Remove the affected stone and add more bedding sand to the low spot. Level the sand, replace the paver, and use a rubber mallet to reset it to the correct height before refilling the joints with sand.