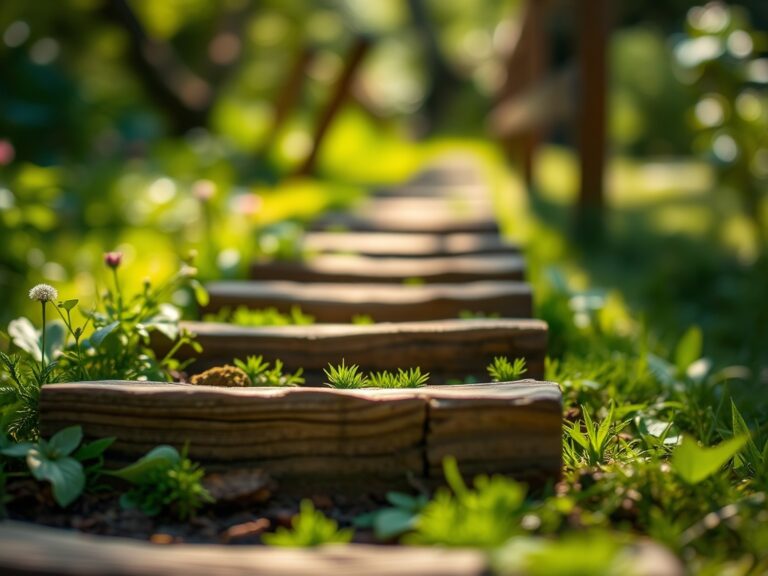
8 Best Versatile Bricks for Custom Yard Design
The smell of damp earth after a spring thaw signals the immediate need for structural integrity in the landscape. When the soil reaches a consistent 55 degrees Fahrenheit, its load-bearing capacity shifts as pore spaces fill with meltwater. Selecting the best bricks for yard design requires more than aesthetic preference; it demands an understanding of compressive strength and thermal expansion. A high-quality hardscape provides the necessary framework to manage water runoff and prevent soil compaction around sensitive root zones. Proper brick selection ensures that the structural boundaries of your garden beds maintain their geometry despite the relentless pressure of frost heave and microbial decomposition.
Materials:
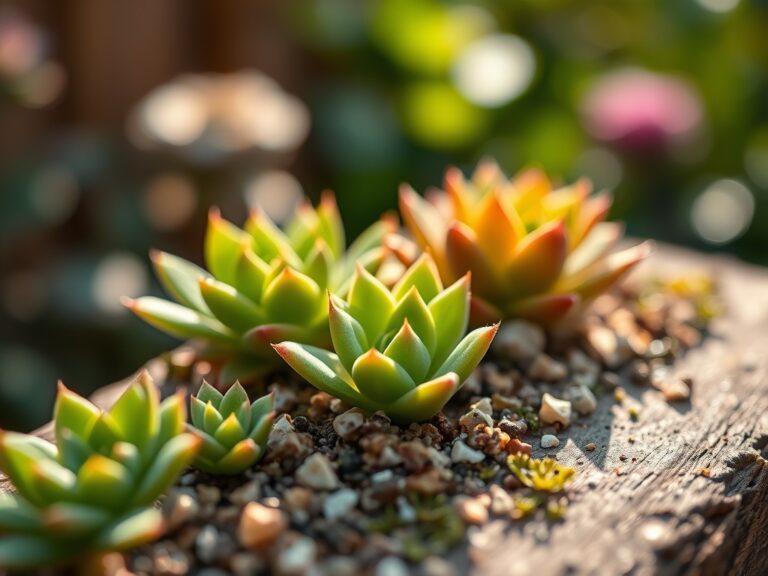
Before laying a single course, you must analyze the surrounding soil. For most ornamental and edible landscapes, aim for a **pH between 6.0 and 7.0**. High-fired clay bricks are chemically inert and will not leach lime into the rhizosphere, unlike concrete pavers which can raise pH levels over time. The ideal substrate for brick installation is a **friable loam** consisting of 40% sand, 40% silt, and 20% clay. This texture ensures adequate drainage while maintaining enough Cation Exchange Capacity (CEC) to hold essential nutrients.
If your yard design includes integrated planters, the soil within must be amended based on specific NPK ratios. For vegetative growth, a 10-10-10 balanced fertilizer is standard; however, for established perennials near brick borders, a 5-10-15 ratio encourages root development and stem strength without triggering excessive succulent growth that attracts pathogens. Ensure the base layer consists of 4 inches of compacted 3/4-minus crushed rock topped with 1 inch of coarse bedding sand.
Timing:
Hardscape installation and the subsequent planting must align with your specific USDA Hardiness Zone. In Zones 5 through 7, the primary window for brickwork opens after the final frost, typically between April and May. This timing prevents the unsettling of bricks due to ice crystals expanding in the sub-base. The biological clock of the garden dictates that structural work be completed before plants enter their rapid vegetative stage.
As the photoperiod increases, plants transition from dormancy to active growth. Installing the best bricks for yard design during the early spring allows the soil to settle before the high-heat demands of July. If you delay until the reproductive stage (flowering), the mechanical disturbance of the soil can cause significant transplant shock and flower drop. Aim for a soil temperature of at least 60 degrees Fahrenheit for optimal compaction of the base materials.
Phases:

Sowing and Site Prep
Excavate the area to a depth of 8 inches. This removes the O-horizon (organic matter) which is prone to decomposition and settling. Level the subgrade to a 2% slope away from structures to manage hydraulic pressure.
Pro-Tip: Maintaining a slight grade utilizes gravity to prevent anaerobic conditions in the soil. Excess water saturation in the rhizosphere displaces oxygen, leading to root asphyxiation and the proliferation of Pythium fungi.
Transplanting and Placement
When placing bricks, leave a 1/8-inch gap for polymeric sand. This allows for minor thermal expansion without cracking the units. If planting alongside the brick, ensure the root ball is set 1 inch above the surrounding grade to account for settling.
Pro-Tip: Use a hori-hori knife to score the root balls of pot-bound plants. This breaks apical dominance in the roots and stimulates lateral branching through the release of auxins, ensuring the plant integrates quickly with the native soil biology.
Establishing the Border
Once the bricks are set and the plants are in the ground, apply a 2-inch layer of organic mulch. This regulates soil temperature and prevents the brick surfaces from reflecting excessive heat onto the foliage, which can lead to leaf scorch.
Pro-Tip: Establishing a mycorrhizal symbiosis is critical during this phase. Avoid high-phosphorus fertilizers initially, as high P-levels can inhibit the colonization of beneficial fungi that extend the root system's reach for water and micronutrients.
The Clinic:
Physiological disorders often manifest at the intersection of hardscapes and biology. Observe the following symptoms to diagnose issues in your yard design.
Symptom: Interveinal chlorosis (yellow leaves with green veins) on new growth.
Solution: This indicates Iron (Fe) deficiency, often caused by high soil pH. If you used concrete bricks, the leaching lime might be the culprit.
Fix-It: Apply chelated iron and mulch with pine needles to gradually lower the pH to a range of 6.0 to 6.5.
Symptom: Marginal leaf burn or "scorching."
Solution: Thermal radiation from dark-colored bricks. Darker materials absorb more solar energy and radiate it back at night.
Fix-It: Increase irrigation frequency or select lighter-colored clay bricks to reduce the Albedo effect.
Symptom: Stunted growth and purplish tint on undersides of leaves.
Solution: Phosphorus (P) deficiency, often exacerbated by cold, compacted soils under brick edges.
Fix-It: Aerate the soil adjacent to the bricks and apply a bone meal supplement to improve phosphorus availability.
Maintenance:
Precision is the hallmark of a professional landscape. Use a soil moisture meter to ensure the root zone receives 1.5 inches of water per week, delivered at the drip line rather than the crown. This prevents crown rot and encourages deep rooting.
For pruning near brick paths, use bypass pruners to make clean, 45-degree cuts just above a lateral bud. This promotes rapid callus formation and prevents the entry of opportunistic pathogens. Every two years, inspect the brick joints. If the sand has eroded, replenish it to prevent weed seeds from germinating in the gaps. Weeds in hardscapes compete for nitrogen and can harbor insects that migrate to your prized specimens.
The Yield:
If your yard design includes a kitchen garden bordered by brick, harvesting timing is essential for nutrient density. Harvest leafy greens in the early morning when turgor pressure is at its peak. This ensures the cells are fully hydrated, providing a crisp texture and longer shelf life. For fruiting crops like tomatoes or peppers, wait for full color change, which indicates the completion of the ripening process and peak sugar accumulation. Use a sharp blade to sever the pedicel; pulling the fruit can damage the vascular tissue of the main stem, leading to localized senescence.
FAQ:
What is the most durable brick for wet climates?
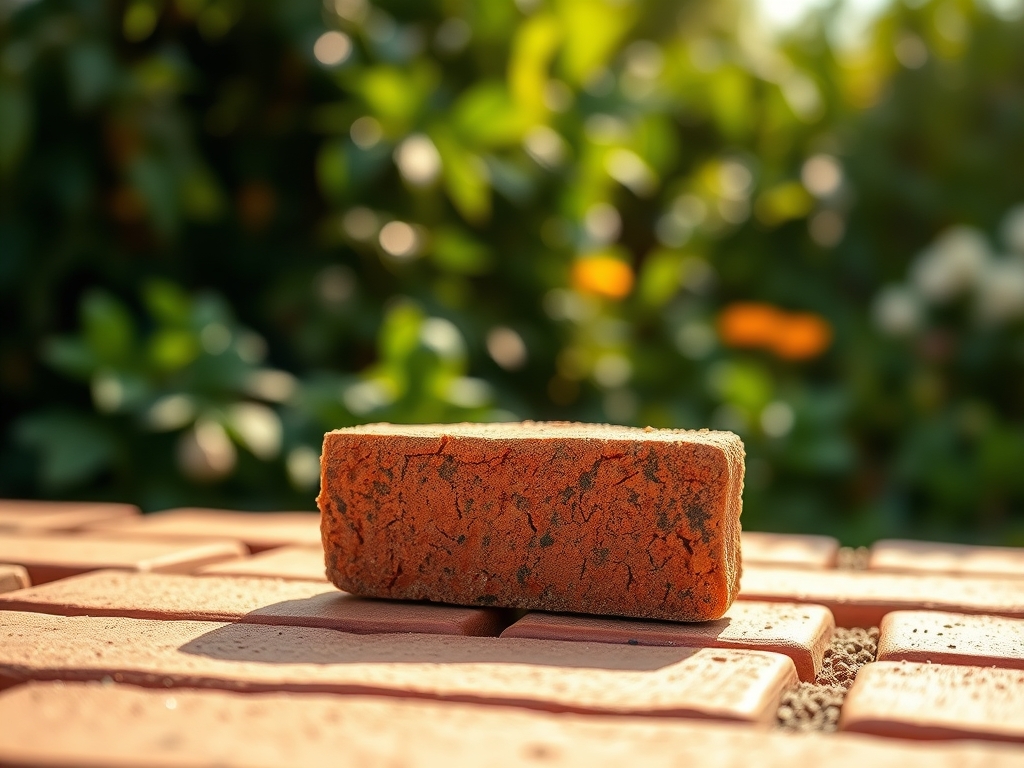
High-fired clay pavers are superior. They have a low absorption rate, typically under 5%, which prevents spalling during freeze-thaw cycles. This durability maintains the structural integrity of your yard design across multiple seasons.
Can I lay bricks directly on soil?
No. Direct contact with soil leads to uneven settling and frost heave. You must install a 6-inch base of compacted gravel and sand to ensure proper drainage and a level walking surface.
How do bricks affect soil temperature?
Bricks act as a thermal mass. They absorb solar energy during the day and release it at night. This can extend the growing season in Zones 4-6 by keeping the rhizosphere slightly warmer during autumn.
Why are my bricks turning white?
This is efflorescence, a result of water-soluble salts migrating to the surface. It is usually temporary. You can remove it with a stiff brush and clean water; avoid harsh chemicals that might alter soil pH.