6 Tips: Using Metal Polish for Show-Quality Tool Maintenance
The scent of damp earth and the high turgor pressure of a healthy leaf define the peak of a successful growing season. Maintaining that success requires precision instruments that slide through vascular tissue without crushing the xylem or phloem. Using a metal polish for show-quality garden tools ensures that every cut is surgical; reducing the risk of pathogen entry through jagged wounds. A polished surface minimizes friction during the shearing process; allowing the gardener to maintain a steady cadence without physical fatigue. When carbon steel is honed to a mirror finish and protected from oxidation; the tool becomes an extension of the horticulturist's intent. This level of maintenance is not about aesthetics. It is about the mechanical efficiency of the tool and the biological health of the plant. A clean; polished blade prevents the cross-contamination of fungal spores and bacterial blights that often hitchhike on pitted; rusted surfaces. By prioritizing the structural integrity of your kit; you safeguard the entire rhizosphere from avoidable stress.
Materials:
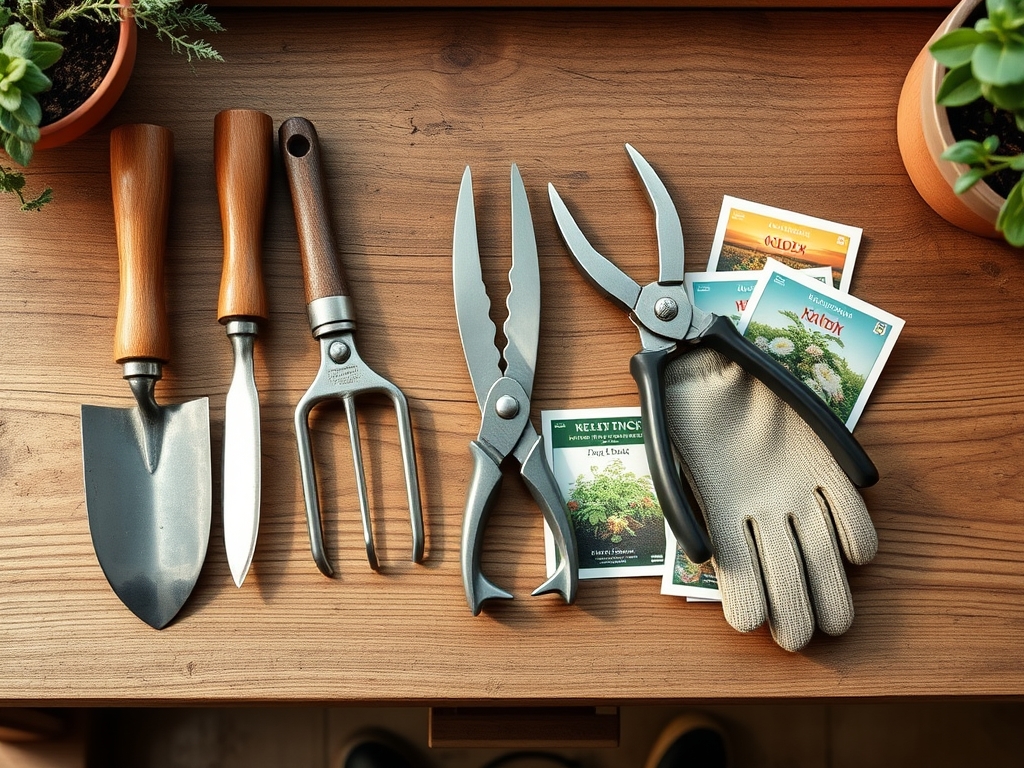
Superior tool maintenance begins with a workspace designed for chemical stability. You require a **friable loam** substrate nearby if you are testing tool penetration; but for the polishing process; a clean; non-porous bench is essential. Gather a high-grit abrasive (1000 to 3000 grit); a specialized metal polishing compound; and micro-fiber cloths. To understand the relationship between soil and steel; consider that soil with a **pH of 6.5 to 7.0** is ideal for plant nutrient uptake; but this same moisture-rich environment promotes rapid oxidation on high-carbon steel. If your soil has a high **Cation Exchange Capacity (CEC) of 25 or higher**; it likely contains clay particles that are highly abrasive. You must counteract this with a protective barrier. Use a polish that leaves a micro-crystalline wax film to repel moisture. For lubrication; avoid petroleum products that disrupt soil biology. Instead; utilize food-grade mineral oil which does not interfere with the **NPK ratios of 10-10-10 or 5-10-5** commonly found in the surrounding topsoil during application.
Timing:
The biological clock of the garden dictates your maintenance schedule. In Hardiness Zones 5 through 7; the primary window for deep tool restoration occurs during the dormant season; typically between the first killing frost in November and the spring thaw in March. This period precedes the transition from the vegetative stage to the reproductive stage in most perennials. Polishing your tools before the spring sap flow is critical. Once the photoperiod extends and temperatures consistently rise above 50 degrees Fahrenheit (10 degrees Celsius); plants enter a state of rapid cell division. Pruning during this window with unpolished; dull tools causes cellular necrosis at the site of the cut. By timing your maintenance to the winter dormancy; you ensure that your bypass pruners are ready for the precise "bud-burst" window; where clean cuts allow for rapid callousing and minimize the loss of vital carbohydrates stored in the stems.
Phases:

Sowing and Preparation
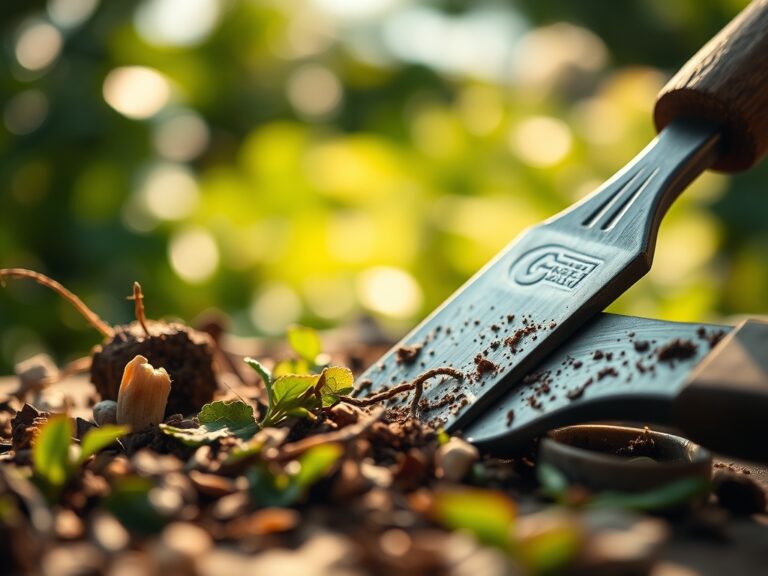
Before the first seed hits the furrow; your hand trowels and spades must be stripped of any residual rust. Use a wire brush to remove desiccated soil. Apply the metal polish in circular motions to fill the microscopic pits in the steel. This creates a hydrophobic surface that prevents wet soil from clinging to the blade.
Pro-Tip: Reducing surface friction on a spade decreases the physical force required to break the soil crust. This preserves the delicate mycorrhizal symbiosis in the upper four inches of the soil profile by allowing for cleaner; less disruptive soil penetration.
Transplanting and Root Management
When moving seedlings from a 4-inch pot to the field; use a polished hori-hori knife to slice through any circling roots. A polished blade ensures that the root hairs; which are responsible for the majority of water and nutrient uptake; are not shredded.
Pro-Tip: A clean cut on a root tip stimulates the production of auxins; the hormones responsible for root elongation. Ragged cuts caused by dull; unpolished metal can lead to root rot and delayed establishment due to localized tissue death.
Establishing and Pruning
As the plant moves into its active growth phase; apical dominance must often be managed through pruning. Using a metal polish for show-quality garden tools ensures the bypass pruner blades meet with zero gap. This produces a shear cut that mimics a natural break but with controlled geometry.
Pro-Tip: Precise pruning cuts trigger a rapid defense response. A clean cut allows the plant to efficiently seal the wound via compartmentalization of decay; preventing pathogens from entering the vascular system and disrupting turgor pressure.
The Clinic:
Physiological disorders in plants are often exacerbated by poor tool hygiene. Observe the tool-plant interface for these specific symptoms:
- Symptom: Jagged Stem Tears. This indicates high friction on the pruner blade. Solution: Re-hone the edge and apply a metal polish to reduce the coefficient of friction.
- Symptom: Localized Canker at Cut Sites. This suggests bacterial transfer. Fix-It: Sterilize the tool with 70 percent isopropyl alcohol; then polish to remove the microscopic pits where bacteria reside.
- Symptom: Premature Leaf Senescence after Trimming. This is often caused by crushing the petiole. Solution: Ensure the tool is polished to a mirror finish to allow the blade to slide through the cellulose and lignin without compression.
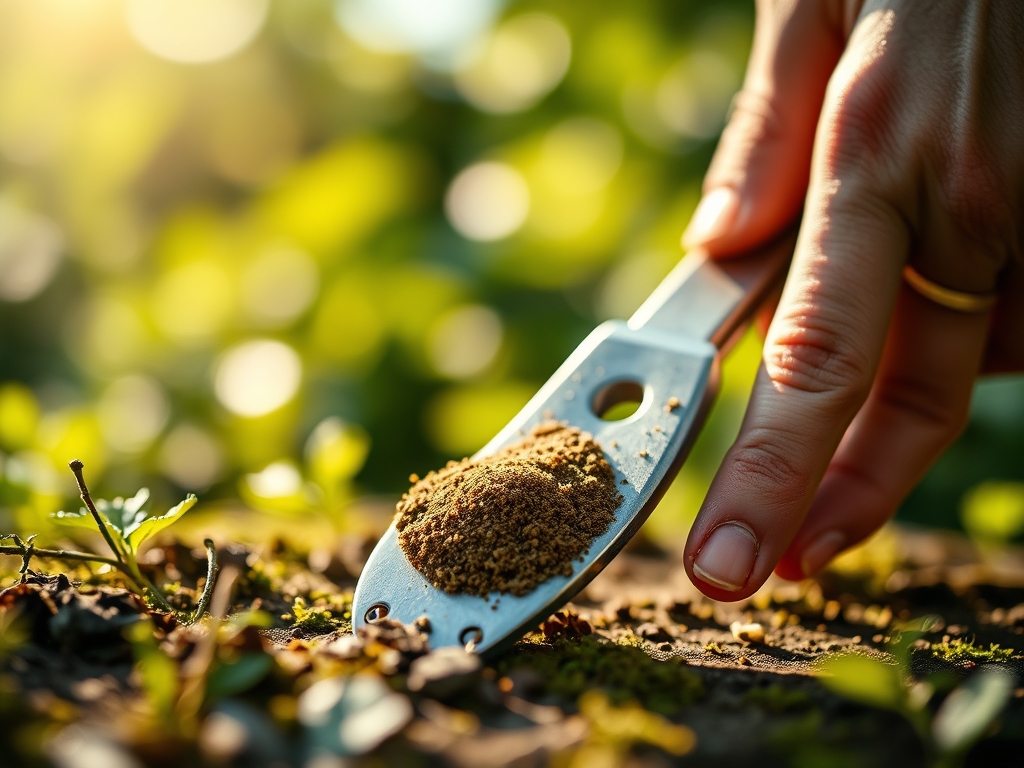
For nutrient deficiencies like Nitrogen chlorosis (yellowing of older leaves); ensure your soil moisture meter is polished. A corroded probe will give an inaccurate electrical conductivity reading; leading to improper fertilization or irrigation.
Maintenance:
Professional-grade maintenance requires a disciplined regimen. After every use; wipe your bypass pruners and hori-hori knife with a dry cloth. Once per week; apply a thin layer of metal polish to the pivot point and the blade face. For irrigation management; use a soil moisture meter to ensure your plants receive exactly 1.5 inches of water per week at the drip line. Do not guess. If the meter probe shows signs of oxidation; use a fine-grit polishing cloth to restore the sensor's sensitivity. Store tools in a bucket of dry sand mixed with a small amount of vegetable-based oil to prevent the "pitting" that occurs in high-humidity environments.
The Yield:
Harvesting is the culmination of the biological cycle. For show-quality produce or flowers; the timing must be exact. Harvest during the early morning hours when turgor pressure is at its highest. Use a polished floral knife to cut stems at a 45-degree angle. This increases the surface area for water uptake; extending the post-harvest life of the plant. Immediately plunge the stems into water adjusted to a pH of 3.5 to 4.5 to facilitate rapid uptake and prevent vascular blockage. A polished blade ensures that the sieve tubes remain open; maintaining "day-one" freshness for the maximum possible duration.
FAQ:
How often should I polish my garden tools?
Apply polish every 10 to 15 hours of active use. For high-carbon steel; a monthly application during the growing season prevents deep oxidation and maintains the smooth surface required for precision cutting and soil penetration.
Does metal polish affect soil pH?
Most high-quality polishes are inert once dried. However; always use a micro-fiber cloth to buff away excess residue. This prevents un-bonded chemicals from leaching into the rhizosphere and potentially altering the delicate chemical balance of the soil.
Can I use polish on stainless steel tools?
Yes. While stainless steel resists rust; it is prone to "galling" and surface scratches. Polishing maintains the passive oxide layer that protects the metal; ensuring the tool slides through plant tissue with minimal resistance and heat buildup.
What is the best way to remove heavy rust before polishing?
Use a medium-grit sanding block or a wire brush to remove loose scale. Follow with progressively finer grits (400 to 1000) until the surface is smooth. Once the heavy oxidation is gone; apply the metal polish to seal the pores.