6 Steps to Build a Custom Garden Pergola for Your Yard
The scent of crushed pine resin and the cool, damp feel of friable loam underfoot signal the start of a structural landscape project. Building a pergola is not merely an aesthetic choice; it is a calculated modification of the local microclimate. By controlling light infiltration and wind patterns, you alter the transpiration rates of the flora beneath. Mastering the steps for building a garden pergola requires technical precision to ensure the structure withstands seasonal soil heaving and wind loads while supporting heavy woody vines.
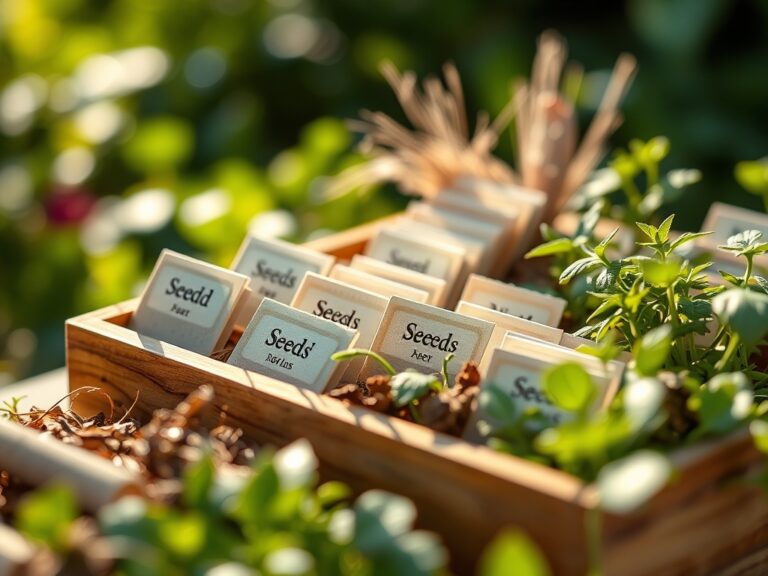
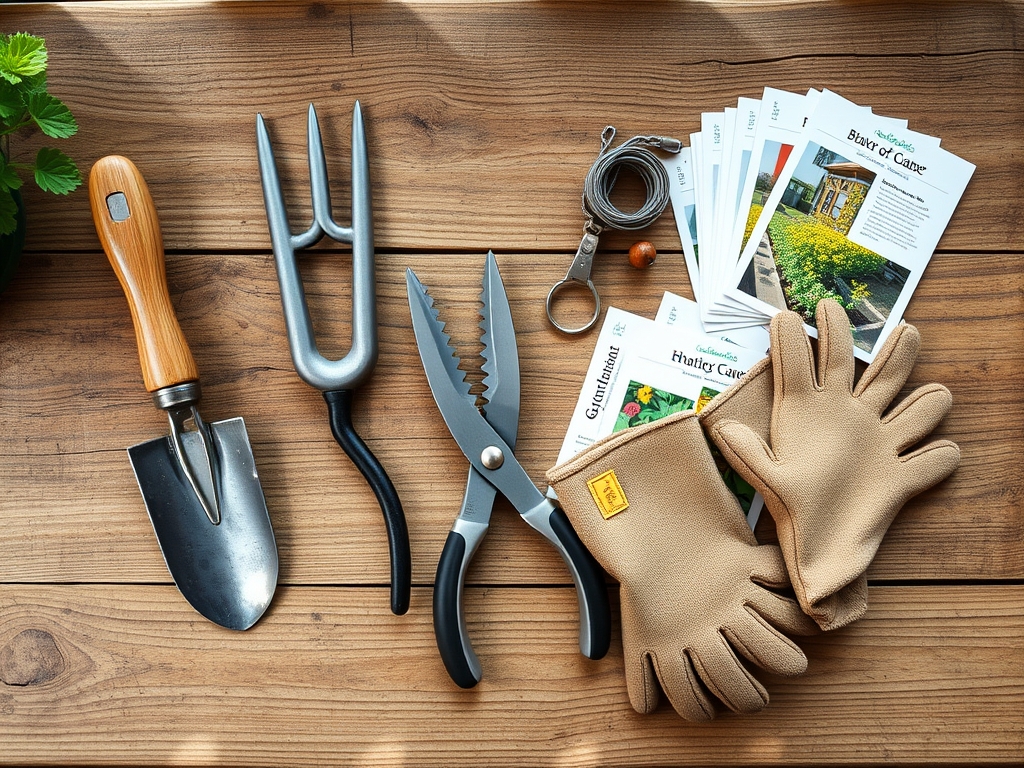
Materials:
Construction begins with soil assessment. The stability of your footings depends on the **Cation Exchange Capacity (CEC)** and the drainage profile of your substrate. For a pergola, you must excavate past the organic layer into the mineral subsoil. If your yard consists of a **friable loam** with a **pH of 6.5**, your drainage is likely sufficient. However, heavy clay requires deeper footings to prevent frost heave.
For the vegetation that will climb the structure, prepare a planting zone with an NPK ratio of 10-10-10 to support initial root establishment. The soil must maintain a moisture-holding capacity that prevents the loss of turgor pressure in young climbers. Use pressure-treated lumber rated for ground contact or naturally rot-resistant species like Western Red Cedar. You will need 80-pound bags of high-strength concrete, 6×6 structural posts, and stainless steel hardware to prevent galvanic corrosion in high-moisture environments.
Timing:
Timing the installation is critical for the surrounding rhizosphere. In Hardiness Zones 5 through 7, construction should occur during the dormant season or late autumn after the first killing frost. This prevents soil compaction around existing root systems when they are most active. Understanding the Biological Clock of your garden is essential; you want the structure completed before the photoperiod increases in spring, triggering the transition from vegetative dormancy to active bud break.
Avoid construction when the soil is saturated. Working in muddy conditions collapses the macropores in the soil, leading to anaerobic conditions that can cause root rot in nearby specimens. Aim for a window where the soil temperature is between 40 and 50 degrees Fahrenheit. This ensures the ground is workable but the biological activity of soil microbes is slowed, minimizing the impact of site disturbance.
Phases:

Sowing the Foundation
The first of the steps for building a garden pergola is the excavation of post holes. Dig to a depth of at least 36 inches, or below the local frost line. Use a soil moisture meter to ensure the subsoil is not holding excessive water before pouring concrete. Level the bottom with three inches of crushed stone to facilitate drainage away from the timber base.
Pro-Tip: Apply a mycorrhizal inoculant to the soil surrounding the disturbed area. This encourages mycorrhizal symbiosis, where fungal filaments extend the reach of plant roots, helping them recover from the localized compaction caused by heavy construction foot traffic.
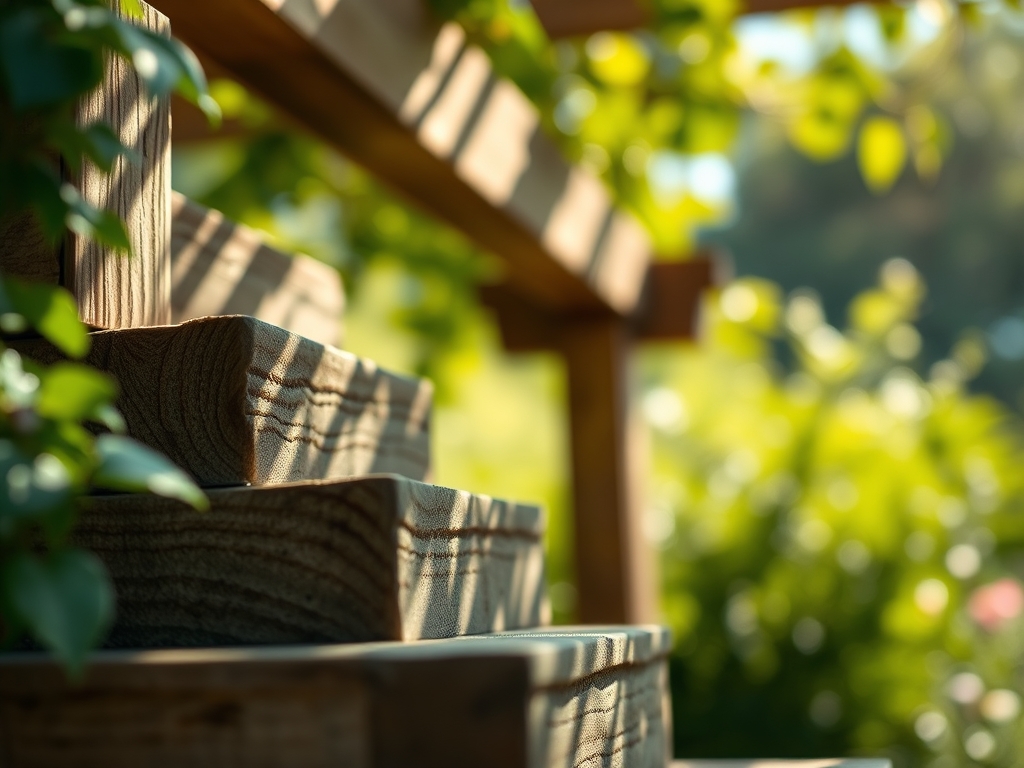
Transplanting Support Columns
Once the concrete has cured for 72 hours, secure your 6×6 posts into the steel anchors. Plumb each post using a spirit level on two adjacent faces. The structural integrity of the pergola depends on vertical alignment to distribute the weight of the headers and rafters evenly across the load-bearing points.
Pro-Tip: If planting climbers like Wisteria or Clematis at the base, tilt the root ball slightly toward the post. This utilizes thigmotropism, the physiological response of a plant to touch, allowing the tendrils to find the support structure faster and reducing the energy spent on searching for a vertical plane.
Establishing the Canopy
Install the 2×10 headers followed by the 2×8 rafters, spaced 12 to 16 inches on center. This spacing is designed to provide approximately 50% shade cover, which reduces the evaporation rate of the plants positioned underneath. Secure all joints with 3-inch structural screws to ensure the frame can handle the weight of a mature vine canopy, which can exceed several hundred pounds when wet.
Pro-Tip: When training vines up the posts, avoid tight bindings. This prevents auxin suppression and phloem constriction. If the bark is compressed, the flow of carbohydrates from the leaves to the roots is restricted, leading to stunted growth or localized necrosis.
The Clinic:
Physiological disorders often arise when a new structure changes the environment. Monitor your plants for these specific symptoms:
- Symptom: Yellowing of older leaves with green veins.
Solution: This indicates Nitrogen chlorosis. The construction process may have leached nutrients. Apply a quick-release high-nitrogen fertilizer to restore chlorophyll production. - Symptom: Marginal leaf burn or scorching.
Solution: Increased heat reflection from new wood or concrete can cause localized desiccation. Increase irrigation frequency to maintain turgor. - Symptom: Stunted growth and wilting despite wet soil.
Solution: Soil compaction has created an anaerobic environment. Use a garden fork to gently aerate the rhizosphere without severing major roots. - Symptom: Powdery white residue on foliage under the pergola.
Solution: Reduced airflow. Thin the rafters or prune the vine canopy to increase gas exchange and lower humidity.
Maintenance:
A pergola requires active management of both the timber and the biology. Apply a UV-resistant sealant to the wood every 24 to 36 months to prevent cellular breakdown of the lignin. For the plants, consistency is the rule. Deliver 1.5 inches of water per week at the drip line using a soaker hose to ensure deep root penetration.
Use a hori-hori knife to remove invasive weeds that compete for nutrients at the base of the posts. Annually, inspect the structural hardware for tension. Use bypass pruners to remove any "water sprouts" or suckers that divert energy from the main structural limbs of your climbing plants. If you notice a decline in vigor, use a soil moisture meter and a pH kit to ensure the Cation Exchange Capacity is not being hindered by salt buildup from synthetic fertilizers.
The Yield:
If your pergola supports fruiting vines like Vitis vinifera (grapes), harvest timing is dictated by the Brix level (sugar content). Use a refractometer to measure the juice; a reading of 18 to 22 is ideal for most table varieties. Harvest in the early morning when the fruit is at its highest turgor pressure to ensure a crisp texture.
Handle the clusters by the woody stem only. Touching the fruit removes the "bloom," a natural waxy coating that prevents moisture loss and protects against fungal pathogens. For flowering vines, prune immediately after the petals undergo senescence to encourage the development of next year's reproductive buds.
FAQ:
How deep should pergola posts be buried?
Posts must reach below the local frost line, typically 36 to 48 inches. This prevents frost heave from displacing the structure. Use a base of crushed stone for drainage to protect the timber from subterranean moisture decay.
What is the best wood for a garden pergola?
Western Red Cedar and Redwood are superior due to natural tannins that resist rot and insects. Pressure-treated pine is a cost-effective alternative, provided it is rated for ground contact (UC4A) to withstand the high microbial activity in soil.
Can I grow heavy vines like Wisteria on a pergola?
Yes, but the structure must be reinforced. Wisteria produces massive secondary growth that can crush light timber. Use 6×6 posts and bolted header joints to support the weight and the immense pressure of the twining vines.
How do I prevent the wood from rotting in the soil?
Use galvanized steel post anchors to keep the wood 2 inches above the concrete grade. This prevents the end grain from wicking moisture. Ensure the concrete is sloped away from the post to shed water rapidly during rain events.