7 Steps to Prepare a Hand Cultivator for Off-Season Storage
The smell of damp earth and the high turgor pressure of a healthy leaf signify a successful growing season, but the transition to dormancy requires a shift in mechanical focus. Neglecting your tools leads to oxidation and the spread of soil-borne pathogens. Understanding how to prepare a hand cultivator for storage ensures that the tines remain sharp and the metal surfaces do not succumb to corrosion during the winter months. Proper maintenance preserves the tool's ability to aerate the rhizosphere without introducing contaminants into the soil profile.
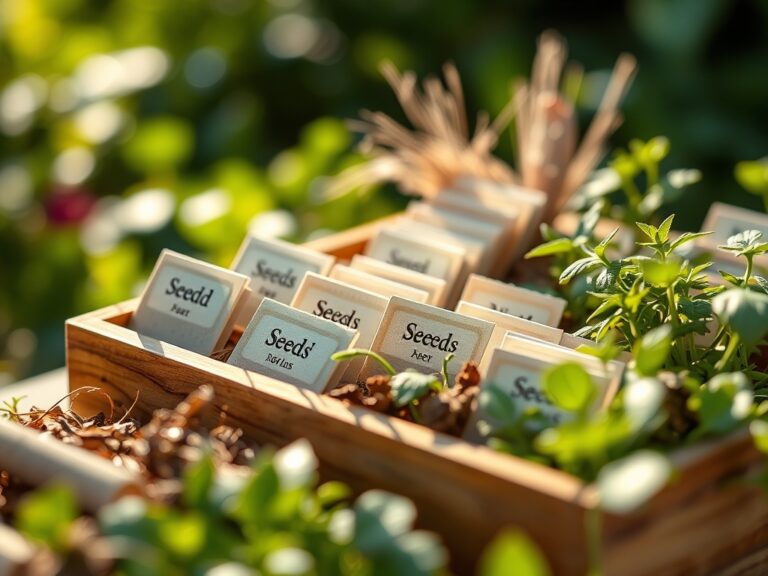
Materials:
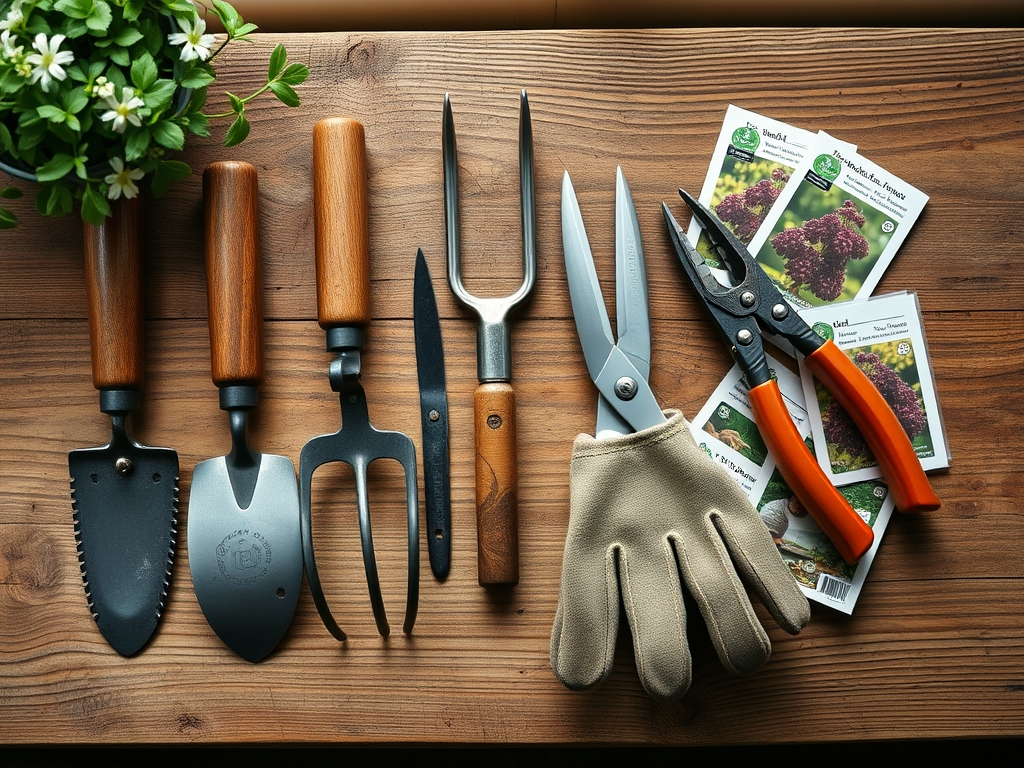
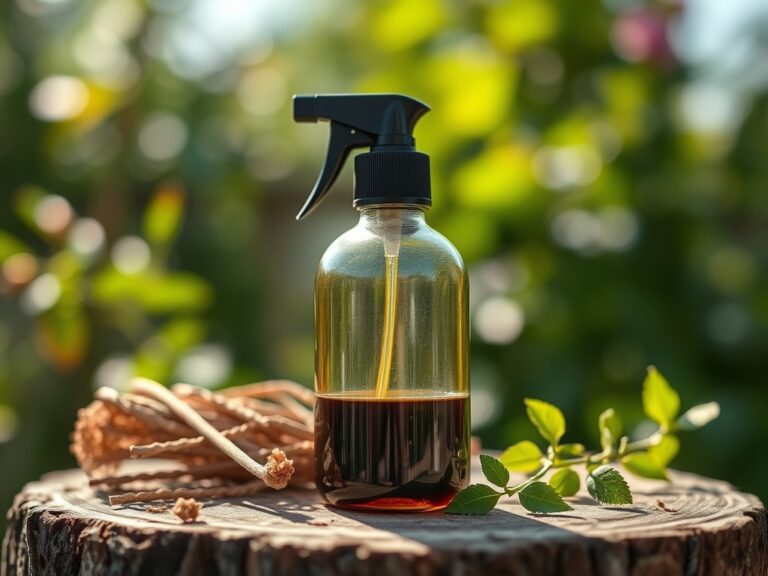
While the cultivator interacts with a **friable loam** containing a balanced **pH of 6.5 to 7.0**, storage requires specific chemical agents. You need a stiff wire brush to remove particles of clay and silt that hold moisture against the steel. Gather a high-grade linseed oil for wooden handles and a light machine oil for the metal tines. For sterilization, use a solution of 70 percent isopropyl alcohol to kill fungal spores such as *Fusarium* or *Verticillium*. If you are amending the storage environment, maintain a low relative humidity to prevent the dew point from reaching the metal surface.
Timing:
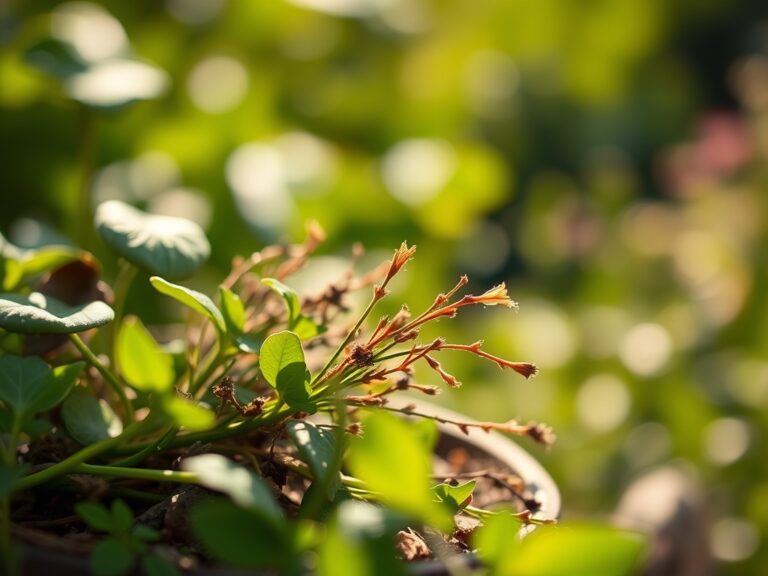
The storage process must begin before the first hard frost, typically within the window defined by USDA Hardiness Zones 4 through 7 between late October and mid-November. As the photoperiod shortens, plants enter senescence, shifting energy from vegetative growth to root carbohydrate storage. This biological clock signals the end of active cultivation. Once the soil temperature drops below 45 degrees Fahrenheit, microbial activity slows and the soil becomes too heavy for manual aeration. Preparing your tools at this exact physiological juncture prevents the overwintering of pathogens in the tool's crevices.
Phases:
Sowing the Cleanliness
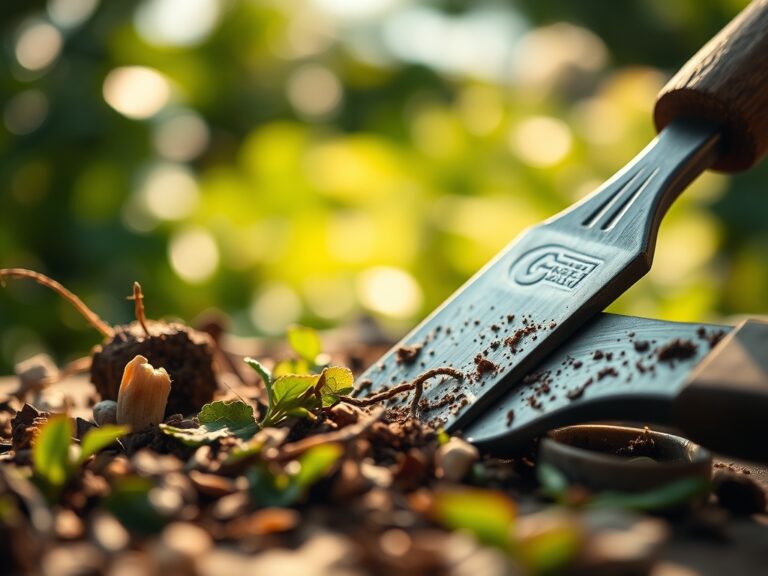
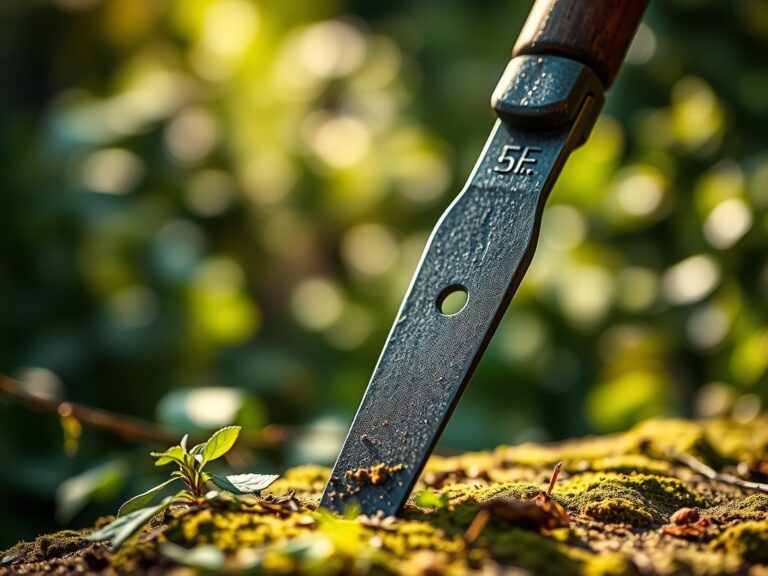
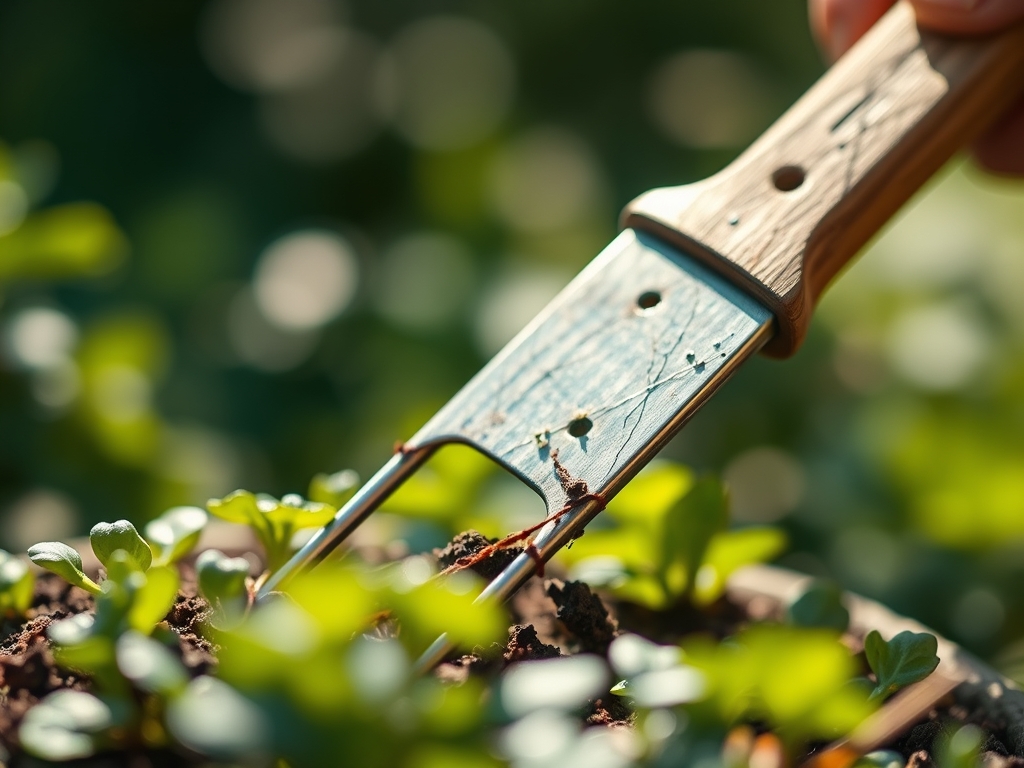
Start by removing all macro-organic matter. Use a hori-hori knife to scrape away hardened clay deposits. Submerge the metal head in a bucket of coarse sand mixed with motor oil to abrasive-clean the surfaces. This removes the microscopic layers of oxidized iron that can harbor bacteria.
Pro-Tip: Sterilizing the tines prevents the cross-contamination of the rhizosphere. This is vital because many soil pathogens utilize the tool as a vector to bypass the plant's natural dermal defenses.
Transplanting to the Workbench
Inspect the handle for structural integrity. If the wood shows signs of desiccation, sand it with 120-grit sandpaper. Apply linseed oil until the wood reaches saturation. This prevents the wood from becoming brittle, which could lead to failure under the high torque required during spring cultivation.
Pro-Tip: Maintaining handle integrity ensures proper leverage, which allows the gardener to manage soil compaction without causing repetitive strain or localized root zone damage.
Establishing a Protective Barrier
Apply a thin, uniform layer of silicone-based lubricant or mineral oil to all metal parts. This creates a hydrophobic barrier that prevents oxygen from reaching the iron molecules. Store the tool hanging vertically to ensure airflow around the entire surface area, preventing moisture traps.
Pro-Tip: Oxygen exclusion is the only way to stop the electrochemical process of rusting. This protection preserves the sharp edges needed to slice through mycorrhizal networks cleanly rather than tearing them.
The Clinic:
Physiological disorders in tools often manifest as structural failures. Observe the following symptoms and apply the necessary fixes to maintain peak performance.
- Symptom: Surface Pitting. This is a sign of prolonged exposure to acidic soil (pH below 5.5) without cleaning. Solution: Sand the metal with fine steel wool and apply a neutralizing alkaline wash before oiling.
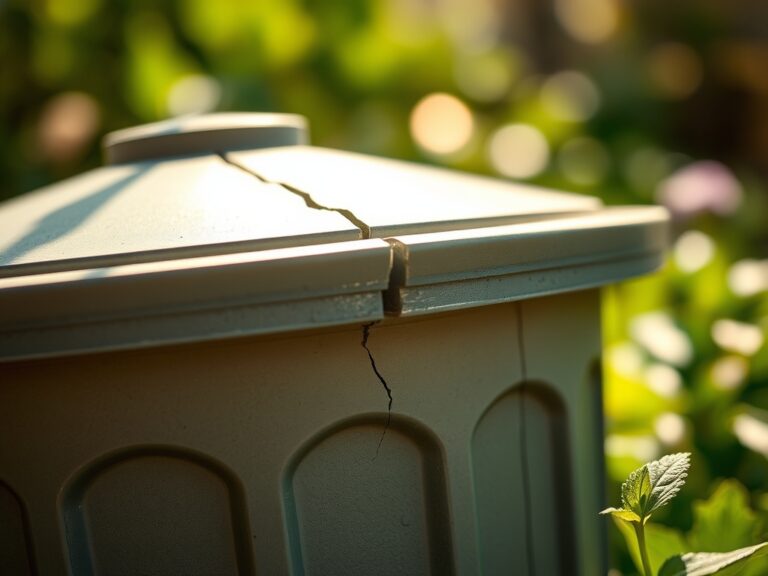
- Symptom: Handle Splintering. Caused by extreme fluctuations in humidity. Solution: Rub the wood with beeswax to seal the pores and maintain internal moisture balance.
- Symptom: Tine Deformation. Result of hitting high-density rocks or frozen substrate. Solution: Cold-forge the tines back into alignment using a vice and hammer to ensure even weight distribution.
Fix-It for Nutrient Deficiencies: While tools do not have nutrients, they facilitate their uptake. A dull cultivator causes soil glazing, which leads to Nitrogen chlorosis because the roots cannot access oxygen. Sharpen tines to a 45-degree bevel to ensure deep soil penetration and gas exchange.
Maintenance:
During the active season, your plants require 1.5 inches of water per week at the drip line, monitored by a soil moisture meter. Your cultivator requires similar precision. After every use, wipe the tines with a dry cloth. If you encounter heavy clay, use bypass pruners to snip away any thick, dead roots caught in the tines before storage. Check the tension of the bolts monthly; a loose head reduces the Cation Exchange Capacity (CEC) efficiency of your labor by failing to break up soil peds effectively.
The Yield:
When harvesting root crops like carrots or parsnips, timing is critical for "day-one" freshness. Harvest when the soil is at 60 percent field capacity to ensure the cultivator glides through the earth without bruising the taproots. Post-harvest, wash the vegetables in cool water to remove heat and slow the metabolic rate. The cultivator should be cleaned immediately after this final harvest to prevent the sugars from the broken roots from fermenting on the metal surfaces.
FAQ:
How do I remove heavy rust from a cultivator?
Use a wire brush or 80-grit sandpaper to remove loose flakes. Soak the metal in white vinegar for 24 hours to dissolve the remaining iron oxide. Rinse, dry thoroughly, and apply a protective oil coating immediately.
Can I store my tools in a bucket of sand?
Yes. Filling a five-gallon bucket with builders sand and a quart of mineral oil provides an excellent storage medium. The sand keeps the tines sharp while the oil prevents oxidation and moisture contact.
Why is linseed oil preferred for wooden handles?
Linseed oil is a "drying oil" that hardens into a tough, water-resistant finish. It penetrates the grain to prevent the wood from shrinking or swelling, which maintains a tight fit between the handle and the metal head.
How often should I sterilize my hand cultivator?
Sterilize the tool after working with any plant showing signs of disease and before long-term storage. A 10 percent bleach solution or 70 percent ethanol effectively eliminates pathogens like tobacco mosaic virus or root rot fungi.