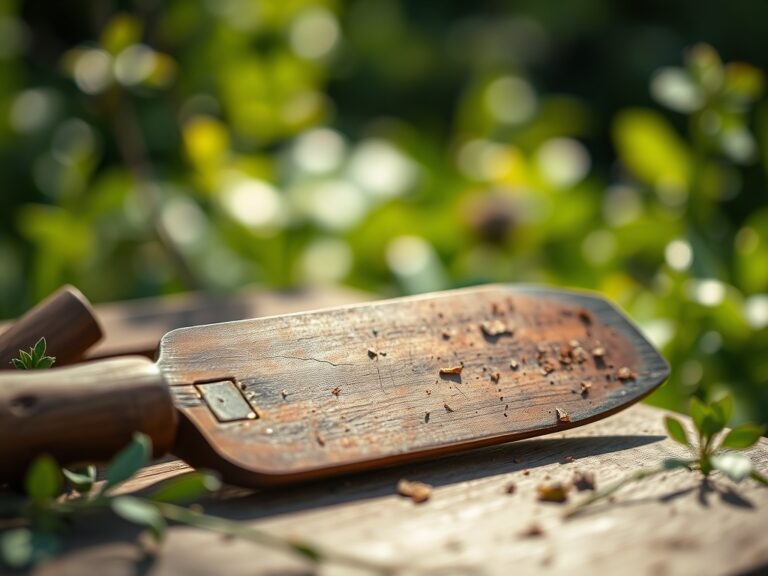
9 Steps to Sharpen a Traditional Garden Scythe
The smell of damp earth and the high turgor pressure of a healthy blade of grass signal the start of the mowing season. A dull blade tears the plant tissue; it leaves ragged edges that invite fungal pathogens into the vascular system. Mastering the steps for sharpening a garden scythe ensures a clean, surgical shear that preserves the structural integrity of the crop. Proper maintenance involves thinning the metal through cold-working and honing the edge to a microscopic point. This process requires a steady hand and an understanding of metallurgy. When the blade is correctly prepared, it glides through the field with minimal resistance. This efficiency reduces physical fatigue and prevents the crushing of delicate stems. A sharp scythe is not merely a tool; it is a precision instrument designed to manage the biomass of a productive landscape. By following a rigorous sharpening protocol, you maintain the tool's geometry and extend its operational lifespan across decades of heavy use in the field.
Materials:
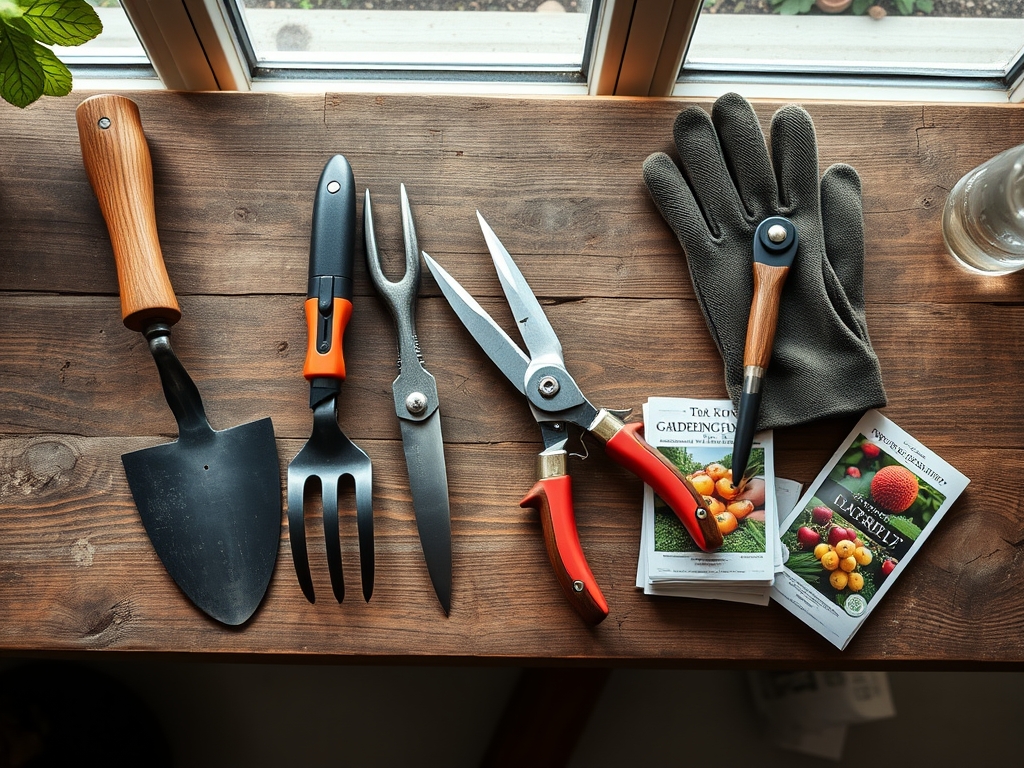
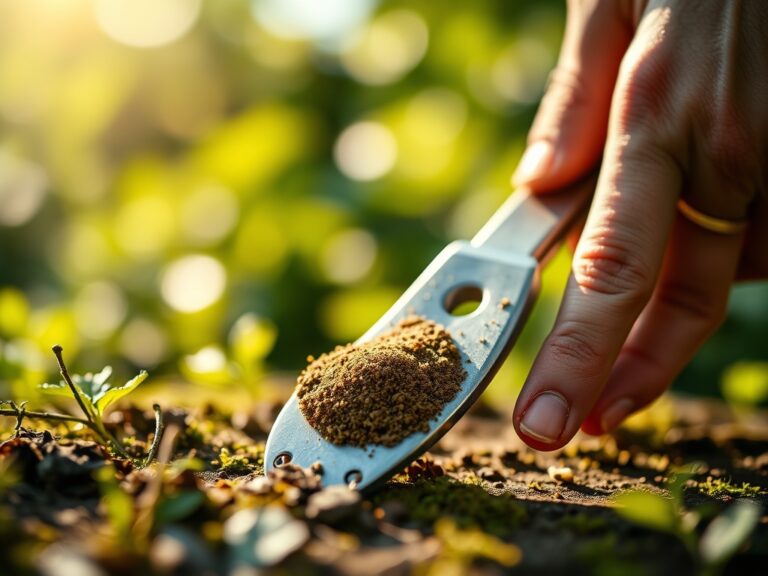
While sharpening is a mechanical process, the environment where you use the scythe dictates the tool’s needs. In a friable loam with a **pH of 6.5**, the grass grows thick with high cellulose content. For such lush growth, you require a peening anvil, a peening hammer, and a series of whetstones. Your soil’s nutrient profile affects the grass density; a high **Nitrogen (N) ratio of 4-1-2** promotes rapid vegetative growth, requiring a finer edge for clean cuts. High Cation Exchange Capacity (CEC) soils produce sturdier stalks that can dull a blade faster than sandy, nutrient-poor substrates. Ensure you have a clean rag, water for the stones, and a sturdy bench or log to mount the anvil. The physical texture of the substrate should be stable to prevent the tool from slipping during the high-impact peening phase.
Timing:
Maintenance follows the biological clock of the field. In Hardiness Zones 5 through 8, the first mowing usually occurs after the last frost date when the grass enters its primary vegetative expansion. You must sharpen the blade before the plants transition to the reproductive stage, as lignification makes the stems harder and more difficult to cut. Peen the blade every 30 to 50 hours of use; hone with a whetstone every 20 minutes of active mowing. This frequency prevents the edge from becoming rounded. If the photoperiod triggers early flowering, the increased silica content in the stalks will necessitate more frequent honing to maintain the shear.
Phases:

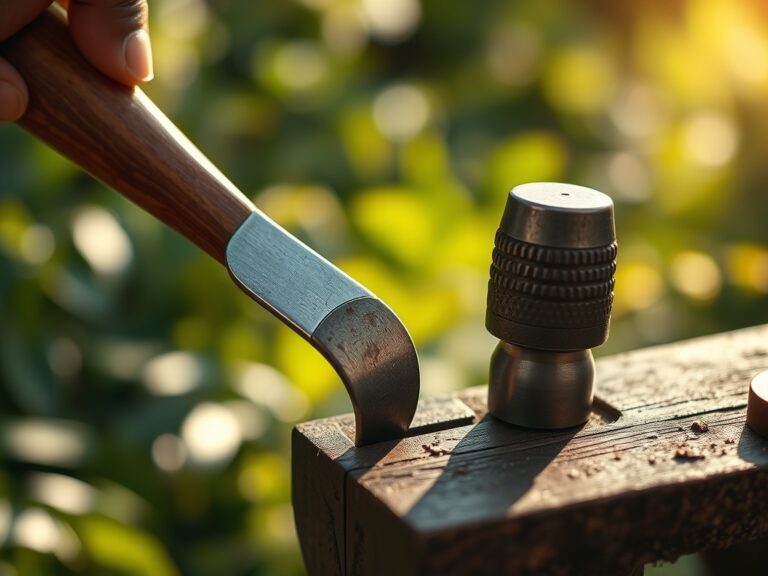
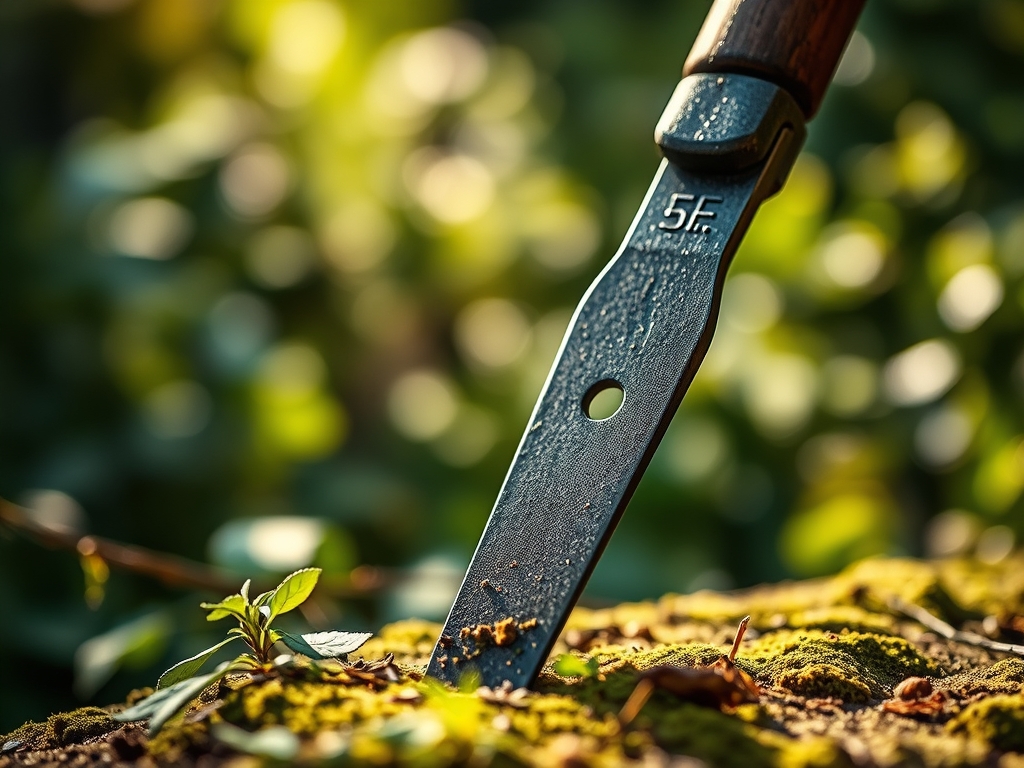
Sowing the Edge: Peening
The first step is peening, which is the cold-forging of the blade's primary bevel. Use a hammer to draw the metal out thin at the edge. This work-hardens the steel, increasing its durability. Strike the metal consistently, moving from the heel to the toe of the blade.
Pro-Tip: Work-hardening the steel mimics the way plants strengthen cell walls under mechanical stress. This process increases the density of the metal at the molecular level, allowing for a thinner, more resilient edge that resists deformation.
Transplanting the Bevel: Honing
Once the edge is thin, use a coarse whetstone to remove the burr created by peening. Hold the stone at a 10 to 15 degree angle against the blade. Use long, sweeping strokes. Follow this with a fine-grit stone to polish the edge.
Pro-Tip: Maintaining a consistent angle is vital for maximizing the surface area of the cut. This reduces the force required to break the surface tension of the plant's epidermis, preventing the collapse of the xylem and phloem during the harvest.
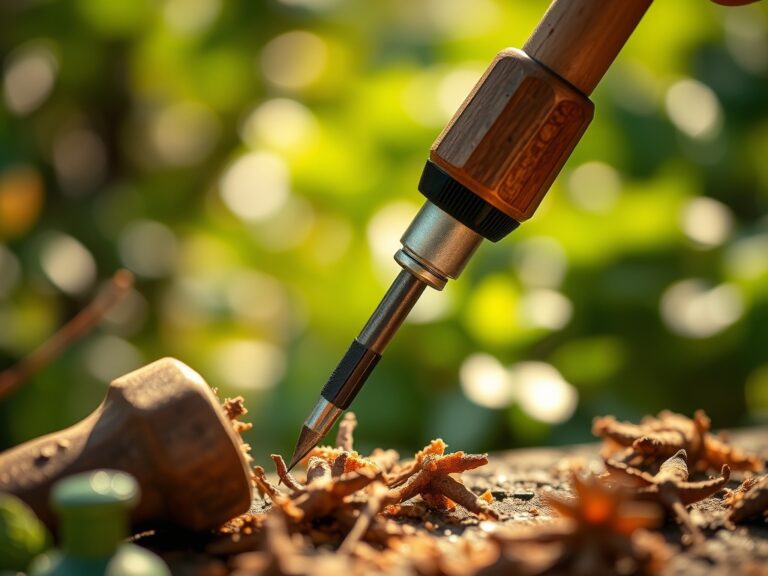
Establishing the Finish: Testing
Test the sharpness by cutting a single blade of grass or a piece of paper. The cut should be effortless and silent. If the blade catches or tears, return to the fine whetstone. Wipe the blade with a light oil to prevent oxidation.
Pro-Tip: A clean cut prevents "bleeding" of the plant's internal fluids. This rapid sealing of the wound site utilizes the plant's natural defense mechanisms to prevent desiccation and pathogen entry into the rhizosphere through fallen debris.
The Clinic:
If the blade feels "jumpy" or bounces off the grass, the primary bevel is likely too thick. This is a symptom of insufficient peening. The solution is to spend more time on the anvil, thinning the last 2 millimeters of the edge. If the edge chips, the metal has become too brittle or the angle is too steep. Grind out the chips and re-peen the area.
For physiological disorders in the field, watch for Nitrogen chlorosis, which manifests as yellowing of the older leaves. Fix this by applying a 10-0-0 liquid fertilizer to boost chlorophyll production. If you notice necrotic spots on the grass, check the soil moisture levels. Iron deficiency often appears as interveinal chlorosis in new growth; apply chelated iron to correct the soil chemistry and restore the deep green color required for optimal photosynthesis.
Maintenance:
Keep your scythe clean and dry. After each use, scrub the blade with a stiff brush to remove plant sap, which can be acidic and corrosive. Apply a thin layer of linseed oil to the wooden snath to prevent cracking. In the field, use a soil moisture meter to ensure the ground is not too saturated; mowing in mud damages the soil structure and dulls the blade with grit. Aim for 1.5 inches of water per week at the drip line of your primary crops. Use a hori-hori knife to remove deep-rooted weeds that the scythe cannot reach. Always store the scythe hanging up, away from the floor, to prevent moisture accumulation and accidental damage to the honed edge.
The Yield:
Harvesting with a scythe is most effective in the early morning when dew increases the weight of the grass and provides natural lubrication for the blade. This is when turgor pressure is at its peak. Cut with a rhythmic, semicircular motion, keeping the heel of the blade close to the ground. For hay, allow the cut material to dry in the sun for 48 hours before raking. For fresh forage, move the material to a cool, shaded area immediately. Proper post-harvest handling ensures the "day-one" freshness of the nutrients, preventing the rapid senescence that occurs when cut plants are left in high-heat environments.
FAQ:
How often should I peen my scythe blade?
Peen the blade every 30 to 50 hours of mowing. This cold-works the metal, thinning the edge and increasing its hardness. Frequent peening prevents the blade from becoming too thick to sharpen with a stone.
What is the best stone for field honing?
Use a natural silty sandstone or a synthetic whetstone with a medium grit. Keep the stone in a water-filled holster called a whetcup. This ensures the stone remains lubricated to carry away metal filings during the honing process.
Why does my scythe blade keep rusting?
Rust occurs when moisture and plant acids react with the high-carbon steel. Always wipe the blade dry after use. Apply a light coating of vegetable oil or specialized tool oil to create a protective barrier against oxidation.
Can I use a grinder to sharpen my scythe?
Avoid high-speed grinders. The heat generated by a grinder can ruin the steel's temper, making it soft and unable to hold an edge. Stick to traditional peening and hand-honing to maintain the integrity of the metal.