7 Steps to Install a Garden Arbor as a Yard Focal Point
Damp earth yields to the pressure of a steel spade; the scent of disturbed geosmin signals a shift in the landscape architecture. Establishing a structural anchor requires more than aesthetic intent. It demands an understanding of soil mechanics and plant physiology. Following the correct steps for installing a garden arbor ensures the structure withstands wind loads while supporting the heavy biomass of perennial climbers. Successful integration depends on the turgor pressure of the surrounding flora and the stability of the subterranean footings.
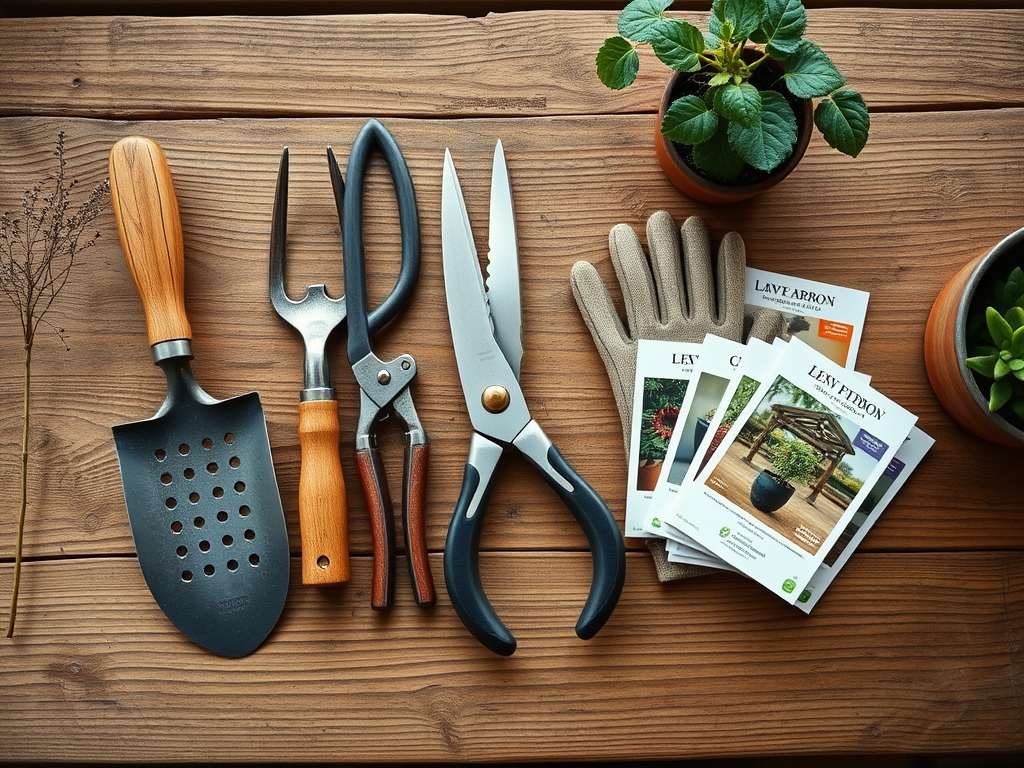
Materials:
Structural longevity begins with the rhizosphere. The ideal substrate for the planting pockets flanking your arbor is a friable loam with a Cation Exchange Capacity (CEC) between 15 and 25 meq/100g. This ensures the soil retains essential cations like Calcium and Magnesium. You must calibrate the soil pH to a range of 6.2 to 6.8 to maximize nutrient bioavailability.
Prepare the site with a base fertilizer containing an NPK ratio of 5-10-10. The high phosphorus content encourages rapid root initiation in newly transplanted climbers. Avoid high nitrogen mixes during installation; excess nitrogen promotes succulent vegetative growth that is highly susceptible to frost damage and sap-sucking insects. Use Grade A pressure-treated timber or powder-coated galvanized steel for the frame to prevent fungal decay and oxidation in high-moisture environments.
Timing:
Installation windows are dictated by your USDA Hardiness Zone. In Zones 4 through 7, the optimal period for installation and planting is late autumn or early spring, specifically 4 to 6 weeks before the first or last killing frost. This timing aligns with the plant's biological clock; it allows the root system to establish during dormancy or early spring resurgence without the metabolic stress of high transpiration rates.
The transition from vegetative to reproductive stages is governed by the photoperiod. If you install an arbor in mid-summer, the high heat increases the vapor pressure deficit (VPD), causing the plant to close its stomata. This leads to reduced photosynthesis and potential "transplant shock." Aim for soil temperatures between 50 and 65 degrees Fahrenheit to facilitate cellular respiration within the root zone.
Phases:
Sowing and Site Prep
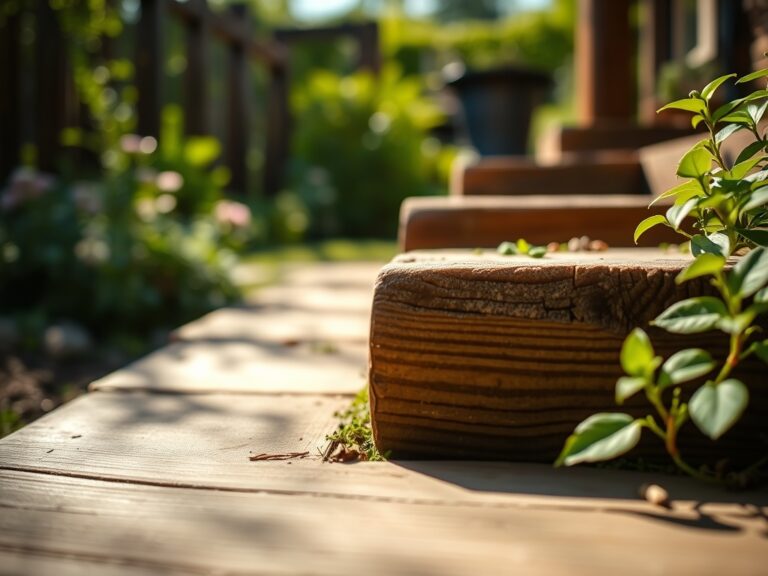
Excavate post holes to a depth of at least 24 inches, or below the local frost line. If the soil is heavy clay, incorporate expanded shale to improve macropore space. This prevents anaerobic conditions that lead to root rot.
Pro-Tip: Ensure the hole diameter is three times the width of the post. This allows for a "buffer zone" of gravel or concrete. The Biological Why involves avoiding soil compaction; high bulk density restricts oxygen diffusion to the roots, stifling the aerobic bacteria necessary for nitrogen fixation.
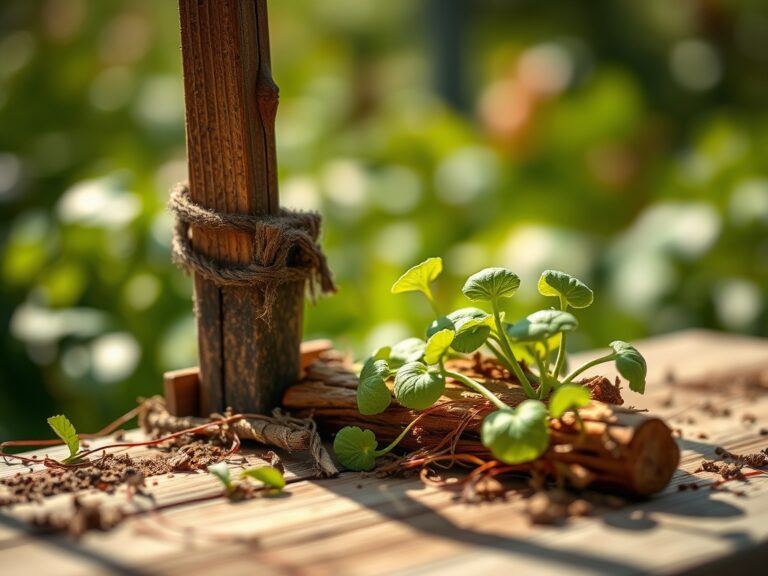
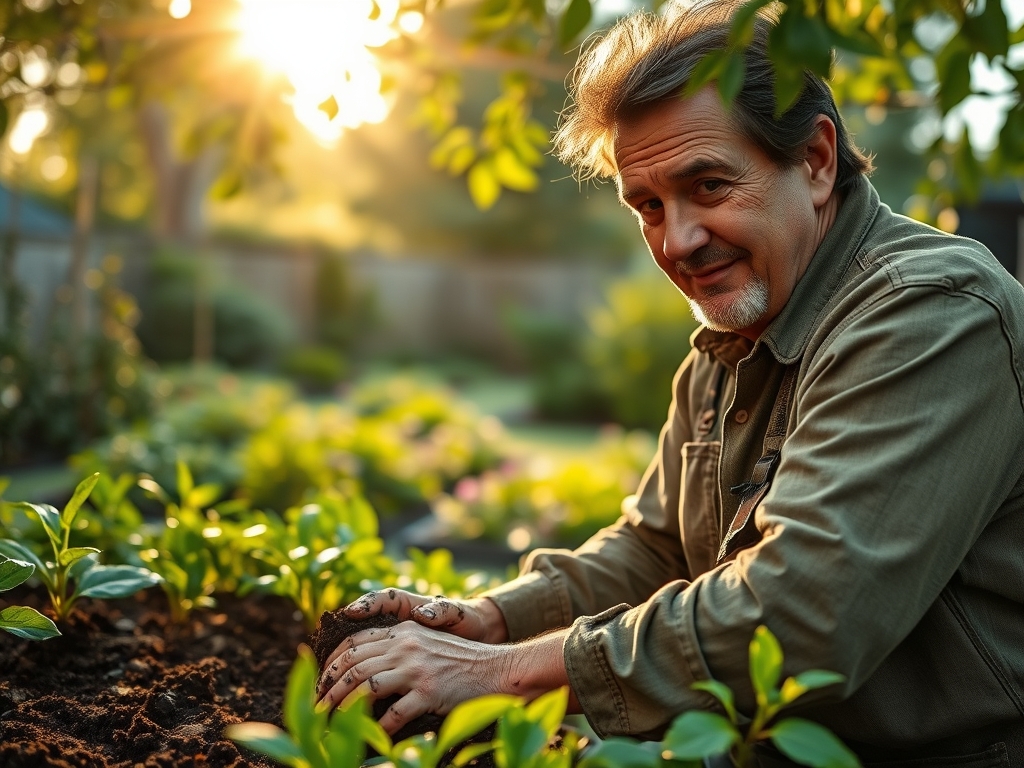
Transplanting the Anchors
When placing your climbing plants, such as Clematis or Wisteria, tease the root ball to break any circular growth patterns. Set the crown 1 inch below the soil surface to protect the meristematic tissue from temperature fluctuations.
Pro-Tip: Apply a mycorrhizal inoculant directly to the root zone. The Biological Why is mycorrhizal symbiosis; these fungi extend the reach of the root system by hundreds of times, increasing the uptake of immobile nutrients like phosphorus through a specialized hyphal network.
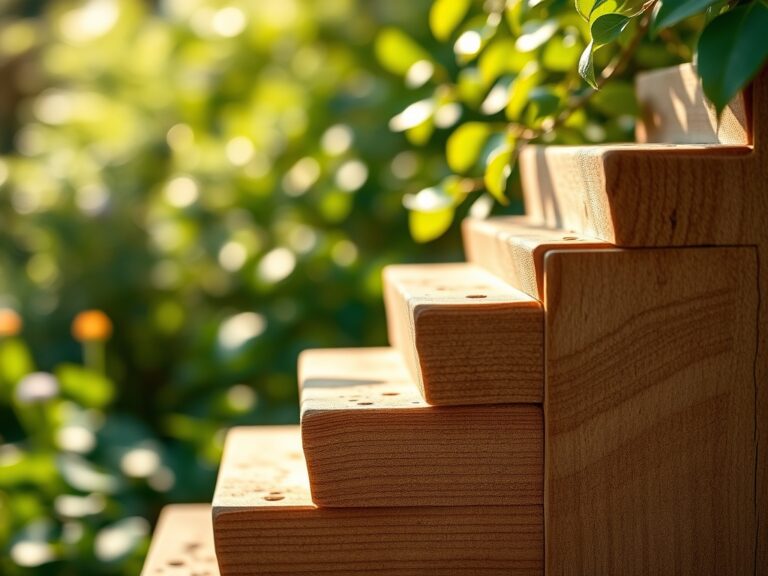
Establishing the Structure
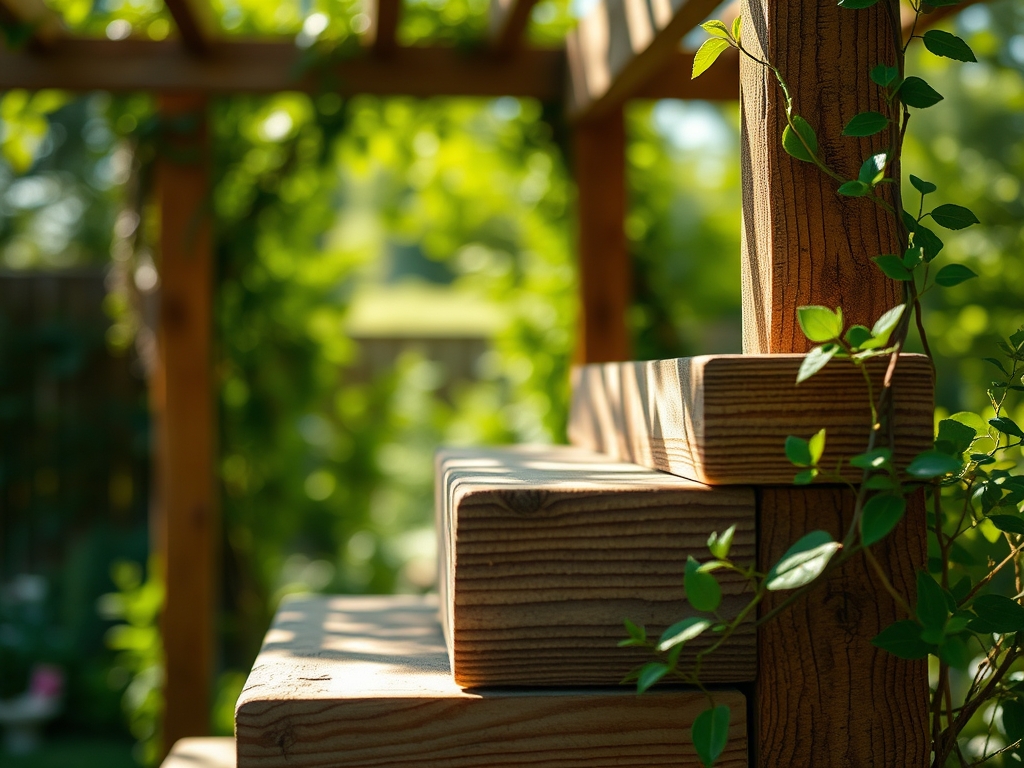
Secure the arbor using stainless steel fasteners. Once the frame is plumb, backfill the holes with a mixture of native soil and organic compost. Water the area immediately to eliminate air pockets.
Pro-Tip: Use soft garden twine to lead the primary leaders toward the arbor lattice. The Biological Why is thigmotropism; many climbing plants respond to mechanical stimulation. By providing a contact point, you trigger the plant's hormonal response to coil and climb upward toward the light.
The Clinic:
Physiological disorders often manifest shortly after installation due to environmental stress or nutrient imbalances.
- Symptom: Interveinal chlorosis (yellowing leaves with green veins) on new growth.
- Solution: This indicates an Iron deficiency, often caused by high pH. Lower the pH using elemental sulfur to increase iron solubility.
- Symptom: Marginal leaf burn or necrosis on older foliage.
- Solution: This suggests Potassium deficiency or salt accumulation. Flush the soil with 2 inches of water and apply a sulfate of potash supplement.
- Symptom: Wilting despite moist soil.
- Solution: Likely "damping off" or root rot (Phytophthora). Improve drainage and reduce irrigation frequency to allow the top 3 inches of soil to dry.
Fix-It for Nitrogen Chlorosis: If the entire plant appears pale green or yellow, apply a quick-release liquid seaweed or fish emulsion. Nitrogen is mobile within the plant; a foliar spray provides immediate relief while the soil-bound NPK stabilizes.
Maintenance:
Precision irrigation is the cornerstone of structural plant health. Provide 1.5 inches of water per week delivered at the drip line via a soaker hose. Use a soil moisture meter to ensure the moisture reaches a depth of 8 to 10 inches.
Maintain the structure using a hori-hori knife to remove invasive weeds competing for nutrients in the rhizosphere. Annual pruning should be performed with bypass pruners to ensure clean vascular cuts. For woody climbers, prune during the dormant season to prevent "bleeding" of sap and to manage the weight load on the arbor. Monitor the structural integrity of the wood; if you detect soft spots, treat them with a borate-based preservative to halt fungal degradation.
The Yield:
If your arbor supports edible viticulture or floral production, harvest timing is critical. For grapes, monitor the Brix level (sugar content) using a refractometer; a reading of 18 to 22 is ideal. For floral climbers like climbing roses, harvest when the outer petals are just beginning to unfurl.
To maintain "day-one" freshness, use the "pulse" method. Immediately submerge the cut stems in 110-degree Fahrenheit water containing a carbohydrate source (sugar) and an acidifier (citric acid). This reduces the pH of the water, improving hydraulic conductance through the xylem and preventing vascular blockages.
FAQ:
How deep should arbor posts be buried?
Posts must reach below the frost line, typically 24 to 36 inches. This prevents "frost heave," where freezing soil expands and pushes the structure upward, compromising the vertical alignment and damaging the root systems of attached plants.
What is the best soil for arbor plants?
A well-draining friable loam with a pH of 6.5 is optimal. It should have a high organic matter content (at least 5%) to support microbial activity and provide a steady release of micronutrients through the decomposition process.
Can I install an arbor in heavy clay?
Yes, but you must modify the site. Incorporate gypsum or expanded shale to break ionic bonds in clay particles. This improves drainage and prevents the "bathtub effect," where water traps around the roots and causes anaerobic decay.
When should I prune plants on a new arbor?
Wait until the second growing season to perform significant pruning. During the first year, focus on "training" the leads. Early pruning can suppress the auxin hormones produced in the apical meristem, which are necessary for vigorous root development.