6 Steps to Build a Decorative Yard Garden Bridge
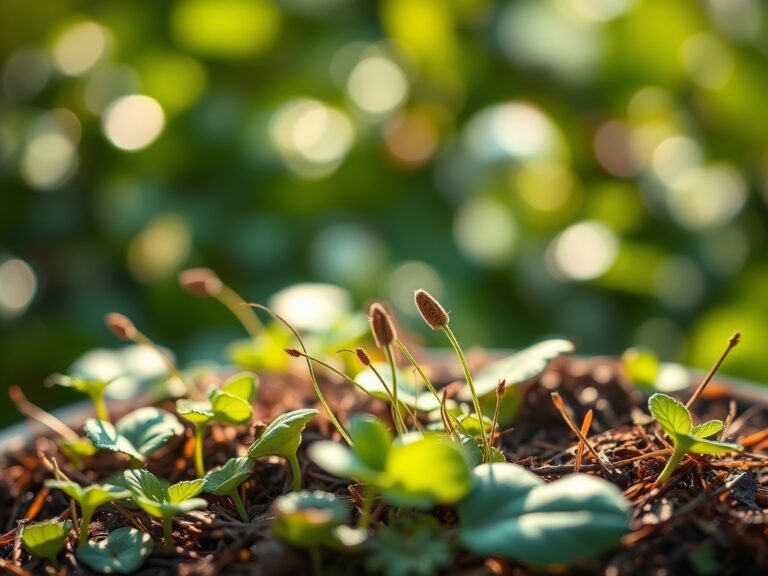
Damp earth releases a sharp, metallic scent of geosmin when the shovel first breaks the surface. This signifies a healthy microbial population in the rhizosphere. Maintaining the turgor of surrounding vegetation requires a stable structural foundation that does not disrupt local hydrology. Mastering the steps for building a garden bridge requires more than carpentry; it demands an understanding of soil compaction and the weight-bearing capacity of the landscape. A bridge serves as a functional conduit over bioswales or decorative ponds while preserving the delicate fungal networks beneath the soil surface. Proper installation prevents soil erosion and ensures that the root systems of nearby perennials remain undisturbed during the construction process.
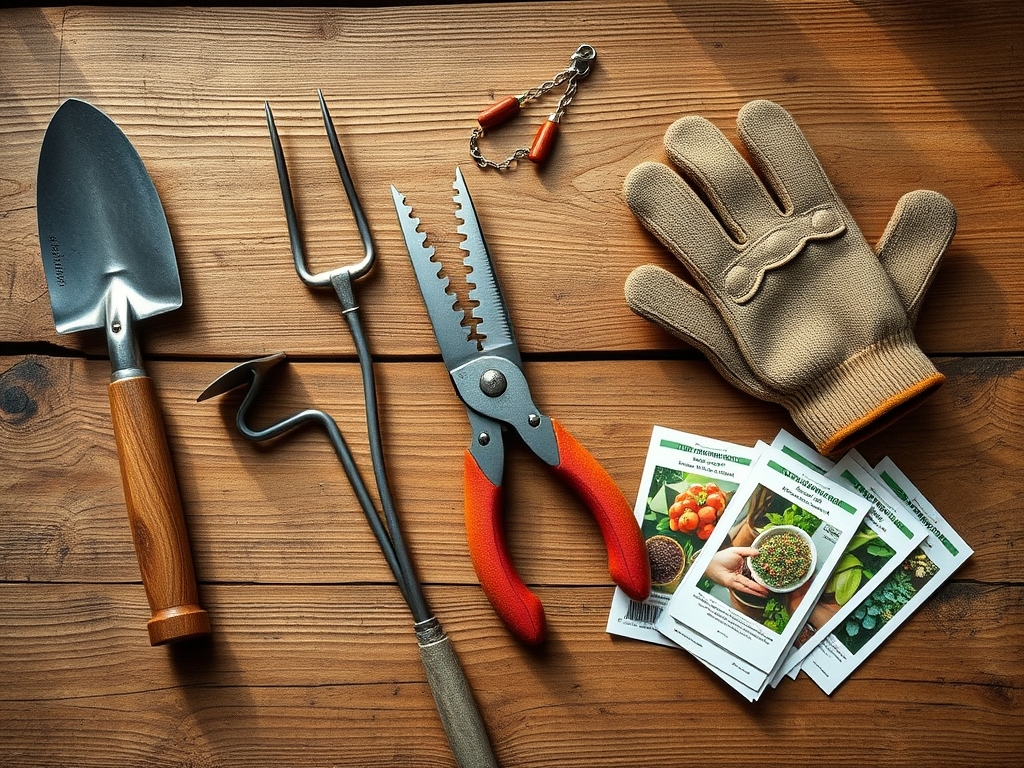
Materials:
The success of any garden structure begins with the substrate. The ideal soil for anchoring bridge footings is a **friable loam** with a balanced **pH of 6.0 to 7.0**. High clay content leads to poor drainage and frost heaving, which can shift the bridge alignment. For the surrounding plantings, target an **NPK ratio of 10-10-10** to support general vegetative growth without inducing excessive succulent growth that attracts pathogens.
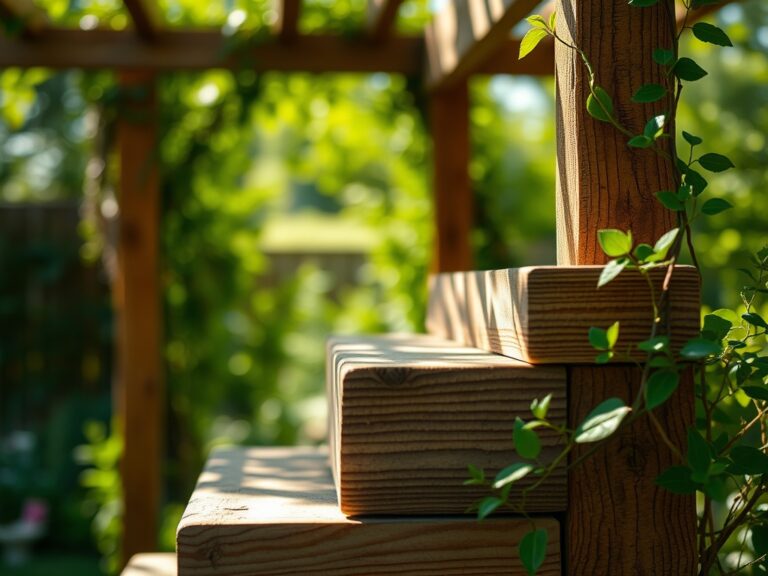
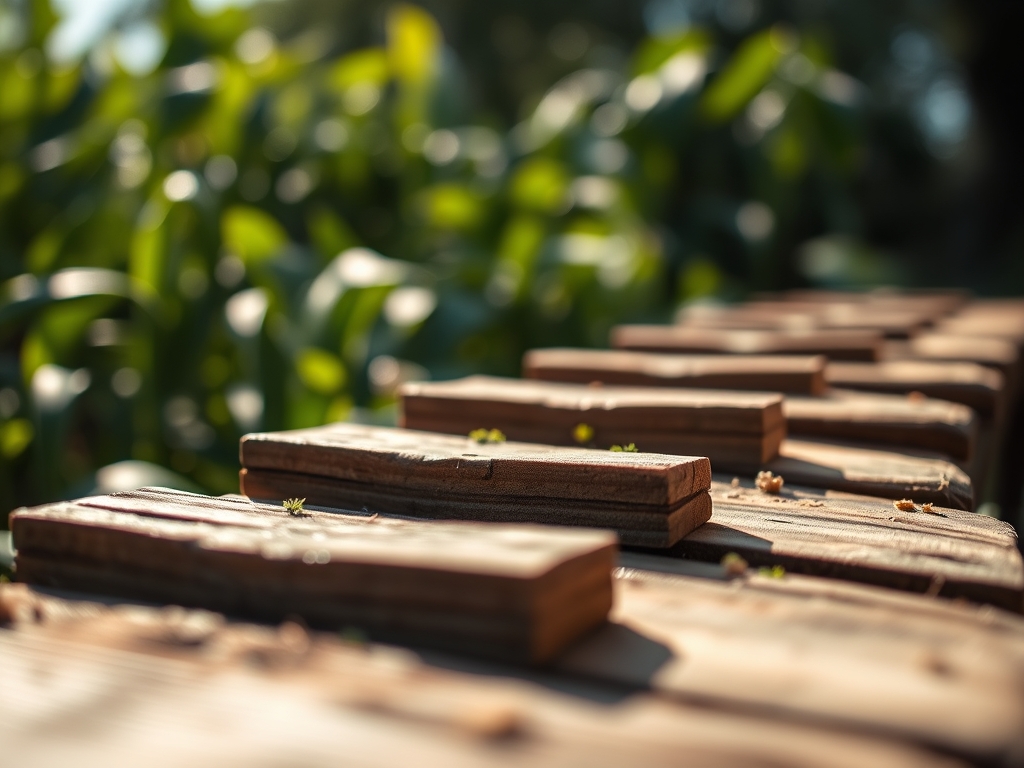
If the bridge spans a water feature, ensure the soil Cation Exchange Capacity (CEC) is high enough to retain nutrients without leaching into the water. Use pressure-treated lumber or naturally rot-resistant species like Western Red Cedar. Fasteners must be 304 or 316-grade stainless steel to prevent galvanic corrosion in high-moisture environments.
Timing:
Construction and planting should occur during the dormant season or early spring, specifically in Hardiness Zones 4 through 8. In these regions, the "Biological Clock" of the garden is in a transitional state. Initiate construction when the soil temperature reaches a consistent 45 degrees Fahrenheit. This timing avoids the peak reproductive stages of surrounding flora, minimizing stress during the transition from vegetative growth to flowering. Aim to complete the heavy structural work at least three weeks before the last predicted frost date to allow the soil to settle before the primary growing season begins.
Phases:

Sowing the Foundation
Excavate the footings to a depth of 12 inches or below the local frost line. Fill the base with four inches of compacted crushed stone to facilitate drainage. This prevents water from pooling at the wood-soil interface, which would otherwise trigger fungal decay.
Pro-Tip: Proper drainage prevents anaerobic conditions. When soil pores fill with water, oxygen is displaced, leading to root rot in nearby plants due to the lack of cellular respiration.
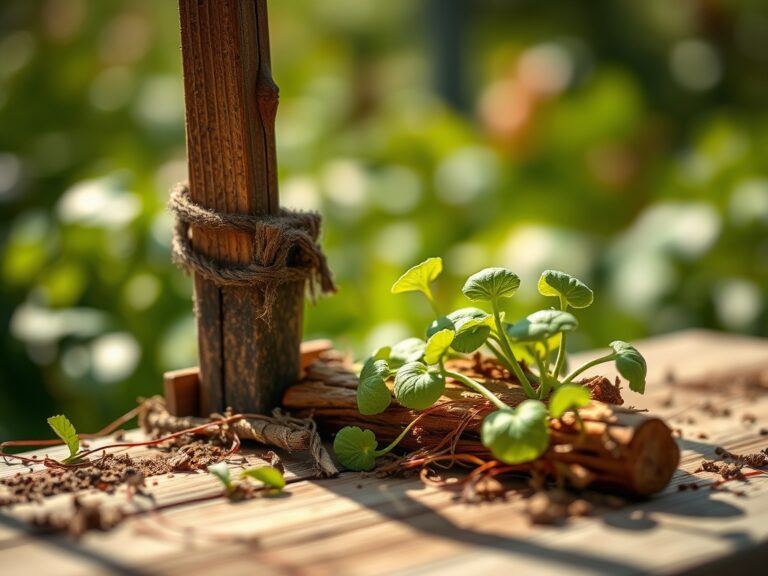
Transplanting and Anchoring
Set the primary stringers across the span. If the bridge exceeds six feet, use a center support. Once the frame is secure, begin transplanting riparian species like Carex or Juncus around the edges. Ensure the root balls are placed at the same depth as their previous container to avoid stem suffocation.
Pro-Tip: Use mycorrhizal inoculants during transplanting. This symbiotic relationship between fungi and roots increases the surface area for nutrient absorption, helping the plant recover from transplant shock via enhanced water uptake.
Establishing the Decking
Space the deck boards 1/8 inch apart. This gap allows for the expansion and contraction of the wood fibers and ensures sunlight reaches the soil beneath, preventing total darkness which would lead to the senescence of ground-cover plants.
Pro-Tip: Maintain spacing to avoid auxin suppression. Plants beneath the bridge require specific light wavelengths; total shading can disrupt the hormonal balance of the plant, leading to stunted, etiolated growth.
The Clinic:
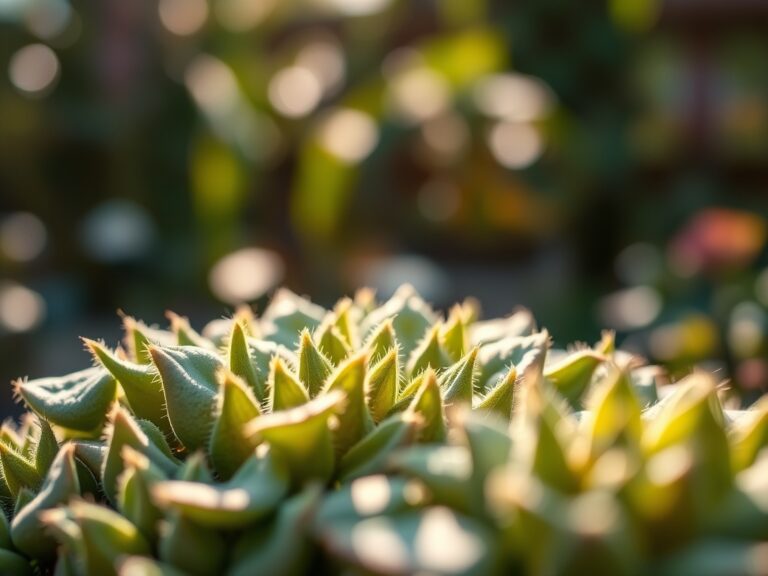
Physiological disorders often manifest when the local environment is altered by new structures.
- Symptom: Interveinal chlorosis (yellowing leaves with green veins).
Solution: This indicates a Manganese or Iron deficiency, often caused by high soil pH. Apply elemental sulfur to lower the pH to 6.5. - Symptom: Marginal leaf burn on new growth.
Solution: This is often a sign of Potassium deficiency. Apply a fertilizer with a high "K" value, such as 0-0-50, to regulate osmotic pressure and stomatal conductance. - Symptom: Etiolation (pale, stretched stems).
Solution: The bridge may be casting too much shade. Thin the surrounding canopy or use reflective mulch to increase the available Photosynthetically Active Radiation (PAR).
Fix-It: For general Nitrogen chlorosis (uniform yellowing of older leaves), apply a quick-release ammonium nitrate solution at a rate of 0.5 pounds per 1,000 square feet.
Maintenance:
Precision is required to maintain the structural integrity and the health of the surrounding ecosystem. Deliver 1.5 inches of water per week at the drip line of the plants flanking the bridge. Use a soil moisture meter twice weekly to ensure the substrate remains at 40% to 60% field capacity.
Use a hori-hori knife to remove deep-rooted weeds that may compromise the footings. Prune encroaching vegetation with bypass pruners to maintain a six-inch clearance between foliage and wood surfaces; this prevents moisture traps that accelerate rot. Inspect stainless steel fasteners annually for any signs of mechanical stress or soil shifting.
The Yield:
If the bridge serves as a focal point for a cutting garden, harvest flowers like Astilbe or Iris when the buds are in the "tight-cross" stage. Use a sharp blade to make a 45-degree angle cut to maximize the surface area for water uptake. Place stems immediately into 110-degree Fahrenheit water containing a floral preservative to maintain high turgor pressure and extend post-harvest longevity.
FAQ:
What is the best wood for a garden bridge?
Western Red Cedar or Redwood are superior due to their natural tannins. These compounds resist decay and insect infestation. Always use stainless steel hardware to prevent wood staining and structural failure over time.
How deep should the bridge footings be?
Footings must reach at least 12 inches deep or go below the local frost line. This prevents the structure from shifting during freeze-thaw cycles, which can cause mechanical stress on the timber and surrounding plant roots.
How do I prevent the wood from rotting?
Ensure a two-inch air gap between the bridge stringers and the soil. Use a gravel base for drainage. Apply a UV-resistant, penetrating oil sealer annually to maintain the hydrophobic properties of the wood fibers.
Can I build a bridge over a dry creek bed?
Yes. A dry creek bed requires a bridge to manage foot traffic without compacting the soil. Compaction reduces pore space, which limits the oxygen available to the rhizosphere and negatively impacts the Cation Exchange Capacity.