6 Steps to Install a Yard Garden Fountain and Reservoir
The smell of damp, disturbed earth signals the start of a structural landscape shift. When you break the surface tension of a dry site to begin the steps for installing a garden fountain, you are managing more than aesthetics; you are altering the local humidity and turgor pressure of surrounding flora. A properly installed reservoir prevents anaerobic soil conditions while providing a consistent water source for the rhizosphere. This process requires precision in excavation and a deep understanding of hydraulic pressure to ensure the feature integrates with the existing ecosystem without compromising soil stability.
Materials:
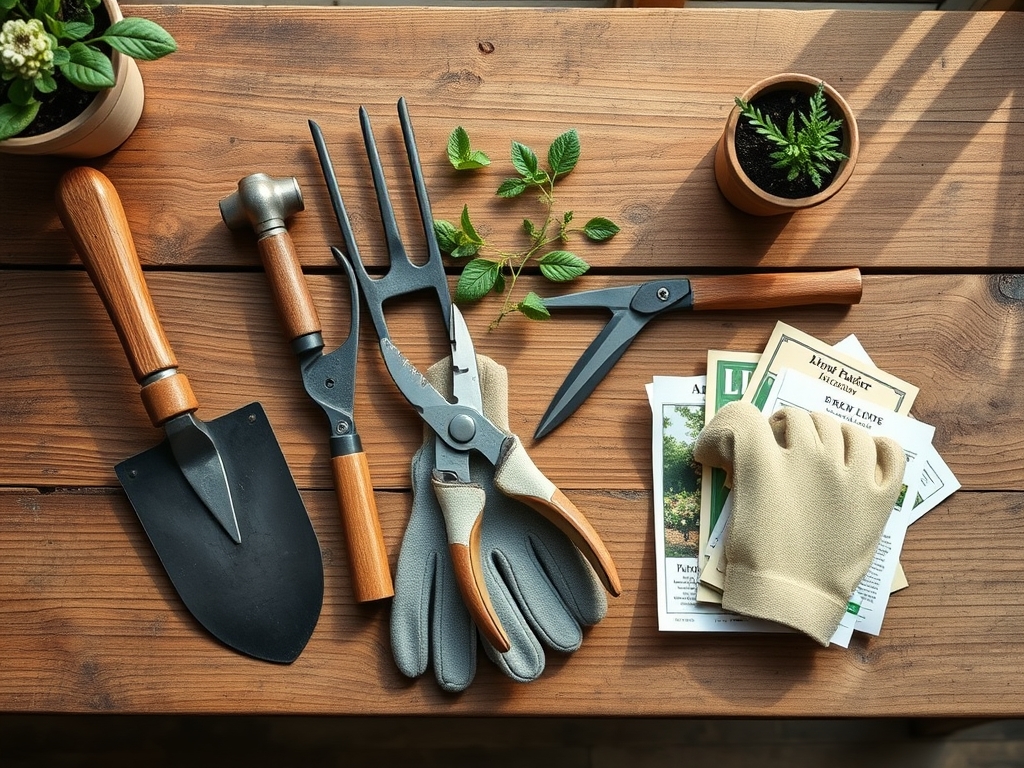
Before excavation, analyze the substrate. The ideal environment for a fountain surround is a **friable loam** with a **pH between 6.0 and 7.0**. This range ensures that any splashing or overflow does not disrupt the **Cation Exchange Capacity (CEC)** of the soil, which governs how plants near the fountain absorb nutrients. You will need a **submersible pump rated for at least 300 GPH (gallons per hour)** and a **heavy-duty EPDM rubber liner (45 mil thickness)**. For the surrounding vegetation, maintain an **NPK ratio of 10-10-10** for general establishment or **5-10-5** if you are prioritizing root development in woody shrubs. Ensure you have **washed river stone** to prevent sediment buildup in the pump intake.
Timing:
Installation must occur when the soil is workable and not saturated. In Hardiness Zones 4 through 7, the ideal window is late spring after the final frost but before the summer heat induces high transpiration rates. In Zones 8 through 11, autumn is preferable to allow the surrounding root systems to establish during the winter dormancy period. Pay attention to the Biological Clock of nearby perennials. Transitioning from vegetative to reproductive stages requires significant metabolic energy. Installing a fountain during peak flowering can cause stress through root disturbance; therefore, aim for the early vegetative phase when auxin levels are high and root regeneration is most aggressive.
Phases:

Sowing and Site Prep
Clear a diameter 12 inches wider than your reservoir. Excavate to a depth of 18 to 24 inches to ensure the reservoir sits below the frost line in colder climates. Level the base using a two inch layer of masonry sand. This provides a stable, non-abrasive surface for the liner.
Pro-Tip: Proper leveling prevents uneven hydrostatic pressure. If the reservoir is tilted, the water weight distribution becomes asymmetrical, potentially causing structural failure of the basin walls over time.
Transplanting and Reservoir Placement
Lower the reservoir into the pit and backfill the perimeter with crushed gravel. This facilitates drainage and prevents the soil from heaving against the reservoir walls during freeze-thaw cycles. When planting around the edge, use a hori-hori knife to slice through any circling roots, encouraging lateral growth into the new soil.
Pro-Tip: Mycorrhizal symbiosis is critical here. Inoculate the backfill soil with beneficial fungi to increase the surface area of the root systems, allowing plants to better manage the increased moisture levels near the fountain.
Establishing and Calibration
Fill the reservoir and activate the pump to check for leaks. Adjust the flow valve to manage the "splash zone." High splash rates can lead to foliar salt accumulation if your water source has high mineral content. Observe the surrounding plants for signs of phototropism as they adjust to the new light reflections from the water surface.
Pro-Tip: Maintain the pump at a depth where it remains fully submerged. This prevents cavitation, which occurs when air bubbles implode against the impeller, causing mechanical erosion and heat stress to the motor.
The Clinic:
Physiological disorders in the fountain zone often stem from moisture imbalances. Monitor for these specific symptoms:
- Iron Chlorosis: If new leaves are yellow with green veins, the soil pH may be too high due to concrete leaching from fountain ornaments. Solution: Apply chelated iron and check the water pH.
- Edema: This appears as blister-like bumps on the underside of leaves. It occurs when the roots take up water faster than the plant can transpire it. Solution: Improve air circulation and reduce irrigation frequency in the immediate splash zone.
- Root Rot (Phytophthora): Indicated by wilting despite wet soil. Solution: Remove the affected plant and improve drainage by adding perlite or coarse sand to the soil profile.
- Nitrogen Deficiency: General yellowing of older leaves (chlorosis). Fix-It: Apply a high-nitrogen fertilizer (20-10-10) to restore chlorophyll production.
Maintenance:
Precision is the hallmark of a healthy garden. Use a soil moisture meter twice weekly to ensure the surrounding soil remains at 60 to 70 percent field capacity. Most ornamentals near a fountain require 1.5 inches of water per week at the drip line. Use bypass pruners to remove any senescent foliage that falls into the water; decaying organic matter increases nitrogen levels in the reservoir, which triggers algae blooms. Monthly, scrub the pump intake with a stiff brush to remove biofilm. Every six months, test the water hardness to prevent calcium carbonate buildup on the fountain pump and nozzles.
The Yield:
If you have integrated edible aquatic plants like Watercress (Nasturtium officinale), harvest when the stems reach 6 inches in length. Use sharp shears to cut the top 3 inches, leaving the root system intact for regrowth. To maintain "day-one" freshness, immediately submerge the cut ends in 40 degree Fahrenheit water. This maintains turgor pressure and slows the metabolic breakdown of the plant tissues. For floral yields like Iris laevigata, harvest when the bud is in the "pencil stage" (just showing color) to ensure maximum vase life and prevent petal bruising during transport.
FAQ:
How deep should I dig for a fountain reservoir?
Excavate at least 18 to 24 inches. This depth prevents the pump from freezing in winter and provides enough volume to minimize water temperature fluctuations, which can stress nearby plant roots and beneficial microbes.
What is the best soil for plants near a fountain?
Use a friable loam with high organic matter. This texture ensures a high Cation Exchange Capacity (CEC) and allows for adequate drainage, preventing the anaerobic conditions that lead to root rot in high-moisture zones.
How do I prevent algae without harming my plants?
Maintain a neutral pH and limit organic debris. Use a UV clarifier or beneficial bacteria treatments rather than harsh chemicals. This protects the delicate rhizosphere of the surrounding vegetation from chemical burns or nutrient lockout.
How often should I check the pump?
Inspect the intake screen once a week. Debris buildup reduces flow rates and causes the motor to overheat. Regular maintenance ensures consistent hydrostatic pressure and prevents stagnant water, which can attract pests or harbor pathogens.