9 Best Tool Kits for Maintaining Indoor Fairy Gardens
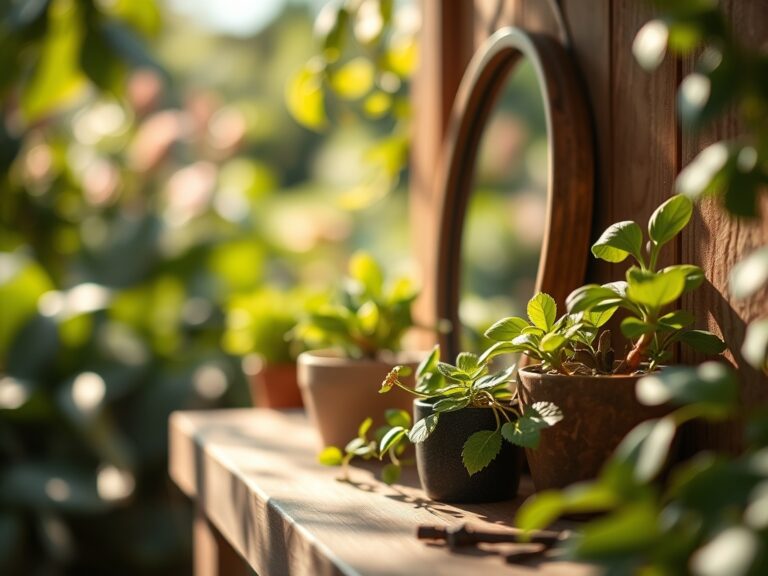
The scent of damp peat moss and the sharp, metallic tang of wet stone signal the start of a precision planting session. Maintaining high turgor pressure in small-scale flora requires more than just water; it demands a surgical approach to the rhizosphere. When managing micro-landscapes, the best tool kits for miniature indoor gardens provide the mechanical leverage needed to manipulate soil in spaces smaller than a standard terracotta pot. Success in this discipline is measured in millimeters. A single misplaced pebble can compress the delicate root systems of Soleirolia soleirolii, leading to localized anaerobic conditions. You are not just gardening; you are engineering a closed-loop biological system where every cubic centimeter of substrate must be optimized for gas exchange and moisture retention. Professional-grade tweezers, micro-spades, and long-handled shears are the primary instruments for this work. These tools allow for the precise placement of slow-release fertilizers and the surgical removal of senescing foliage without disturbing the surrounding soil crust. By maintaining strict control over the physical environment, you ensure that the plants remain in a state of controlled growth rather than unchecked expansion.
Materials:
The foundation of any miniature garden is the substrate. For most indoor fairy gardens, a **pH range of 5.5 to 6.5** is ideal to ensure maximum nutrient availability. The substrate should be a friable loam, characterized by a mixture of **40% sand, 40% silt, and 20% clay**, often amended with perlite or pumice to increase macropore space. This texture prevents compaction, which is the primary cause of root rot in confined containers.
Nutrient management requires precision. Use a balanced NPK ratio of 10-10-10 for general maintenance, but pivot to a 5-10-5 ratio if you are encouraging root development over vegetative biomass. High Cation Exchange Capacity (CEC) is vital; materials like vermiculite or aged compost increase the soil's ability to hold onto positively charged nutrients like Calcium (Ca2+) and Magnesium (Mg2+). Without a high CEC, nutrients leach through the shallow soil profile every time you apply water, leaving the plants starved despite regular fertilization.
Timing:
Indoor environments bypass traditional USDA Hardiness Zones, yet plants still respond to seasonal shifts in light intensity and ambient humidity. Maintain a consistent temperature between 65 and 75 degrees Fahrenheit to prevent thermal stress. The "Biological Clock" of your miniature garden is governed by the photoperiod. Most indoor species require 12 to 14 hours of light to maintain the vegetative stage.
As the plant transitions from vegetative growth to the reproductive stage, you will notice a shift in auxins, the hormones responsible for cell elongation. To keep a fairy garden in scale, you must intervene before this transition. Pruning should occur during the active growth phase, typically in early spring or whenever the plant reaches 80% of its designated container height. This timing ensures the plant has the metabolic energy required to seal pruning wounds and prevent opportunistic fungal pathogens from colonizing the vascular tissue.
Phases:

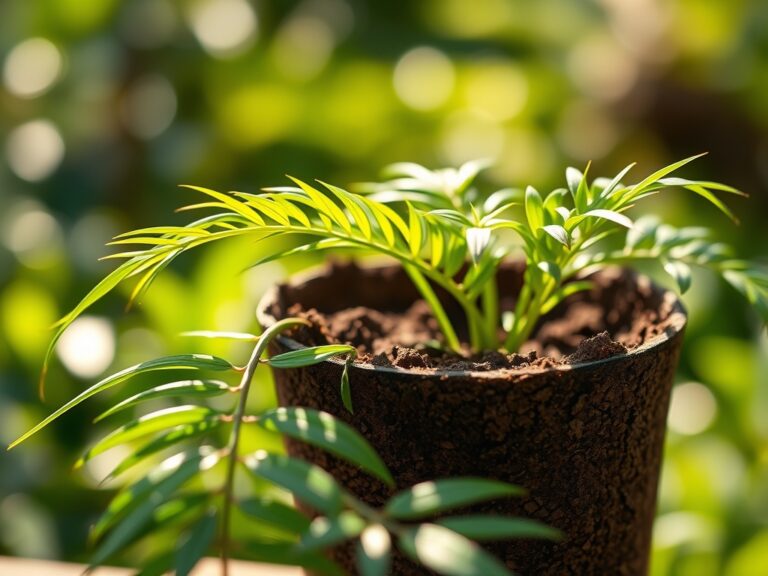
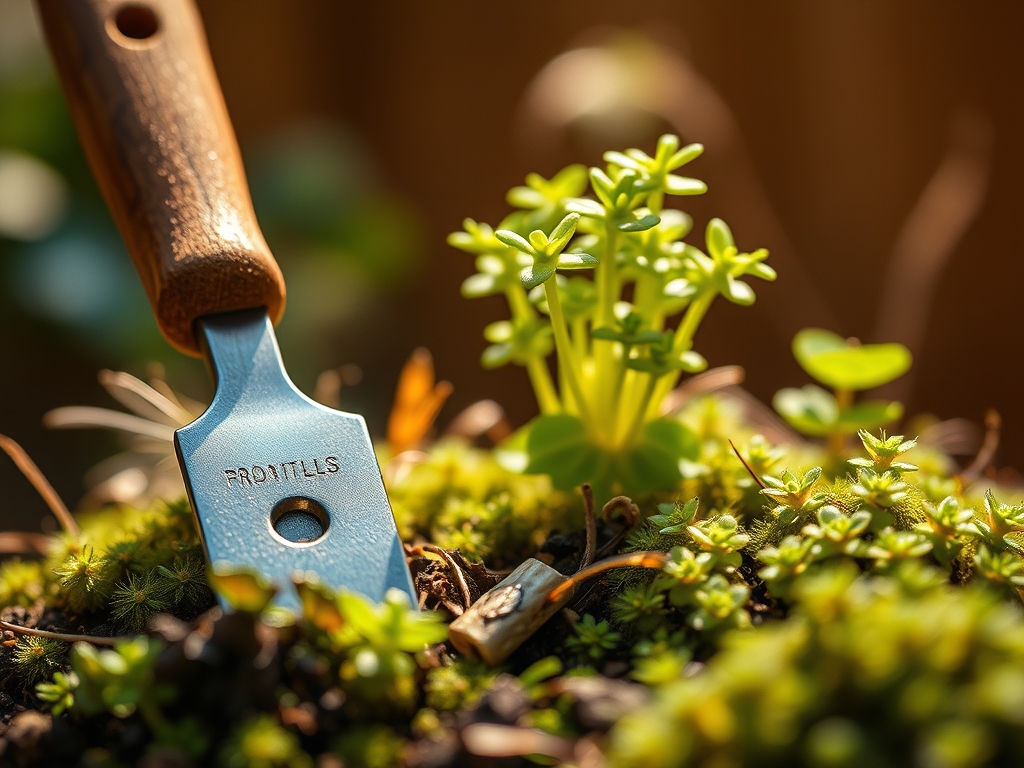
Sowing
When starting from seed, maintain a substrate temperature of 70 degrees Fahrenheit using a heat mat. Use a micro-dibber to place seeds at a depth exactly two times their diameter.
Pro-Tip: Proper sowing depth is critical because of skotomorphogenesis, the developmental pattern of a seedling in the dark. If buried too deep, the seedling exhausts its endosperm energy reserves before reaching the surface for photosynthesis.
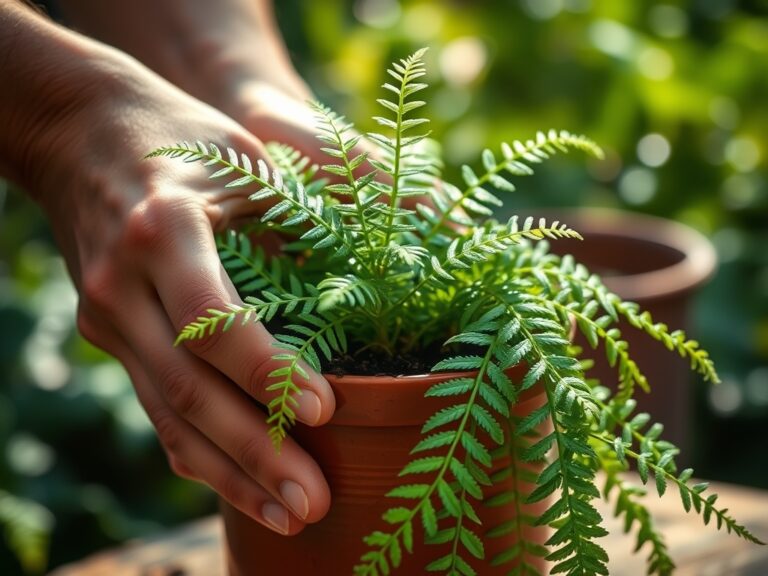
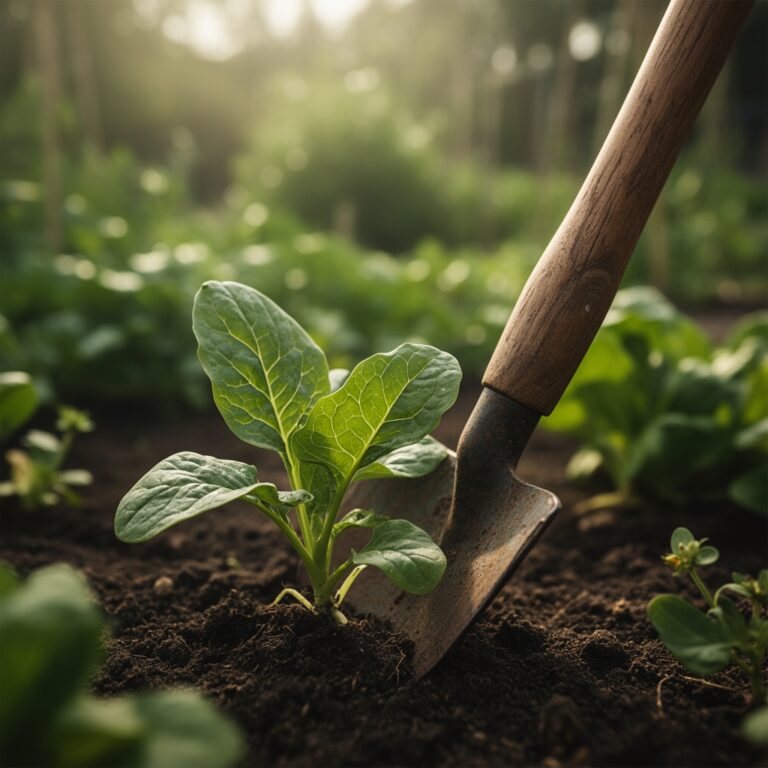
Transplanting
Use long-handled offset tweezers to move delicate specimens. Ensure the root ball is saturated to maintain turgor pressure during the move. The hole must be twice as wide as the root mass to allow for easy expansion into the new medium.
Pro-Tip: Minimize "transplant shock" by inoculating the new site with mycorrhizal fungi. This symbiotic relationship extends the root system's reach, increasing the surface area for water and phosphorus absorption by up to 100 times.
Establishing
During the first 14 to 21 days, keep the environment at 70% relative humidity. Use a fine-mist spray bottle to avoid dislodging the topsoil or exposing the crown of the plant.
Pro-Tip: Rotate the container 90 degrees every three days to counteract phototropism. This ensures that auxins are distributed evenly across the stem, preventing the plants from leaning toward the light source and becoming "leggy."
The Clinic:
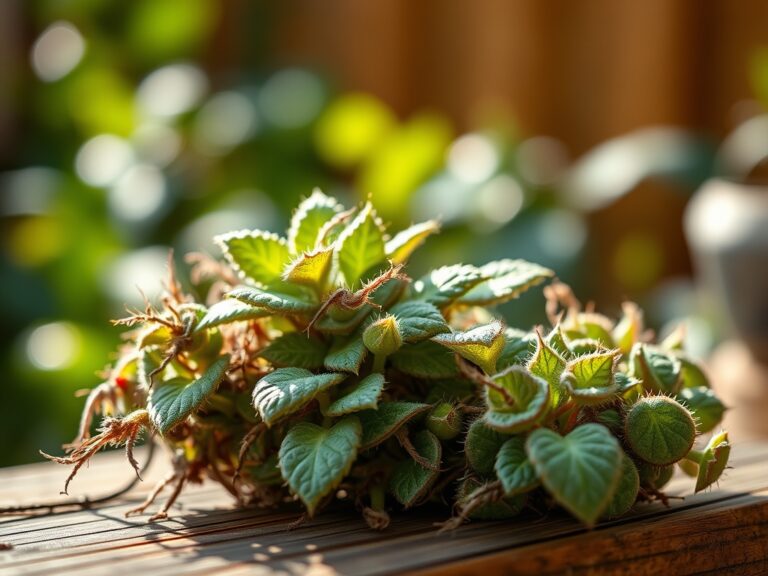
Physiological disorders in miniature gardens often manifest rapidly due to the small volume of soil.
- Symptom: Interveinal chlorosis (yellowing between leaf veins) on new growth.
- Solution: This indicates an Iron (Fe) deficiency, often caused by a pH above 7.0. Lower the pH using elemental sulfur or a chelated iron supplement.
- Symptom: Leaf tip burn or marginal necrosis.
- Solution: This is typically a sign of Salt Accumulation from synthetic fertilizers. Flush the substrate with distilled water until the runoff electrical conductivity (EC) drops.
- Symptom: Soft, blackened stems at the soil line (Damping off).
- Solution: This is a fungal infection caused by excessive moisture and poor airflow. Remove infected plants immediately and increase ventilation.
Fix-It for Nitrogen Chlorosis: If the oldest leaves are turning a uniform pale yellow, the plant is scavenging Nitrogen to support new growth. Apply a liquid fertilizer with a higher N-value (like 20-10-10) at half-strength to restore chlorophyll production.
Maintenance:
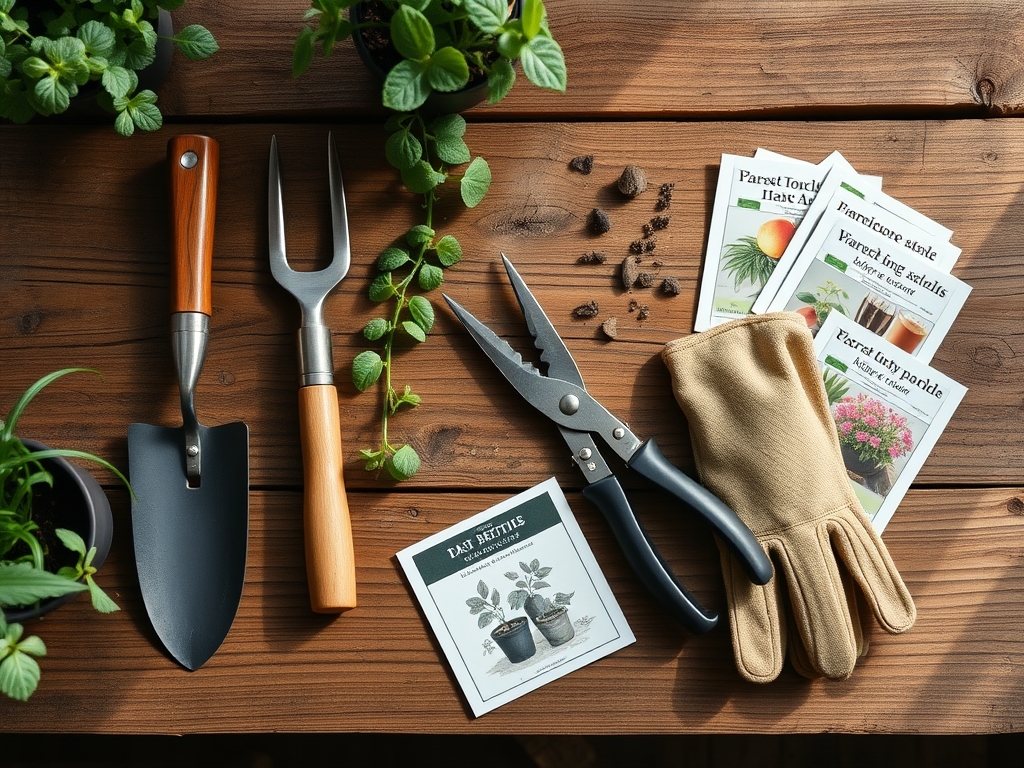
Precision maintenance is the difference between a thriving ecosystem and a dying one. Use a soil moisture meter with a slim probe to check the volumetric water content. Most miniature species require the soil to remain at 20% to 30% moisture. Apply water directly to the soil using a long-neck watering can; avoid wetting the foliage to prevent powdery mildew.
For pruning, use stainless steel bypass pruners with a blade width of less than 0.5 inches. This allows you to make clean cuts at the nodes without crushing the delicate xylem and phloem. If you need to rearrange hardscape elements like rocks or tiny fences, a hori-hori knife scaled for miniature use or a specialized spatula is essential for lifting heavy items without causing soil compaction in the surrounding root zones.
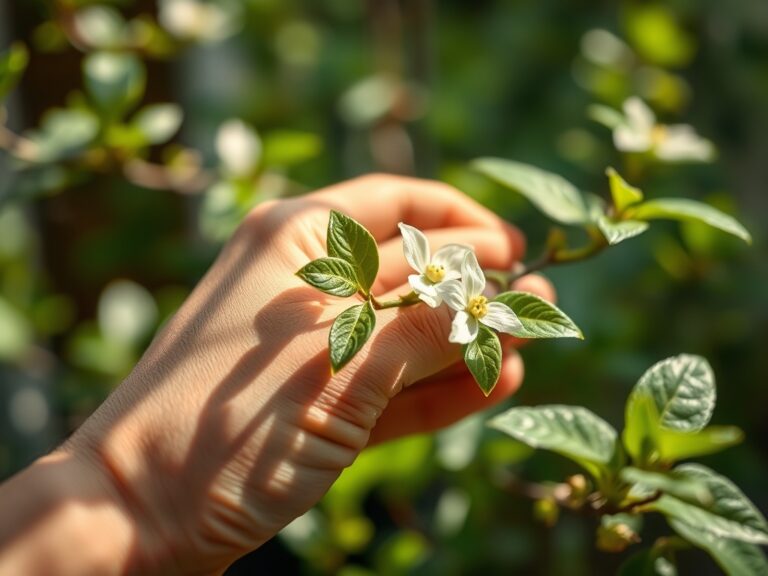
The Yield:
If your miniature garden includes edible micro-greens or herbs like Thymus serpyllum, harvest when the plant has at least three sets of true leaves. Use micro-shears to cut the top third of the plant. To maintain "day-one" freshness for herbs, place the cuttings immediately into a sealed container with a damp paper towel and refrigerate at 40 degrees Fahrenheit. This slows down the rate of respiration and prevents the loss of volatile aromatic oils.
FAQ:
How often should I calibrate my soil pH?
Test the substrate every three months. Small soil volumes are susceptible to rapid pH swings caused by tap water minerals and fertilizer salts. Use a digital probe for accuracy within 0.1 pH units.
Why are my succulent leaves falling off?
This is usually edema caused by overwatering. The plant cells take in more water than they can transpire, causing them to burst. Reduce watering frequency and ensure the substrate has at least 50% inorganic grit.
Can I use standard garden soil?
No. Standard soil is too heavy and contains pathogens. It lacks the porosity and sterilized consistency required for indoor containers. Use a professional-grade soilless mix containing peat, perlite, and coconut coir for optimal results.
How do I stop mold on the soil?
White mold indicates low light and stagnant air. Increase light intensity to at least 1,000 foot-candles and use a small fan to improve gas exchange at the soil surface. Remove the top 0.25 inches of affected soil.