8 Visibility Steps to Prepare a Tiered Indoor Plant Display
The scent of damp peat moss and the sharp, metallic tang of sterilized steel bypass pruners define the workspace of a serious indoor gardener. Success in horticulture is measured by turgor pressure; the internal fluid force that keeps a leaf rigid and functional. When learning how to prepare a tiered indoor plant display, you are not merely arranging pots; you are engineering a vertical microclimate. Each level of a tiered stand presents distinct challenges in light intensity and humidity gradients. Mastery requires balancing the physiological needs of diverse species within a single structural footprint. You must account for the specific gravity of saturated substrates and the architectural integrity of the shelving. A failed display is rarely a result of poor aesthetics; it is usually a failure of hydraulic management or light saturation. This guide provides the technical framework to ensure your vertical collection thrives through precise environmental control and substrate optimization.
Materials:
The foundation of any tiered display is the substrate. For most indoor tropicals, you require a friable loam that maintains a **pH between 5.8 and 6.5**. This acidity level ensures maximum nutrient availability. Your primary growing medium should consist of 40 percent coco coir, 30 percent perlite, and 30 percent composted bark to facilitate a high **Cation Exchange Capacity (CEC)**.
Specific nutrient requirements vary by tier. For the upper levels, which often house high-light species like Ficus elastica, utilize a fertilizer with an NPK ratio of 3-1-2 to support rapid vegetative growth. Lower, shaded tiers housing Aglaonema or Sansevieria require a leaner 1-1-1 ratio to prevent the accumulation of mineral salts in lower-light conditions. Ensure you have a digital hygrometer to monitor the 50 to 60 percent humidity range required for most indoor cultivars.
Timing:
While indoor environments are shielded from external weather, they remain tethered to the biological clock. Most houseplants enter a period of active vegetative growth when daylight exceeds 12 hours. In the northern hemisphere, the optimal window to initiate a tiered display is between March and May. This aligns with the transition from winter dormancy to the active growth phase, allowing plants to recover quickly from the stress of repotting and relocation.
Hardiness zones still influence indoor displays via microclimates near windows. In Zones 4 through 6, the area within 12 inches of a glass pane can drop to 45 degrees Fahrenheit during winter nights, causing cellular collapse in tropical species. Conversely, in Zones 9 and 10, solar gain can spike temperatures to over 90 degrees Fahrenheit, leading to rapid transpiration and wilting. Monitor the photoperiod closely; as days shorten in autumn, reduce nitrogen application to prevent weak, etiolated growth that cannot support its own weight on a tiered structure.
Phases:
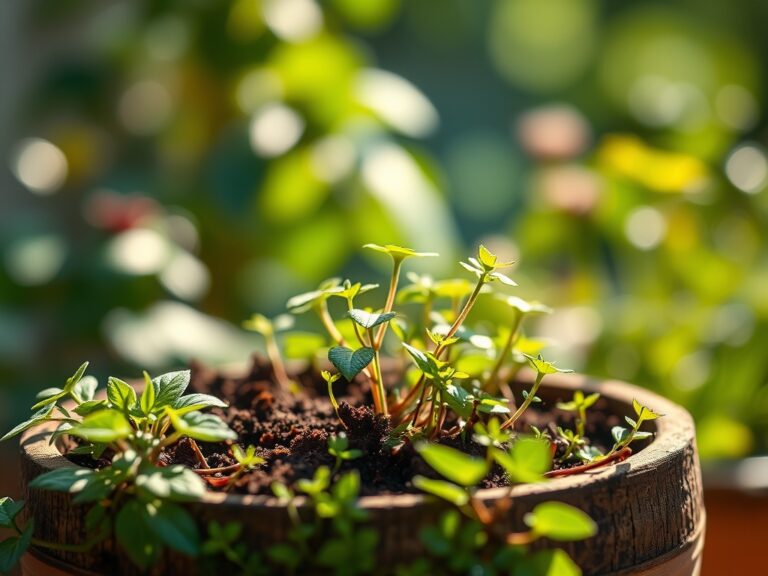
Sowing and Selection
Select plants based on their light saturation points. Place high-light species (requiring 1,000 to 2,000 foot-candles) on the top tier. Reserve the middle tiers for medium-light plants (250 to 1,000 foot-candles) and the base for low-light specimens (50 to 250 foot-candles).
Pro-Tip: Understand phototropism. Plants contain blue-light receptors called phototropins that cause auxins to redistribute to the shaded side of the stem, forcing the plant to lean toward the light source. Rotate your tiered display 90 degrees every seven days to maintain structural symmetry.
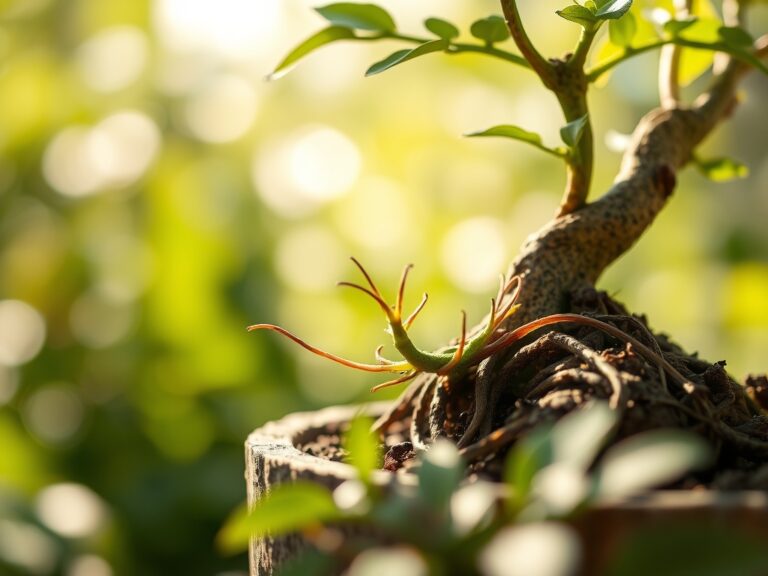
Transplanting
When moving plants into the tiered structure, inspect the rhizosphere. If roots are circling the pot, use a hori-hori knife to make four vertical scores in the root ball. This mechanical disruption encourages lateral root branching. Ensure the new containers have adequate drainage holes to prevent anaerobic conditions at the root zone.
Pro-Tip: Utilize mycorrhizal symbiosis by dusting the root ball with Glomus intraradices spores during transplanting. These fungi extend the reach of the root system, increasing the surface area for phosphorus absorption and improving drought resistance.
Establishing
Once positioned, the first 21 days are critical for acclimation. Maintain a consistent temperature of 72 degrees Fahrenheit. Avoid heavy fertilization during this phase to prevent burning new, sensitive root hairs that are just beginning to explore the new substrate.
Pro-Tip: Watch for auxin suppression. If a plant on a lower tier becomes too "leggy," pinch off the apical meristem (the growing tip). This removes the source of apical dominance, allowing lateral buds to develop and creating a bushier, more compact form suitable for tight shelving.
The Clinic:
Physiological disorders often manifest as visual cues on the foliage.
- Symptom: Interveinal chlorosis (yellowing between green veins) on new leaves.
Solution: This indicates an Iron deficiency, often caused by a pH above 7.0. Lower the pH using a sulfur-based acidifier. - Symptom: Tip burn on older foliage.
Solution: This is typically a result of fluoride or salt accumulation. Flush the substrate with distilled water until the Electrical Conductivity (EC) of the runoff is below 0.5 dS/m. - Symptom: Edema (corky blisters on the underside of leaves).
Solution: This occurs when the roots take up more water than the leaves can transpire. Increase airflow with a small fan and reduce watering frequency. - Fix-It (Nitrogen Chlorosis): If the entire plant turns a uniform pale yellow, it lacks Nitrogen. Apply a quick-release liquid fertilizer with a high N-value (e.g., 10-5-5) to restore chlorophyll production.
Maintenance:
Precision watering is the cornerstone of tiered display longevity. Use a soil moisture meter to ensure you only water when the top 2 inches of soil are dry. For a standard 10-inch pot, apply approximately 1.5 cups of water directly to the soil surface; avoid wetting the foliage to prevent fungal pathogens.
Pruning is mandatory for vertical displays to prevent overcrowding. Use bypass pruners to remove any necrotic tissue or crossing branches. Sterilize your tools with 70 percent isopropyl alcohol between plants to prevent the spread of pathogens. Monitor the "drip line"—the area directly under the outer circumference of the plant's canopy—as this is where the most active feeder roots are located.
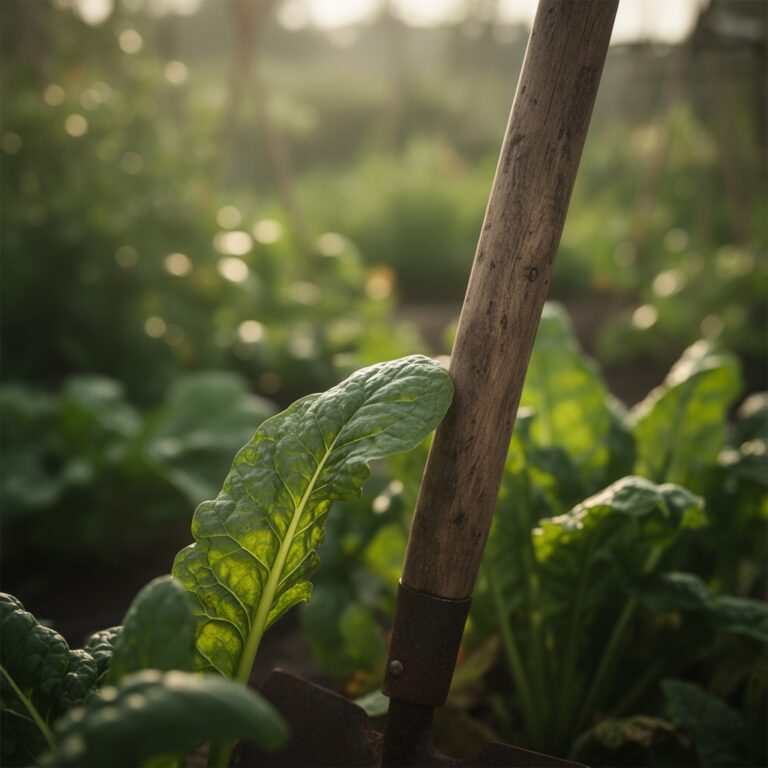
The Yield:
If your tiered display includes edible herbs like Ocimum basilicum (basil), harvest timing is essential for essential oil concentration. Harvest in the early morning when turgor is highest and the plant is most hydrated. Never remove more than 30 percent of the leaf mass at once to avoid stalling the plant's metabolic rate. For ornamental flowers, cut stems at a 45-degree angle and immediately submerge them in 110-degree Fahrenheit water to break any air embolisms in the xylem, ensuring day-one freshness.
FAQ:
How often should I water my tiered display?
Water when a soil moisture meter indicates the top 25 percent of the substrate is dry. Most indoor plants require hydration every 7 to 10 days, depending on ambient humidity and pot size.
What is the best light for a tiered stand?
Place the stand near a South-facing window for maximum intensity. Supplement with full-spectrum LED grow lights positioned 12 to 18 inches above the top tier to provide at least 12 hours of light.
How do I prevent pests on vertical displays?
Maintain high air circulation and inspect the underside of leaves weekly. Isolate new plants for 14 days before adding them to the tier to ensure no larvae or eggs are introduced to the collection.
Can I use garden soil for my indoor display?
No. Garden soil lacks the necessary porosity and sterilization. It compacts easily in containers, leading to root rot and introducing pathogens. Always use a professional-grade, soilless potting mix with high perlite content.