9 Humidity Steps to Prepare a DIY Indoor Glass Cloche
The smell of damp earth and the firm turgor of a healthy leaf define the success of a controlled microclimate. When you understand how to prepare a DIY cloche for humidity, you transition from a casual grower to a precise environmental manager. A glass cloche functions as a localized greenhouse; it traps transpired moisture and maintains a consistent thermal mass. This process requires a deep understanding of the rhizosphere and the gas exchange occurring beneath the glass. Success depends on the balance between air saturation and soil drainage. Without this equilibrium, the plant faces rapid senescence or fungal pathogens. By following a technical protocol, you can create a self-sustaining cycle where water vapor cycles from the foliage to the glass and back to the substrate. This guide provides the scientific framework for building a high-performance humidity chamber that mimics tropical understory conditions.
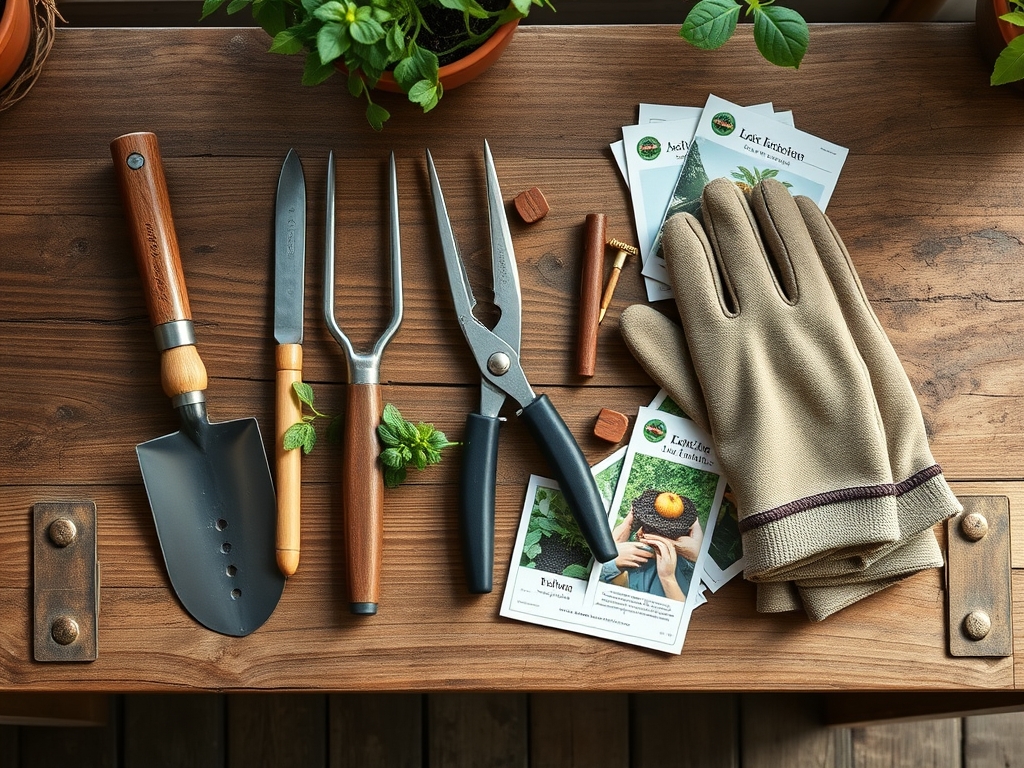
Materials:
The foundation of a successful cloche is a **friable loam** with high porosity. Use a substrate mix consisting of two parts peat moss or coco coir, one part perlite, and one part vermiculite to maximize the Cation Exchange Capacity (CEC). The target soil **pH should range between 5.8 and 6.5** to ensure nutrient bioavailability.
For nutrition, incorporate a slow-release organic fertilizer with an NPK ratio of 5-10-5 for root establishment or 10-10-10 for general vegetative growth. High nitrogen levels (the first number) promote leaf expansion, while phosphorus supports the cellular ATP processes necessary for transplant recovery. Avoid heavy clay soils; they lack the macropores required for oxygen to reach the roots in high-humidity environments. You will also need a glass bell jar or a wide-mouth gallon jar, a gravel drainage layer, and activated charcoal to prevent anaerobic bacteria buildup.
Timing:
While indoor cloches are shielded from external weather, they must still align with the plant's biological clock. Most tropical species suitable for cloches thrive in conditions mimicking Hardiness Zones 10 through 12, where temperatures remain between 65 and 80 degrees Fahrenheit.
Initiate your cloche setup during the spring equinox when the photoperiod increases. This timing triggers the transition from dormant states to the vegetative stage. During this window, the plant's metabolic rate increases, and auxin production at the apical meristem is at its peak. If you are starting from seed, ensure the ambient room temperature is at least 70 degrees Fahrenheit to facilitate germination. Avoid setting up a cloche during the winter solstice unless supplemental full-spectrum lighting is provided; low light levels combined with high humidity often lead to etiolation.
Phases:

Sowing and Stratification
Place seeds on the surface of the moistened substrate. For species requiring light for germination, do not bury them; simply press them into the soil to ensure hydraulic contact. Maintain a consistent soil temperature of 72 degrees Fahrenheit.
Pro-Tip: Maintaining high humidity during sowing prevents the seed coat from hardening. This is critical for imbibition, the process where the seed absorbs water to activate enzymes that break down food reserves.
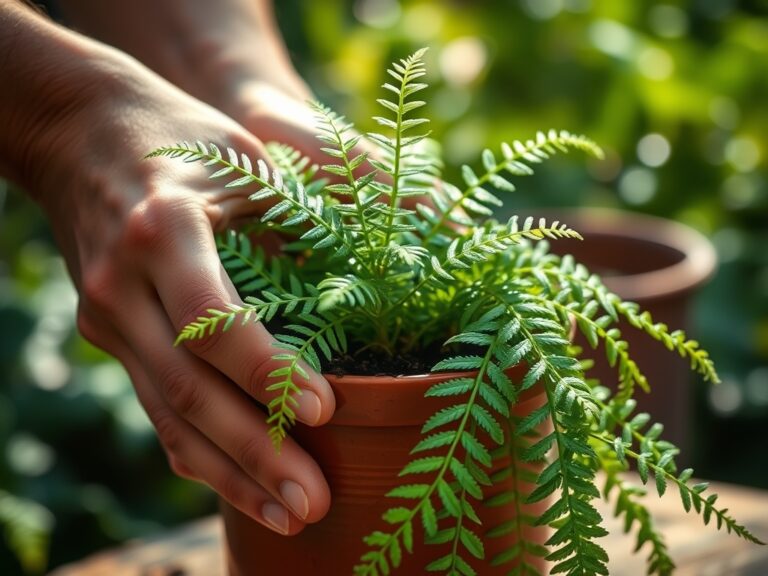
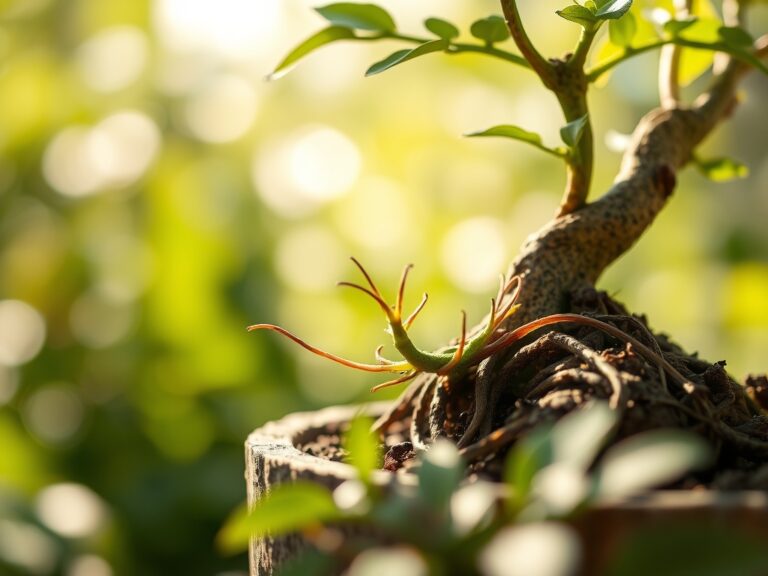
Transplanting
When moving a seedling into the cloche, use a hori-hori knife to create a hole twice the size of the root ball. Ensure the crown of the plant sits exactly at the soil line. Firm the soil gently to remove large air pockets without compacting the micropores.
Pro-Tip: Minimize root exposure to prevent transplant shock. Keeping the roots dark and moist preserves the delicate root hairs responsible for the majority of water uptake via osmosis.
Establishing the Microclimate
Once the plant is in place, seal the cloche. Monitor the glass for condensation. If the glass is completely opaque with water, vent the cloche for 30 minutes to allow for gas exchange and to prevent CO2 depletion.
Pro-Tip: The "Biological Why" here involves turgor pressure. High humidity reduces the vapor pressure deficit (VPD), meaning the plant loses less water through its stomata, allowing it to maintain the internal pressure needed for structural integrity.
The Clinic:
Physiological disorders in a cloche are usually related to moisture extremes or nutrient imbalances.
- Symptom: Edema (Small bumps on leaf undersides).
- Solution: This occurs when the roots take up water faster than the leaves can transpire it. Increase ventilation and reduce watering frequency.
- Symptom: Nitrogen Chlorosis (Yellowing of older leaves).
- Solution: Apply a water-soluble fertilizer with a higher Nitrogen (N) ratio. Nitrogen is a mobile nutrient; the plant moves it from old growth to new growth when deficient.
- Symptom: Anthracnose (Dark, water-soaked lesions).
- Solution: This is a fungal issue caused by stagnant air. Remove affected tissue with sterilized bypass pruners and improve airflow immediately.
- Symptom: Tip Burn (Calcium deficiency).
- Solution: Even if calcium is in the soil, low transpiration in high humidity can prevent it from reaching the leaf tips. Use a small fan to create slight air movement.
Maintenance:
Precision is mandatory for cloche longevity. Use a soil moisture meter every three days. The probe should read "Moist" but never "Wet." Because the cloche recycles water, you may only need to add 0.5 to 1 inch of water every two to three weeks.
Wipe the interior glass with a microfiber cloth once a month to remove mineral deposits and algae, which can block up to 20 percent of available light. If the plant outgrows the space, use bypass pruners to head back the terminal buds; this suppresses apical dominance and encourages lateral branching, keeping the plant compact. Always check the drainage layer for standing water; if it rises above the gravel, use a turkey baster to remove the excess and prevent root rot.
The Yield:
For those growing herbs or small flowering species like African Violets in a cloche, harvest timing is essential. Harvest herbs just before they flower when the essential oil concentration is highest. Use sharp shears to make a clean cut at a 45-degree angle just above a leaf node.
To maintain "day-one" freshness, harvest in the early morning when the plant is at maximum turgidity. Immediately place the cuttings in a sealed container or a secondary mini-cloche to prevent wilting. For flowering plants, remove spent blooms (deadheading) to prevent the plant from shifting energy into seed production, thereby extending the vegetative and flowering cycles.
FAQ:
How often should I water my indoor cloche?
Check the substrate weekly with a moisture meter. Because the glass traps vapor, you generally only need to add water every 14 to 21 days. Only water when the top inch of soil feels dry to the touch.
Why is my cloche fogging up completely?
Total fogging indicates a high Vapor Pressure Deficit. It means the temperature differential between the inside and outside of the glass is too high or the soil is oversaturated. Lift the lid for 15 minutes to equalize the pressure.
What is the best light for a glass cloche?
Provide bright, indirect sunlight. Direct sun through glass creates a "magnifying glass effect" that can raise internal temperatures above 90 degrees Fahrenheit, causing rapid cellular breakdown and lethal heat stress to the plant.
Do I need to use charcoal in my DIY cloche?
Yes. A 0.5-inch layer of activated charcoal is vital. It acts as a chemical filter to absorb toxins and odors produced by decomposing organic matter, preventing the growth of anaerobic bacteria in the closed system.
Can I use garden soil in my cloche?
No. Garden soil is too dense and often contains pathogens. Use a sterile, soilless mix with high porosity and a balanced NPK ratio to ensure proper aeration and to prevent the introduction of soil-borne diseases.