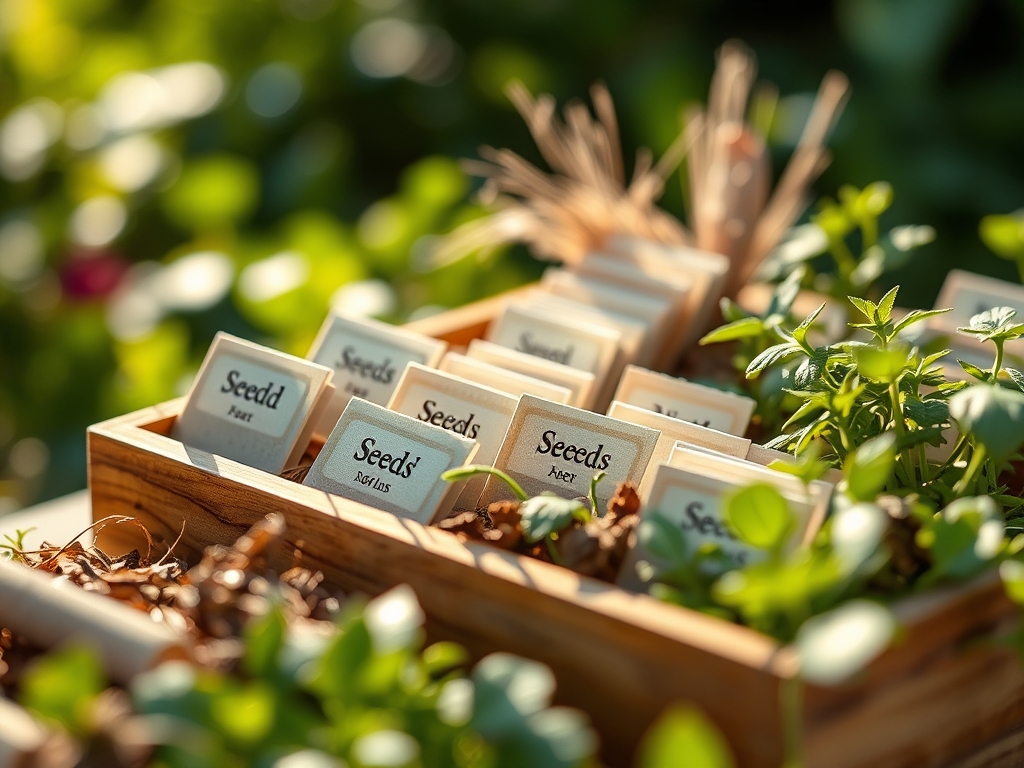
9 Best Organizers for Protecting Seeds and Plant Labels
Damp earth smells of geosmin and microbial activity; it is the scent of a functional rhizosphere. When a seedling achieves full turgor pressure, its cellular walls press firmly against one another, creating the structural rigidity necessary for vertical growth. This biological success begins months before the first thaw. It starts with the systematic preservation of genetic material. Professional growers understand that disorganized storage leads to lost cultivars and expired germination rates. Finding the best organizers for garden seeds and labels is not a matter of aesthetics; it is a rigorous requirement for maintaining a high-functioning germplasm collection. Proper storage protects the embryo from fluctuating humidity and thermal stress. Without a disciplined system, the transition from dormant seed to vigorous sprout is compromised by environmental degradation. A master horticulturist treats seed packets like clinical data. Every envelope and plastic tag represents a specific lineage and a precise set of environmental requirements that must be cataloged with surgical precision to ensure future crop success.
Materials:
The substrate used for starting seeds must provide a specific Cation Exchange Capacity (CEC) to facilitate nutrient uptake. A **friable loam** consisting of 40 percent sand, 40 percent silt, and 20 percent clay provides the ideal physical texture for root penetration. For most vegetable starts, target a **soil pH between 6.2 and 6.8**.
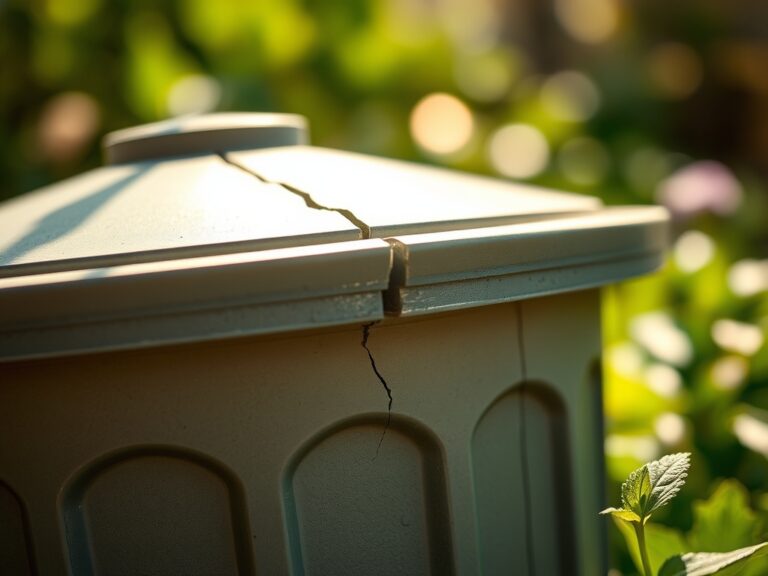
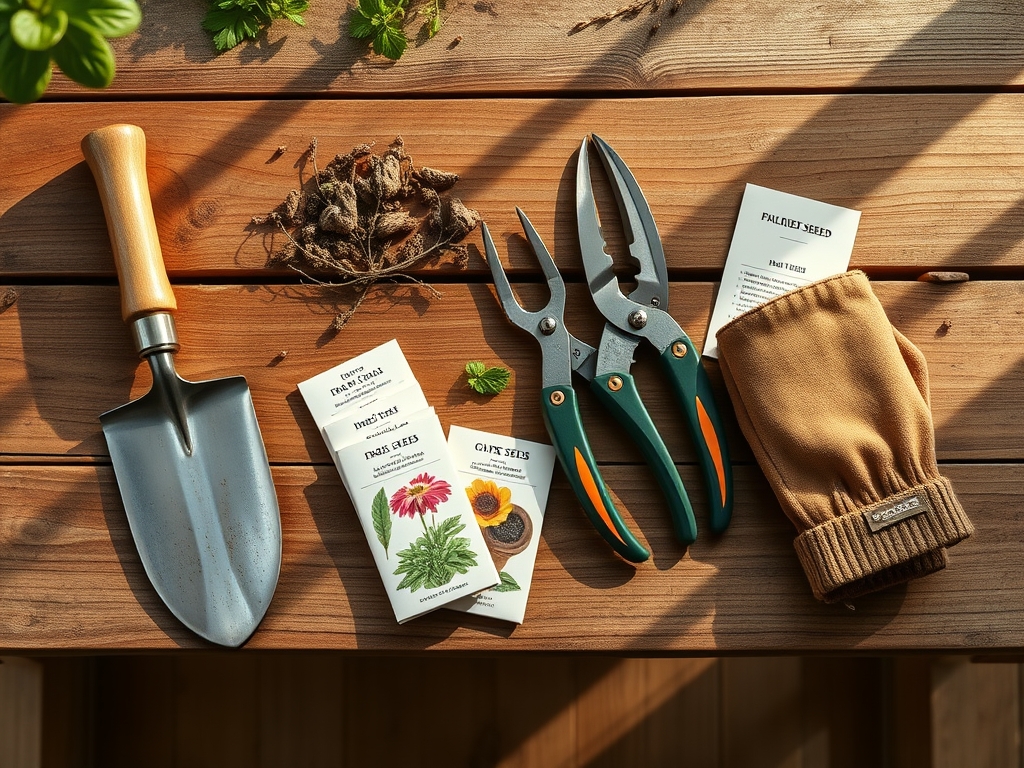
Maintain an NPK ratio of 1-2-1 for the initial germination phase. High phosphorus levels (the middle number) are critical for ATP production and early root development. Avoid high nitrogen levels during the first 14 days; excessive nitrogen can lead to succulent growth that is susceptible to damping-off pathogens. The storage containers themselves must be constructed of high-density polyethylene (HDPE) or acid-free cardstock to prevent chemical leaching into the seed coat. Labels should be made of UV-resistant polypropylene or etched zinc to withstand the high solar radiation of the growing season.
Timing:
Hardiness Zones dictate the operational window for every cultivar. In Zones 5 through 7, the spring frost-date window typically closes by mid-May. The biological clock of a plant is governed by the photoperiod and accumulated Growing Degree Days (GDD). As a plant moves from the vegetative stage to the reproductive stage, its metabolic demands shift from nitrogen-heavy leaf production to potassium-heavy flowering.
Organizing seeds by their required sowing dates ensures that the transplanting window aligns with the specific thermal requirements of the species. For example, Solanaceae (tomatoes and peppers) require a minimum soil temperature of 65 degrees Fahrenheit for active root growth. If the organizer does not categorize seeds by "Weeks Before Last Frost," the grower risks premature germination, leading to root-bound starts and stunted development.
Phases:
Sowing
Place seeds at a depth exactly two to three times their diameter. Use a precise organizer to pull only the quantity needed for the current tray. Exposure to ambient humidity for even one hour can reduce the long-term viability of the remaining stock.
Pro-Tip: Many seeds require "Scarification" or "Stratification." This mimics the natural winter cycle to break physiological dormancy. The biological why involves the degradation of abscisic acid, a hormone that prevents germination until environmental conditions are optimal for survival.
Transplanting
Move seedlings when the first set of true leaves appears. This usually occurs when the plant reaches a height of 3 to 4 inches. Ensure the secondary container has adequate drainage to prevent anaerobic conditions in the root zone.
Pro-Tip: During transplanting, minimize root disturbance to avoid "Transplant Shock." This is a state of hydraulic failure where the plant cannot pull water fast enough to support its current turgor. Maintaining the integrity of the mycorrhizal symbiosis between the roots and soil fungi is essential for nutrient absorption.
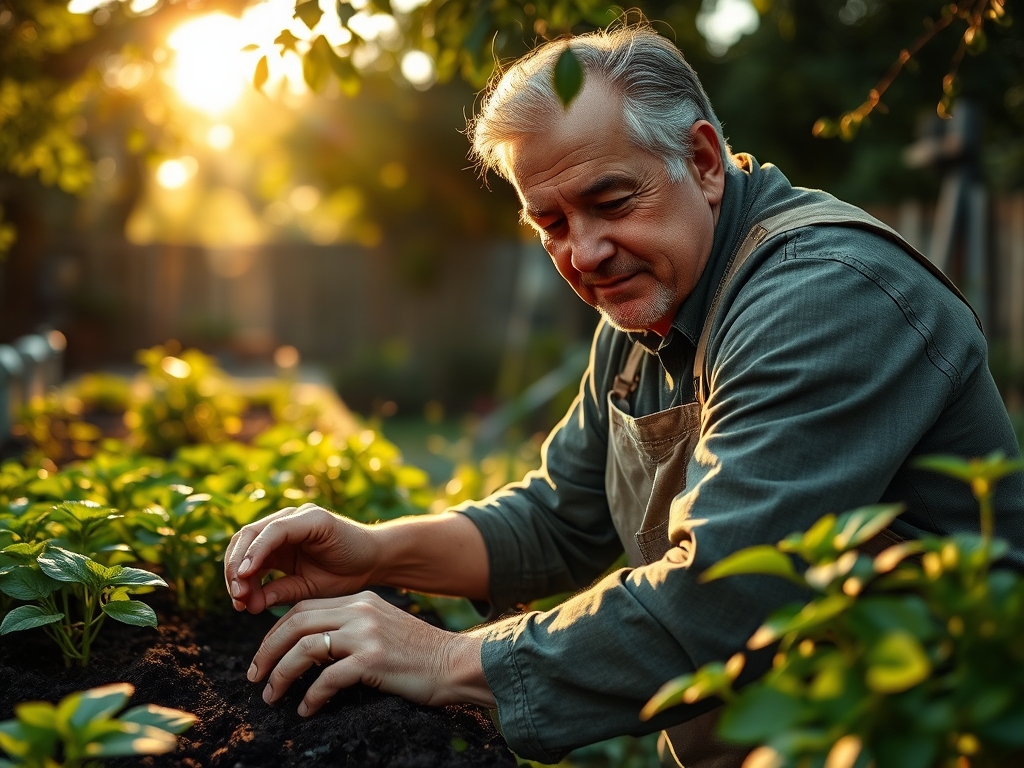
Establishing
Once in the ground, the plant must establish a robust root system. Monitor the soil moisture meter daily. The goal is to maintain a moisture level of 60 to 70 percent of field capacity.
Pro-Tip: Practice "Pinching" or "Apical Pruning" on specific crops to suppress auxin production in the terminal bud. The biological why is simple: by removing the lead growth point, you force the plant to redirect energy to lateral buds, resulting in a bushier, more structurally sound specimen.
The Clinic:
Physiological disorders often mimic infectious diseases. Accurate diagnosis requires looking at the site of the symptom.
-
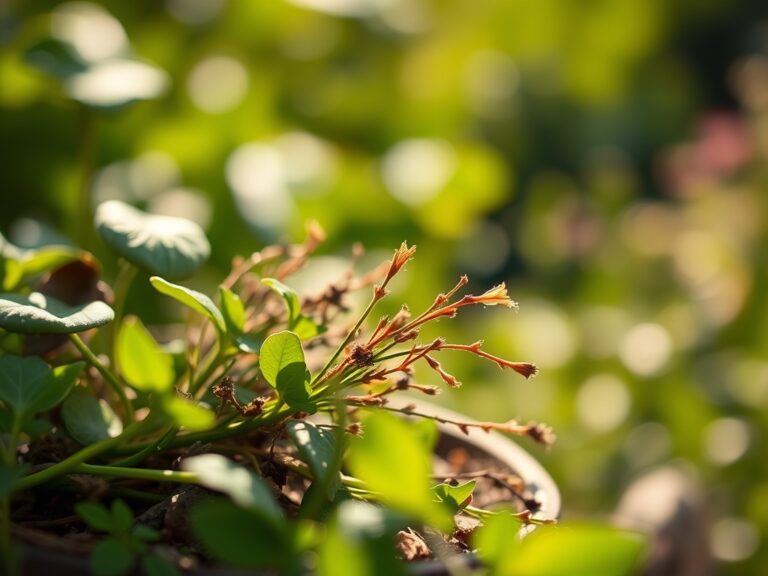
Symptom: Interveinal chlorosis on older leaves.
-
Solution: This indicates a Magnesium deficiency. Magnesium is a central atom in the chlorophyll molecule. Apply a foliar spray of magnesium sulfate at a rate of 1 tablespoon per gallon of water.
-
Symptom: Blossom end rot on fruit.
-
Solution: This is a Calcium transport issue, often caused by inconsistent watering rather than a lack of calcium in the soil. Maintain consistent soil moisture to ensure calcium moves through the xylem via transpiration.
-
Symptom: Purpling of the underside of leaves.
-
Solution: This is a Phosphorus deficiency, common in cold soils below 55 degrees Fahrenheit. Increase soil temperature using black plastic mulch to improve phosphorus solubility.
Fix-It: For general Nitrogen chlorosis (yellowing of the entire plant), apply a liquid fertilizer with an NPK of 4-1-1 to provide an immediate nitrogen boost for protein synthesis.
Maintenance:
Precision is the difference between a harvest and a failure. Provide 1.5 inches of water per week delivered directly at the drip line. Use a soil moisture meter to verify that water is penetrating at least 6 inches deep. Surface watering encourages shallow root systems that fail during heat waves.
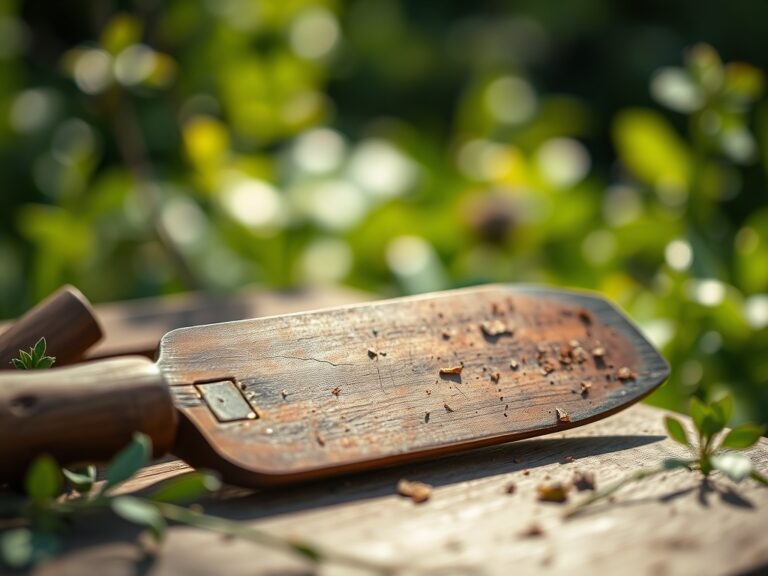
Keep your bypass pruners sharp and sanitized with 70 percent isopropyl alcohol between every plant to prevent the mechanical transmission of viral pathogens. When weeding, use a hori-hori knife to extract the entire taproot of invasive species. A clean garden floor reduces the habitat for gastropods and other herbivorous pests that consume leaf tissue.
The Yield:
Harvesting is the culmination of the plant's reproductive cycle. For leafy greens, harvest in the early morning when turgor pressure is at its peak. This ensures the crispest texture. For fruiting crops like tomatoes, harvest when the fruit reaches "breaker stage" (50 percent color change) to avoid splitting from late-season rain.
Post-harvest handling is critical. Remove field heat immediately by placing produce in a cool, shaded environment. For herbs, keep stems in one inch of water to maintain hydraulic pressure. This preserves the "day-one" freshness by slowing down the process of senescence, where the plant begins to break down its own cellular structures.
FAQ:
What is the best way to store seeds long-term?
Store seeds in airtight glass vials or HDPE containers. Keep them in a dark environment with a constant temperature of 40 degrees Fahrenheit and relative humidity below 35 percent. Use silica gel packets to absorb any residual moisture.
How do I prevent my plant labels from fading?
Use a specialized garden marker with UV-stable ink or an industrial-grade label maker with polyester tape. Etched metal tags provide the longest durability. Avoid standard permanent markers, as they degrade within 60 days of direct solar exposure.
How long do most vegetable seeds remain viable?
Viability varies by species. Onions and parsnips generally last 1 to 2 years. Brassicas and tomatoes can remain viable for 4 to 5 years if stored in a climate-controlled environment with low humidity and stable temperatures.
Why is soil pH important for seed starting?
Soil pH dictates the solubility of nutrients. If the pH is too high or too low, essential elements like phosphorus and iron become chemically locked. A pH of 6.5 ensures maximum bioavailability for the developing seedling's root system.