6 Steps to Prepare Your Garden for a Full Maintenance Day
The scent of damp, mineral-rich earth signals a high Cation Exchange Capacity (CEC) in the soil; it is the smell of active microbial life and chemical potential. When a leaf maintains high turgor pressure, its cells are fully hydrated and rigid, standing firm against the pull of gravity. To maintain this physiological peak, you must master the logistics of a high-intensity work window. Learning how to prepare a garden for a maintenance day requires more than just gathering tools; it demands a deep understanding of plant metabolism and soil physics. You are not merely cleaning a landscape; you are optimizing a biological system for maximum photosynthetic efficiency and structural integrity. Success depends on aligning your physical labor with the specific metabolic needs of the rhizosphere and the current photoperiod.
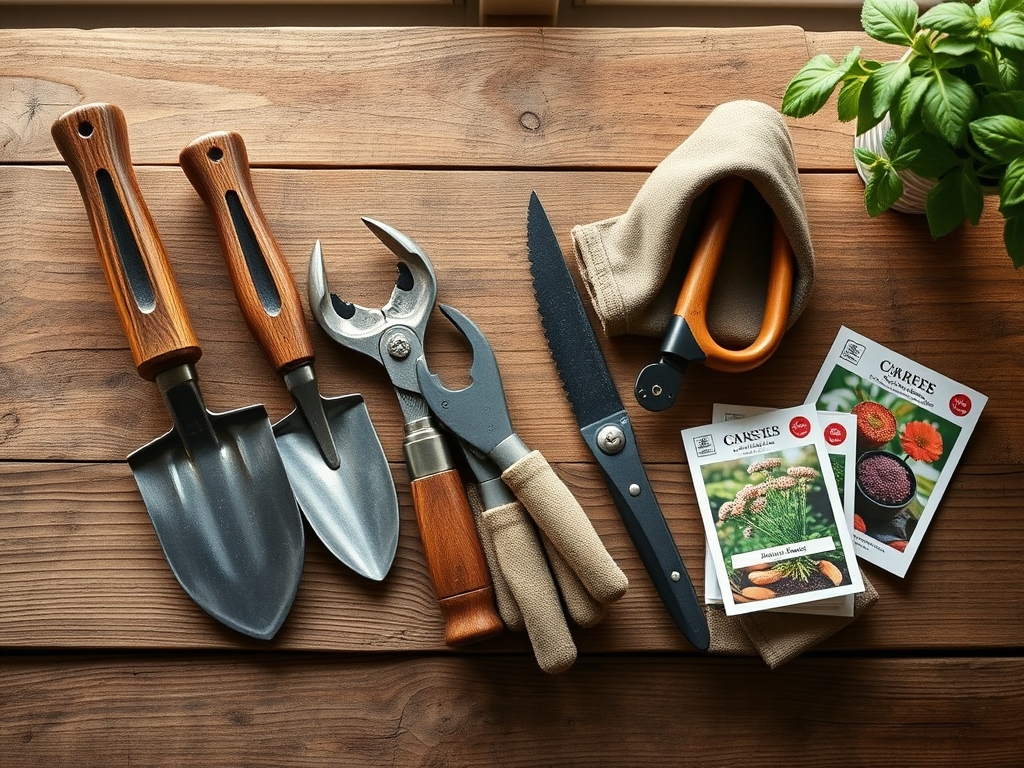
Materials:
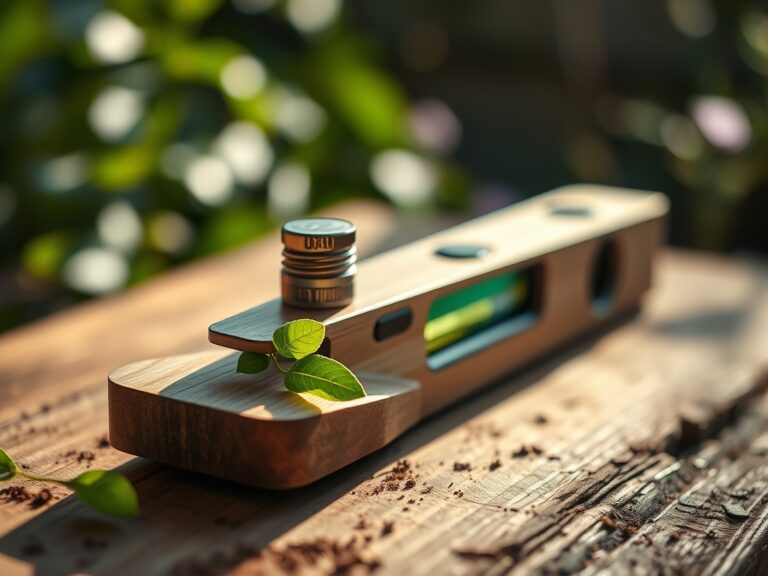
Substrate quality determines the limits of plant growth. You must target a friable loam texture; this is a soil composition that crumbles easily under pressure, indicating a balanced ratio of sand, silt, and clay. For most temperate garden beds, aim for a soil pH between 6.2 and 6.8 to ensure maximum nutrient bioavailability.
Prepare specific fertilizer blends based on the current growth stage. For vegetative growth, utilize an NPK ratio of 10-5-5 to provide the nitrogen necessary for chlorophyll production. For flowering or fruiting stages, pivot to a 5-10-10 ratio to support root development and reproductive health. High-quality compost should have a Carbon-to-Nitrogen (C:N) ratio of approximately 25:1 to prevent nitrogen immobilization. Ensure you have specialized amendments on hand, such as elemental sulfur to lower pH or calcitic lime to raise it, depending on your baseline soil test results.
Timing:
Timing is governed by the USDA Hardiness Zones and the local frost-free window. In Zones 5 through 7, the primary maintenance window typically opens after the last spring frost, which often occurs between mid-April and late May. You must synchronize your heavy pruning and soil disturbance with the "Biological Clock" of your specimens.
Plants transition from vegetative stages (leaf and stem growth) to reproductive stages (flowering and seed production) based on the photoperiod, or the length of daily light exposure. Schedule your maintenance day to precede these major metabolic shifts. For example, pruning woody perennials should occur during late dormancy to prevent sap loss and reduce the risk of pathogen entry. Monitor the Growing Degree Days (GDD) to predict exactly when specific pests or physiological milestones will emerge.
Phases:

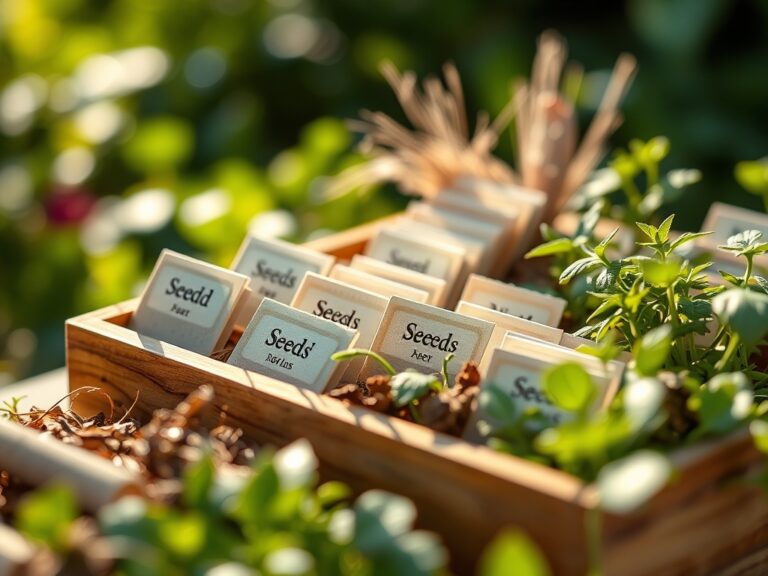
Sowing
Direct sowing requires a seedbed prepared to a fine tilth. Ensure the soil temperature has reached at least 60 degrees Fahrenheit for warm-season crops to prevent seed rot. Seeds should generally be planted at a depth of three times their diameter.
Pro-Tip: Proper seed-to-soil contact is vital because of imbibition. This is the physical process where the dry seed absorbs water to trigger germination. Without tight contact, the hydraulic conductivity is interrupted, leading to erratic emergence.
Transplanting
When moving a plant from a container to the ground, minimize the time the root ball is exposed to air. Dig a hole twice as wide as the root ball but no deeper than the original container. This prevents the settling of the plant, which can lead to stem rot.
Pro-Tip: Inoculate the planting hole with mycorrhizal fungi. This creates a symbiotic relationship where the fungi extend the root system's reach, increasing the uptake of phosphorus and water in exchange for plant sugars.
Establishing
The first 14 days after planting are critical for vascular integration. Maintain consistent moisture to support the development of fine root hairs. Avoid heavy fertilization during this period to prevent osmotic shock to the tender new roots.
Pro-Tip: Use strategic pruning to manage auxin suppression. By removing the apical bud (the tip of the main stem), you reduce the concentration of the hormone auxin, which allows lateral buds to grow, resulting in a bushier and more structurally sound plant.
The Clinic:
Observe your plants for physiological disorders that indicate underlying stress or nutrient imbalances.
- Nitrogen Chlorosis: Identified by a uniform yellowing of older, lower leaves while the veins remain slightly green. Fix-It: Apply a fast-acting, water-soluble fertilizer with a high first NPK number, such as blood meal or urea.
- Blossom End Rot: Characterized by a sunken, leathery black spot on the bottom of fruits like tomatoes. This is caused by a calcium deficiency often triggered by inconsistent watering. Fix-It: Maintain steady soil moisture and apply foliarly-available calcium if soil tests show low levels.
- Interveinal Chlorosis: Yellowing between the veins of young leaves, often indicating Iron or Magnesium deficiency. Fix-It: Check soil pH first; if the pH is above 7.0, iron becomes "locked" and unavailable. Lower the pH or use chelated iron.
- Leaf Scorch: Browning of leaf margins caused by rapid transpiration exceeding the roots' ability to supply water. Fix-It: Increase irrigation volume and apply organic mulch to lower soil temperature.
Maintenance:
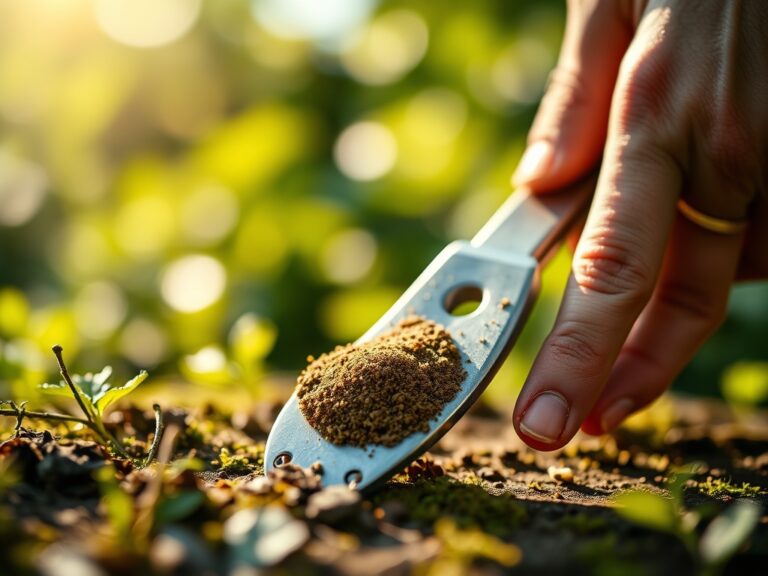
Precision is the hallmark of a master horticulturist. Irrigation must be calculated; aim for 1.5 inches of water per week delivered directly to the drip line, which is the area directly under the outer circumference of the plant branches. This encourages deep root penetration.
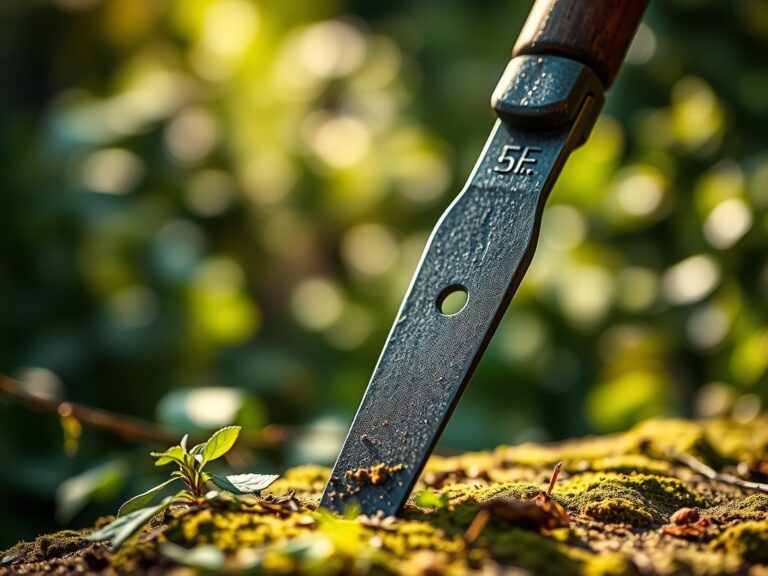
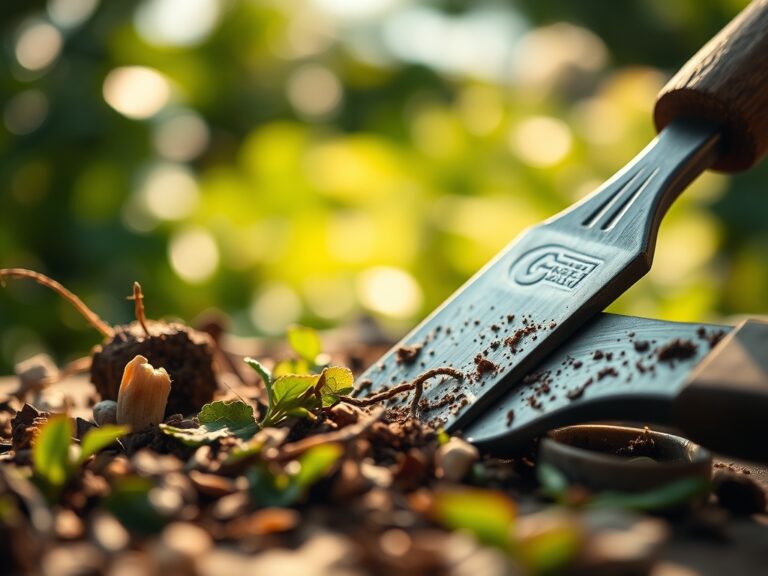
Use a soil moisture meter to verify that water is reaching a depth of 6 to 8 inches. For pruning, utilize bypass pruners for living tissue to ensure a clean, scissor-like cut that heals quickly. A hori-hori knife is the preferred tool for weeding and planting, as its serrated edge can easily slice through compacted soil and stubborn root mats. Always disinfect tools with a 70 percent isopropyl alcohol solution between plants to prevent the mechanical transmission of pathogens.
The Yield:
Harvesting is the culmination of the maintenance cycle. For most leafy greens and herbs, harvest in the early morning when turgor pressure is highest and the plant is cool. This preserves the structural integrity of the cell walls. Use sharp snips to avoid tearing the vascular tissue.
Post-harvest handling is critical for "day-one" freshness. Immediately submerge harvested produce in cool water to remove field heat. This slows down the rate of respiration and delays senescence, the biological aging process. For woody-stemmed flowers, a 45-degree angle cut under water prevents air embolisms from blocking the xylem, ensuring continued hydration.
FAQ:
How do I know if my soil is ready for a maintenance day?
Perform a squeeze test. If the soil forms a ball that crumbles with a light touch, it is at the ideal moisture level. If it smears or holds its shape too firmly, it is too wet and will suffer from compaction.
What is the most important tool for garden prep?
A high-quality soil moisture meter is essential. It provides objective data on the hydration levels of the rhizosphere, allowing you to calibrate your irrigation timing and prevent root hypoxia or drought stress before visible symptoms appear.
Why should I mulch after a maintenance day?
Mulch acts as a thermal and moisture barrier. A 2 to 3 inch layer of organic matter reduces evaporation by up to 70 percent and suppresses weed germination by blocking the light required for the "red-light" photomorphogenesis response in seeds.
How does pH affect my maintenance routine?
Soil pH dictates nutrient solubility. If the pH drifts outside the 6.0 to 7.0 range, essential elements like phosphorus and iron become chemically bound to soil particles. Regular testing ensures your fertilization efforts are not wasted by chemical lockout.