8 Steps to Prepare Your Backyard for a Tool Sharpening Party
The smell of damp earth after a cold rain indicates a high concentration of geosmin; this organic compound signals that the soil is ready for the mechanical demands of the coming season. When the turgor pressure in your perennials is at its peak, your cutting tools must be equally sharp to prevent crushing vascular tissues. Learning how to prepare a garden for a tool sharpening party requires a shift from casual maintenance to rigorous horticultural engineering. A dull blade does not cut; it mangles the xylem and phloem, inviting pathogens into the open wound. By organizing a collective sharpening event, you ensure every bypass pruner and hori-hori knife in your inventory is capable of surgical precision. This preparation starts with the soil and ends with the steel. You must establish a workspace that mirrors the efficiency of a laboratory, ensuring the rhizosphere remains undisturbed while you calibrate your equipment for the specific demands of your local hardiness zone.
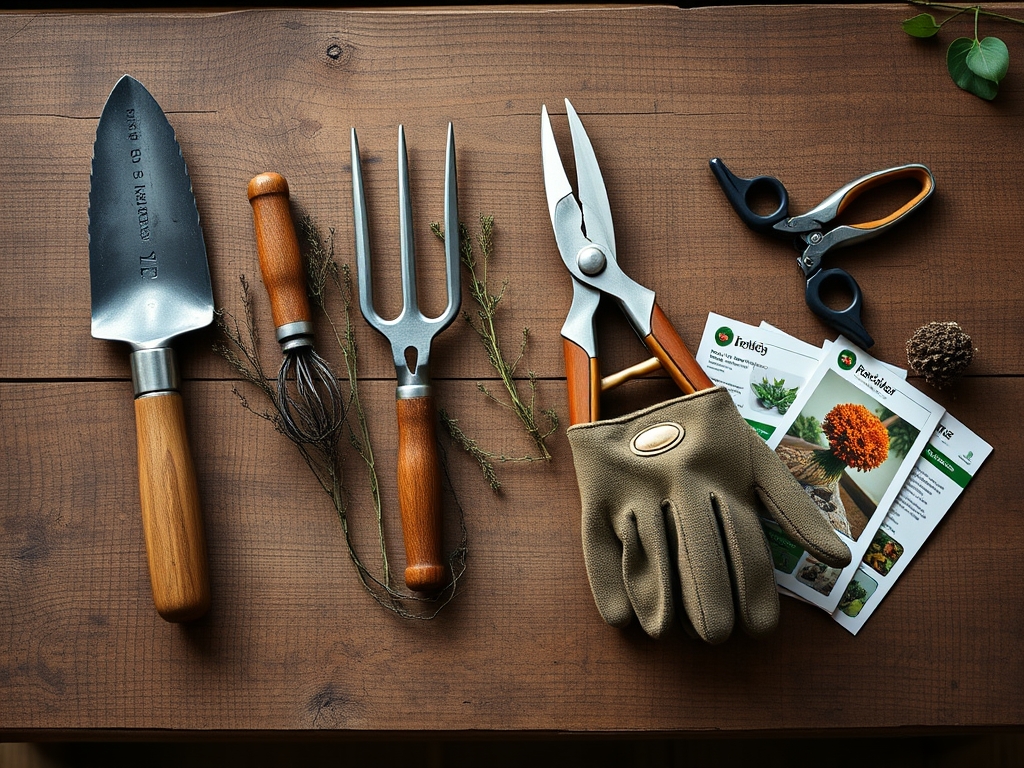
Materials:
Before the first file touches a blade, the surrounding environment must be stabilized. The staging area should be situated on a friable loam substrate to prevent compaction during the event. Ideal soil for a high-traffic garden area maintains a **pH between 6.2 and 6.8**, ensuring maximum nutrient availability. If your soil is heavy clay, integrate organic matter to increase the Cation Exchange Capacity (CEC), which allows the soil to hold onto essential cations like calcium and magnesium.
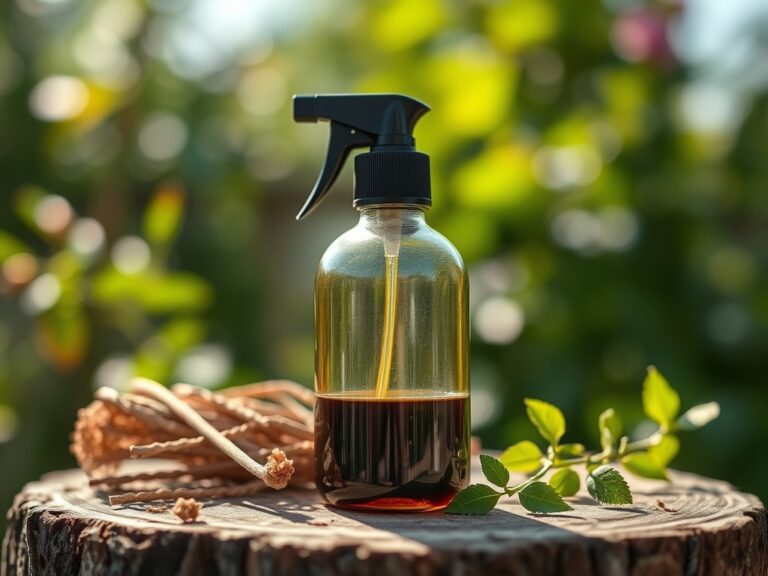
For the botanical backdrop of your party, focus on a balanced NPK ratio of 10-10-10 for general maintenance, or a 5-10-10 ratio if you are preparing flowering shrubs for post-sharpening pruning. High nitrogen (the first number) promotes vegetative growth, but excess nitrogen can lead to succulent, weak tissue that is highly susceptible to tearing if your tools are not honed to a razor edge. Ensure you have a supply of 70 percent isopropyl alcohol for tool sterilization between plants to prevent the transmission of tobacco mosaic virus or fire blight.
Timing:
Successful tool maintenance is dictated by the biological clock of your garden. In Hardiness Zones 5 through 7, the window for a sharpening party is typically late winter or early spring, before the sap begins to flow. You must complete your sharpening before the plant transitions from its dormant vegetative state to the reproductive stage.
The "Biological Clock" is governed by the photoperiod. As days lengthen, plants undergo hormonal shifts. Pruning with a freshly sharpened tool just before the "bud break" allows the plant to seal wounds rapidly using its stored carbohydrate reserves. Aim for a date at least two weeks after the last hard frost but before the mean daily temperature consistently exceeds 55 degrees Fahrenheit. This timing ensures that the plant's metabolic rate is increasing, allowing for rapid callus formation on any cuts made with your newly sharpened equipment.
Phases:

Sowing and Site Preparation
Clear a 10-by-10-foot area to serve as the sharpening station. Level the ground to prevent ergonomic strain. If you are sowing cover crops like clover (Trifolium repens) in the surrounding area, do so 21 days prior to the event to ensure the root systems are established enough to withstand foot traffic.
Pro-Tip: Utilize the principle of Mycorrhizal Symbiosis. By adding fungal inoculants to the soil around your workspace, you create a fungal network that helps the grass or cover crops recover from the compaction of the party by increasing the surface area of the root systems for water absorption.
Transplanting and Layout
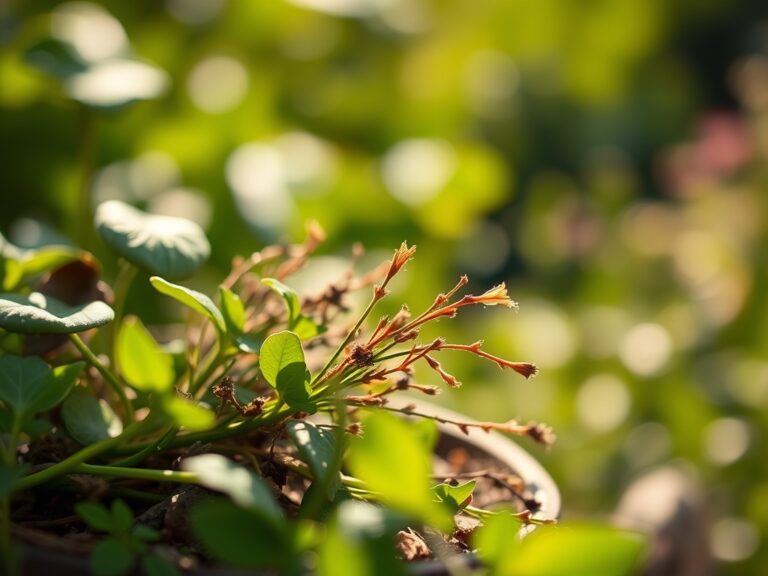
Move any sensitive potted specimens to a protected area with indirect light to avoid transpiration stress. Arrange your sharpening benches so that they face the sun, providing maximum visibility of the blade edge without creating harsh shadows.
Pro-Tip: Understand Phototropism. If you are setting up temporary structures for the party, ensure they do not block light for more than six hours, or you risk the plants bending toward the light source, which weakens the cell wall structure through rapid, uneven elongation.
Establishing the Workflow
Set up distinct stations: Cleaning, Sharpening, and Oiling. Each station should have dedicated containers for debris. Use a soil moisture meter to ensure the ground is at a 25 percent moisture level; this is the threshold where the soil is firm enough to support weight without collapsing the pore spaces essential for oxygen exchange.
Pro-Tip: Manage Auxin Suppression. When you eventually use your sharpened tools to head back a branch, you are removing the source of auxins (growth hormones) at the tip. This triggers lateral buds to grow, resulting in a bushier, denser plant.
The Clinic:
A garden with dull tools often exhibits physiological disorders. Use the following guide to diagnose and fix common issues before your guests arrive.
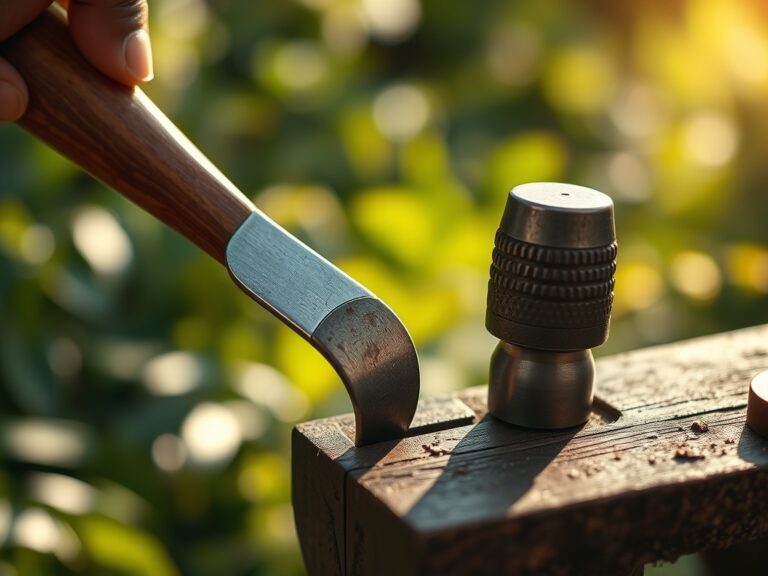
- Symptom: Ragged, brown edges on pruned stems. Solution: This is mechanical necrosis caused by crushing the vascular bundle. Fix-It: Sharpen bypass pruners until they can slice through a single sheet of paper without tearing.
- Symptom: Yellowing of lower leaves (Chlorosis). Solution: Nitrogen deficiency. Fix-It: Apply a quick-release high-nitrogen fertilizer (20-0-0) at a rate of 0.5 pounds per 1,000 square feet to restore chlorophyll production.
- Symptom: Interveinal yellowing on new growth. Solution: Iron or Manganese deficiency, often caused by high pH. Fix-It: Lower soil pH using elemental sulfur to a target of 6.5 to unlock micronutrient availability.
Maintenance:
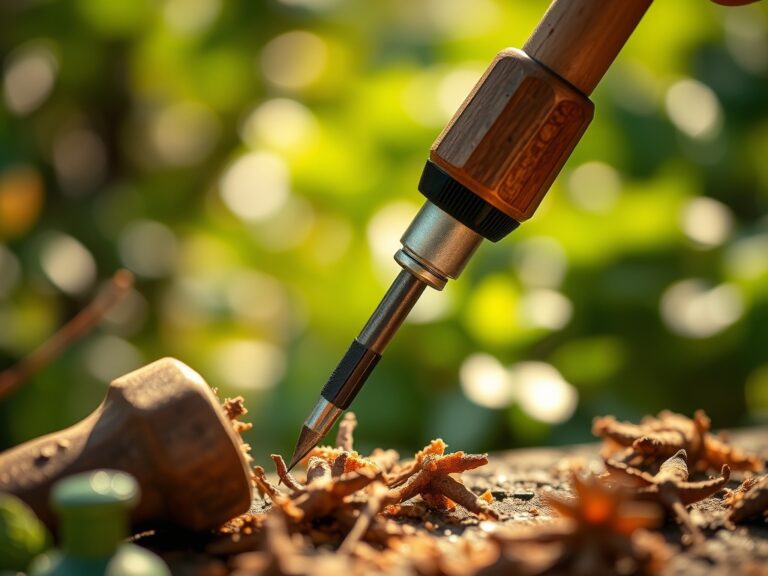
Post-party garden health requires strict adherence to hydration and nutrition. Deliver 1.5 inches of water per week directly at the drip line of your plants. Avoid overhead irrigation, which increases leaf wetness duration and promotes fungal pathogens. Use a hori-hori knife to extract deep-rooted weeds like dandelion (Taraxacum officinale) without disrupting the secondary roots of your primary crops.
Check the calibration of your soil moisture meter monthly by testing it in a saturated substrate versus a dry one. For your tools, a light coating of camellia oil or mineral oil after every use prevents oxidation. Store your bypass pruners in the "open" position to maintain the tension of the volute spring.
The Yield:
When harvesting herbs or flowers using your sharpened tools, timing is critical for "day-one" freshness. Harvest at 06:00 hours, when the plant is at maximum turgidity. Use a clean, sharp cut to minimize the surface area of the wound. Immediately plunge the stems into 40-degree Fahrenheit water to slow the rate of respiration and senescence. This rapid cooling preserves the essential oils and sugars within the plant tissue, extending the shelf life of the harvest by up to 40 percent.
FAQ:
How do I know if my soil is ready for foot traffic?
Perform a squeeze test. If the soil forms a hard ball that does not crumble, it is too wet. Compaction will occur, destroying the macropores needed for gas exchange in the rhizosphere. Wait for lower moisture levels.
What is the best NPK ratio for a high-traffic lawn?
Use a 3-1-2 ratio, such as a 15-5-10 fertilizer. This provides sufficient nitrogen for blade recovery and enough potassium to strengthen cell walls against the physical stress of guests moving through the garden area.
Why should I use a hori-hori knife instead of a trowel?
The hori-hori knife features a serrated edge and a straight blade, allowing for precise root pruning and deep weeding with minimal soil displacement. This maintains the soil structure and prevents the germination of buried weed seeds.
How often should I calibrate my soil moisture meter?
Calibrate the device at the start of every growing season and after any significant temperature shifts. Accurate readings ensure you maintain the field capacity of your soil, preventing both anaerobic conditions and localized dry spots.