8 Depth Steps for Repotting a Dragon Tree
Damp earth smells of geosmin and microbial activity while the turgor pressure in a Dracaena marginata leaf remains the primary indicator of cellular health. When the root system begins to encircle the interior of a container, the plant enters a state of physiological stress that requires immediate intervention. Mastering the steps for repotting a dragon tree ensures the specimen maintains its structural integrity and metabolic efficiency. This process is not merely a cosmetic change; it is a critical recalibration of the rhizosphere to prevent root binding and nutrient depletion. A successful transplant requires an understanding of the botanical mechanics governing the plant's growth cycles and its specific soil requirements. By executing these steps with precision, you provide the necessary volume for root expansion and gas exchange, which are essential for the long-term survival of the species. Neglecting this maintenance leads to stunted growth and eventual leaf senescence as the plant fails to transport water to its upper canopy.
Materials:
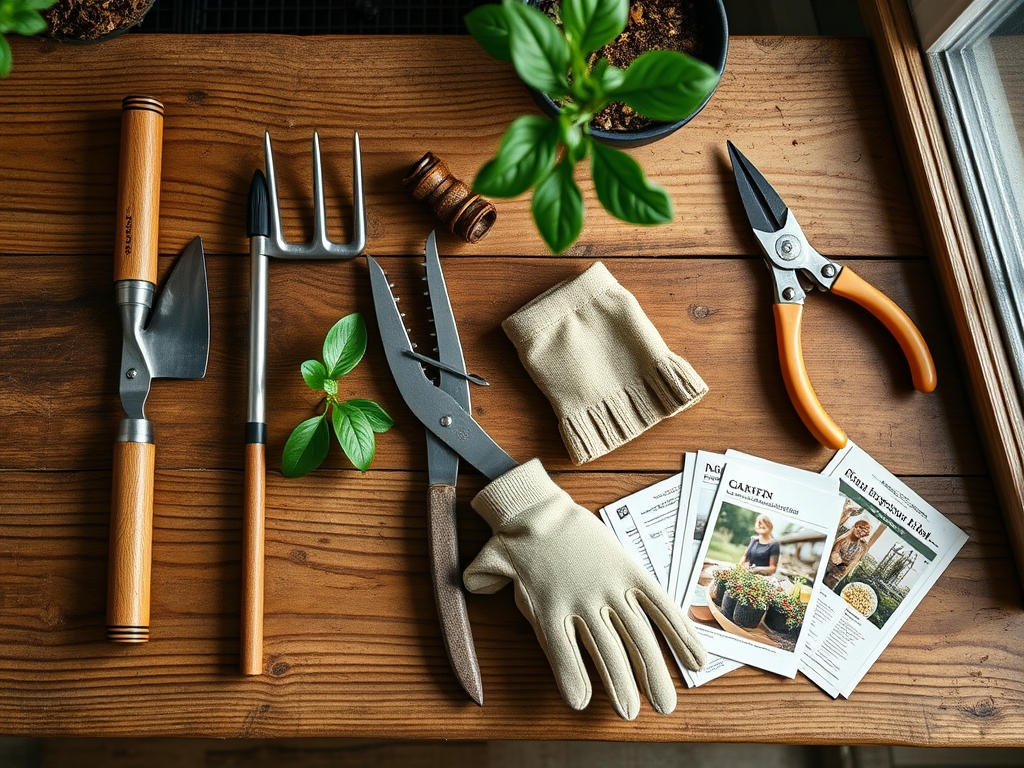
The substrate must be a friable loam with a high Cation Exchange Capacity (CEC) to facilitate nutrient uptake. Aim for a soil pH between 6.0 and 6.5 to ensure maximum bioavailability of micronutrients. The ideal potting mix consists of two parts peat moss or coconut coir, one part volcanic perlite for aeration, and one part pine bark fines.
For fertilization, utilize a controlled-release NPK ratio of 3:1:2. This specific balance supports the Dracaena's need for nitrogen to fuel foliage development while providing sufficient potassium for cellular wall strength. Avoid mixes with high fluoride content, as dragon trees are highly sensitive to fluoride toxicity, which manifests as necrotic leaf tips. The new container should be exactly 2 inches wider in diameter than the current vessel to prevent "pot-bound" stagnation without over-saturating the soil with excess moisture that the roots cannot yet process.
Timing:
In Hardiness Zones 10 through 12, dragon trees can remain outdoors year-round; however, for most indoor specimens, timing is dictated by the biological clock of the spring equinox. The optimal window for repotting is late spring or early summer, approximately 14 to 21 days after the last frost date in your region. During this period, the plant transitions from a semi-dormant winter state to active vegetative growth.
Increased photoperiods trigger the production of auxins, which are hormones that stimulate root elongation and apical dominance. Repotting during this high-energy phase allows the plant to recover from transplant shock within 10 to 14 days. If you attempt this during the winter solstice, the plant's metabolic rate is too low to repair the micro-tears in the root hairs, increasing the risk of opportunistic fungal infections in the rhizosphere.
Phases:

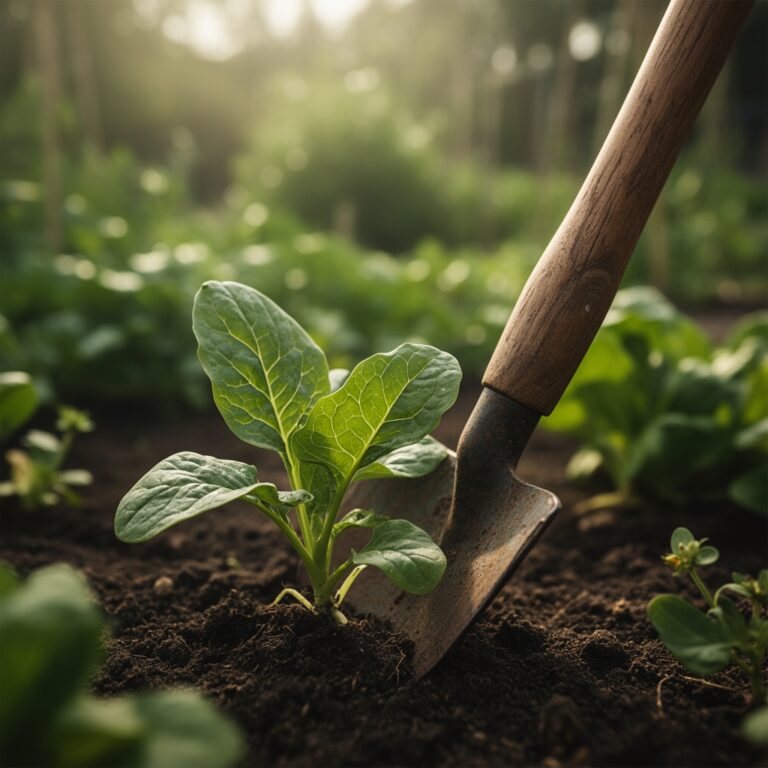
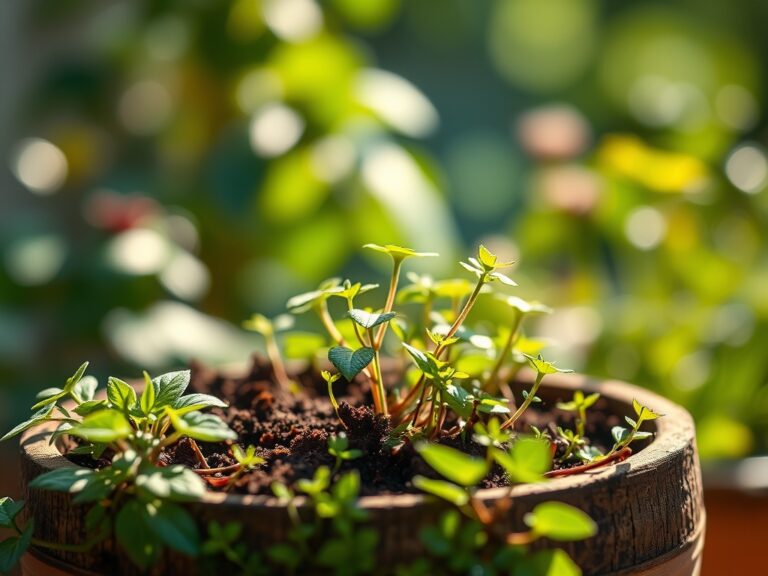
Sowing the Foundation
Prepare the new container by ensuring it has at least three drainage holes. Layer the bottom with 1 inch of the prepared substrate. Do not use gravel at the bottom; this creates a perched water table that actually inhibits drainage and leads to anaerobic conditions. Instead, rely on the porosity of the perlite-heavy mix.
Pro-Tip: Proper drainage management prevents the "Sponge Effect." By maintaining a consistent substrate texture throughout the pot, you ensure that capillary action moves water downward uniformly, preventing salt buildup at the root tips.
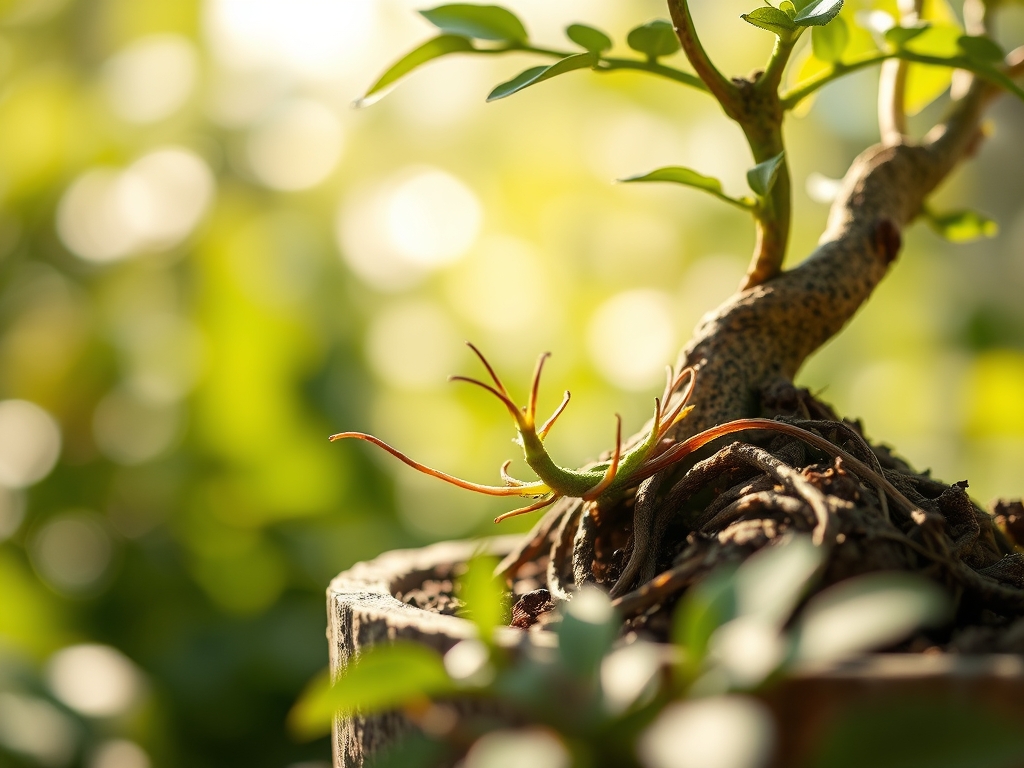
Transplanting and Root Pruning
Carefully extract the Dracaena from its current pot. If the plant is stuck, use a hori-hori knife to slice around the inner perimeter. Inspect the root ball for "circling roots." Use bypass pruners to make three to four vertical shallow cuts into the root mass. This stimulates the production of new lateral roots. Position the plant in the new container so that the top of the root ball sits 1 inch below the rim.
Pro-Tip: Root pruning triggers "Auxin Suppression" at the tips, which forces the plant to redirect energy into developing a more complex, fibrous root system. This increase in surface area significantly improves the plant's ability to absorb dissolved minerals.
Establishing and Hydration
Fill the voids with fresh soil, tamping down lightly with your fingers to remove large air pockets while maintaining the friable texture. Water the plant until the discharge from the drainage holes runs clear. Place the specimen in a location with filtered light, avoiding direct solar radiation for the first 7 days to minimize transpiration stress.
Pro-Tip: Mycorrhizal fungi can be added during this stage to establish a symbiotic relationship. These fungi extend the reach of the root system by hundreds of times, facilitating the transport of phosphorus and water in exchange for plant sugars.
The Clinic:
Symptom: Yellowing of lower leaves (Chlorosis).
Solution: This typically indicates a Nitrogen deficiency or over-saturation of the soil. Check the moisture level with a soil moisture meter. If the meter reads above 80% moisture for more than three days, the roots are likely suffocating.
Symptom: Brown, necrotic leaf tips with a yellow halo.
Solution: This is a classic sign of fluoride or chlorine toxicity from tap water. Switch to distilled water or rainwater. Flush the soil with three times the volume of the pot to leach out accumulated salts.
Symptom: Soft, mushy stem base (Basal rot).
Solution: This is a fungal pathogen caused by anaerobic soil conditions. Immediate surgery is required. Cut the healthy top portion of the tree and propagate it in a sterile medium, discarding the infected root system and soil.
Fix-It for Nitrogen Chlorosis: Apply a liquid fertilizer with a 10-5-5 NPK ratio at half strength. Nitrogen is a mobile nutrient; the plant will pull it from older leaves to support new growth, so targeted supplementation is required to halt the progression.
Maintenance:
Long-term health requires a disciplined irrigation schedule. Provide 1.5 inches of water per week during the growing season, applied directly to the soil surface to avoid wetting the foliage. Use a soil moisture meter to ensure the top 2 inches of soil are dry before re-watering.
Pruning should be performed with sterilized bypass pruners to maintain the desired height. If the tree becomes "leggy," you can perform a "heading cut" at the desired height. This removes the apical meristem and forces lateral buds to break, resulting in a fuller, multi-headed appearance. Monitor the plant for dust accumulation on the leaves, which can reduce photosynthetic efficiency by up to 30%. Wipe leaves monthly with a damp, lint-free cloth.
The Yield:
While the dragon tree is not an edible crop, its "yield" is measured in biomass and air filtration efficiency. To maximize the aesthetic yield, maintain a consistent temperature between 65 and 80 degrees Fahrenheit. Post-repotting, do not apply heavy fertilizers for at least 6 weeks. The plant needs this time to establish its new root architecture without the risk of "fertilizer burn" on the sensitive new root hairs. For a "day-one" fresh look, ensure the plant is not placed directly in the path of HVAC vents, which can cause rapid desiccation of the leaf margins.
FAQ:
How often should I follow the steps for repotting a dragon tree?
Repot every 24 to 36 months. Observe the drainage holes; if roots emerge from the bottom or the plant requires watering more than twice a week, the pot is likely too small for the current root mass.
What is the best soil for a dragon tree?
Use a well-draining, peat-based mix with a pH of 6.0 to 6.5. Ensure the mix contains 20% to 30% perlite or coarse sand to facilitate oxygen exchange and prevent the development of anaerobic fungal pathogens.
Can I use tap water after repotting?
Avoid tap water if it contains high levels of fluoride or chlorine. These chemicals cause necrotic leaf tips. Use filtered, distilled, or rainwater to maintain the osmotic balance within the root cells and prevent chemical scorching.
How do I know if my dragon tree has transplant shock?
Minor drooping or leaf drop is common for 7 to 10 days. If the stem becomes soft or the new growth turns black, the plant is suffering from severe shock or root rot due to over-watering during the recovery phase.