6 Light-Enhancing Steps to Prepare a Plant Nook with Mirrors
The smell of damp peat moss and the crisp snap of a leaf with high turgor pressure define the professional workspace. When indoor light levels drop below 400 foot-candles, photosynthetic efficiency plummets; this is where optical manipulation becomes a physiological necessity. Learning how to prepare a plant nook with mirrors is not an aesthetic choice but a calculated strategy to increase the daily light integral (DLI) for understory species. By reflecting photons back into the canopy, you maximize the photon flux density available to the chloroplasts. This guide details the technical calibration of light, substrate, and humidity required to transform a dim corner into a high-performance botanical cell.
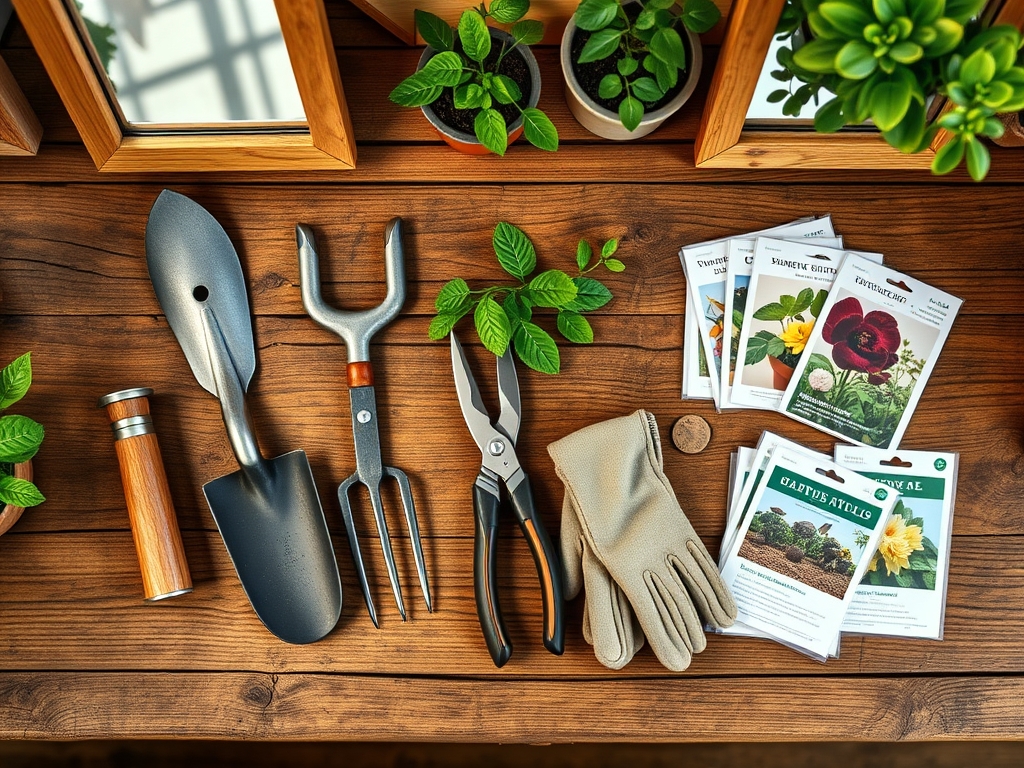
Materials:
The foundation of a high-functioning nook begins with the substrate. You require a friable loam with a high Cation Exchange Capacity (CEC) to ensure nutrient availability. The ideal soil pH for a mixed indoor nook should be maintained between 5.8 and 6.5.
- Substrate Composition: A mix of 40% coco coir, 30% perlite, and 30% composted forest products. This ensures a bulk density that allows for rapid gas exchange in the rhizosphere.
- Nutrient Profile: Initial amendments should follow a 10-15-10 NPK ratio for establishing roots. High phosphorus (P) encourages robust cellular development during the transition to a new environment.
- Reflective Surfaces: Use 1/4-inch thick glass mirrors or polished acrylic sheets. Avoid antiqued glass; the silvering must be intact to provide a 90% or higher reflection rate of the PAR (Photosynthetically Active Radiation) spectrum.
- Hardware: Heavy-duty French cleats to secure mirrors against the wall, ensuring they can support the weight of the glass without shifting the light angle.
Timing:
Hardiness Zones are less critical for indoor nook preparation, yet the ambient humidity and seasonal light shifts still dictate the biological clock. In Zones 5 through 7, the window for establishing a mirrored nook is best during the spring equinox. As the photoperiod extends, plants enter a vegetative surge.
The biological clock of a plant is governed by phytochrome receptors. When you introduce mirrors, you are artificially extending the perceived day length. Begin your installation when indoor temperatures consistently hold at 68 to 75 degrees Fahrenheit. Avoid setting up during the winter dormancy period (December to February) unless you are providing supplemental heat to the root zone via 15-watt heating mats.
Phases:

Sowing and Selection
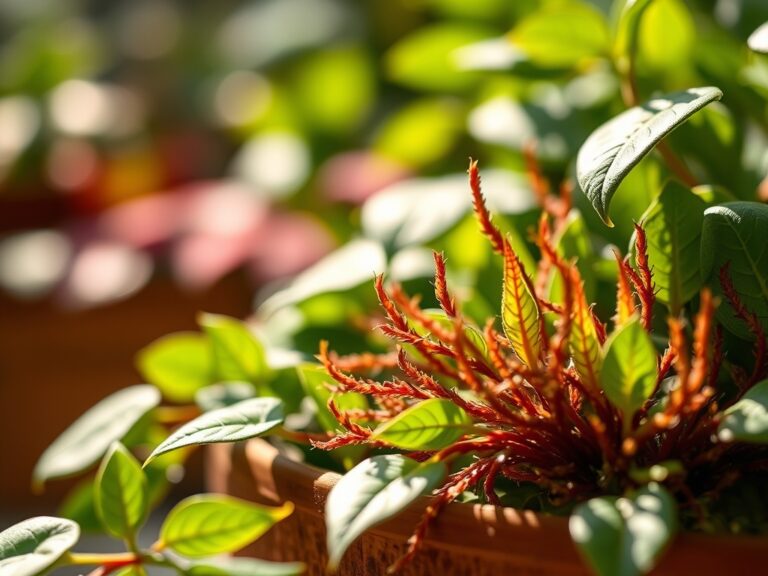
Select species based on their light saturation points. For a mirrored nook, choose plants that thrive in 1,500 to 2,500 lux. Sansevieria and Epipremnum are standard, but mirror reflection allows for higher-demand species like Ficus elastica. Ensure each specimen has a developed root system before placement.
Pro-Tip: Position the mirrors to target the lower nodes of the plant. This counters auxin suppression; by providing light to the lower stem, you inhibit apical dominance and encourage a bushier, more lateral growth habit.
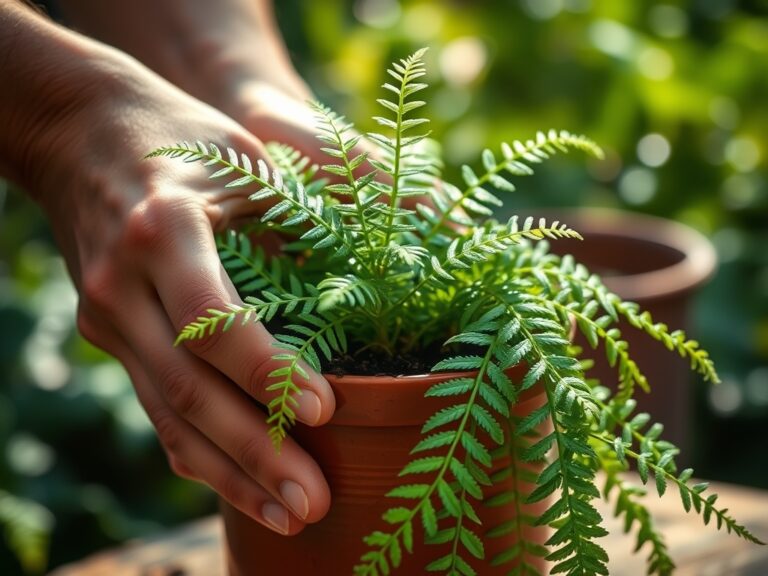
Transplanting
When moving plants into the nook, use a hori-hori knife to tease out any circling roots. This mechanical disruption breaks the "pot-bound" memory and encourages the roots to explore the new, nutrient-rich friable loam. Ensure the crown of the plant sits exactly 0.5 inches above the soil line to prevent stem rot.
Pro-Tip: Introduce mycorrhizal fungi (Glomus intraradices) during the transplant. This symbiotic relationship increases the surface area of the root system by up to 100 times, significantly improving water and phosphorus uptake in the high-light environment.
Establishing
Once the mirrors are angled to maximize light bounce, monitor the turgor pressure. Increased light often leads to increased transpiration rates. Use a soil moisture meter to ensure the substrate remains at a "4" or "5" on a 10-point scale.
Pro-Tip: Watch for phototropism. If the plant leans aggressively toward the mirror, rotate the pot 90 degrees every seven days. This ensures even distribution of cytokinins, the hormones responsible for cell division and leaf expansion.
The Clinic:
Physiological disorders often manifest quickly when light intensity is modified.
- Symptom: Interveinal Chlorosis. The leaf remains green at the veins but turns yellow between them.
- Solution: This indicates a Magnesium deficiency. Apply a foliar spray of 1 teaspoon of Epsom salts per gallon of water to restore chlorophyll production.
- Symptom: Leaf Scorch. Brown, crispy patches on the foliage closest to the mirror.
- Solution: The mirror is creating a "hot spot" or a focal point of intense IR radiation. Adjust the angle of the mirror by 5 to 10 degrees to diffuse the light.
- Symptom: Nitrogen Chlorosis. Uniform yellowing of older, lower leaves.
- Fix-It: Apply a liquid fertilizer with a high Nitrogen (N) value (e.g., 20-10-10) at half strength to rapidly restore vegetative vigor.
Maintenance:
Precision is the difference between a surviving plant and a thriving one. Mirrors reflect not just light, but heat. Monitor the nook's microclimate daily.
- Hydration: Apply 1.5 inches of water per week directly to the soil surface. Use a watering can with a long neck to avoid wetting the foliage, which can lead to fungal pathogens in the still air of a nook.
- Pruning: Use bypass pruners to remove any senescent (dying) leaves. This prevents the plant from wasting energy on failing tissues and improves airflow.
- Cleaning: Dust on mirror surfaces can reduce light reflection by 20%. Wipe mirrors weekly with a microfiber cloth and distilled water.
- Soil Aeration: Use a wooden chopstick or the tip of a hori-hori knife to gently poke holes in the substrate every month. This prevents compaction and ensures oxygen reaches the aerobic bacteria in the rhizosphere.
The Yield:
For those utilizing a mirrored nook for herbs or flowering tropicals, harvesting must be surgical. For herbs like basil or mint, harvest just above a node using sharp snips. This triggers the release of lateral buds.
To maintain "day-one" freshness for cut flowers or foliage, harvest in the early morning when turgor pressure is at its peak. Immediately submerge the stems in 110-degree Fahrenheit water to break any air embolisms in the xylem, then move them to a cool, dark location for two hours before display. This "hardening off" process extends the post-harvest life by several days.
FAQ:
How do I calculate the best mirror angle?
Use a light meter to find the "dead spots" in your nook. Angle the mirror so the reflected beam hits the center of the plant canopy. Aim for a 20% increase in foot-candles at the lowest leaves.
Can mirrors cause leaf burn?
Yes, if the mirror is concave or if the sun hits it directly at a sharp angle. Use flat, high-quality glass mirrors and ensure the reflected light is diffused rather than concentrated into a single high-heat focal point.
What is the best soil for a mirrored nook?
A high-porosity mix is essential. Use a blend with 30% perlite to ensure oxygen reaches the roots. Mirrors increase the plant's metabolic rate, necessitating a substrate that handles frequent watering without becoming anaerobic.
How often should I clean the mirrors?
Clean the reflective surfaces every 7 to 10 days. Dust buildup acts as a film that absorbs photons rather than reflecting them, significantly reducing the effectiveness of your light-enhancing setup and slowing down photosynthesis.