9 Steps to Prepare a Site for a New Outdoor Pond
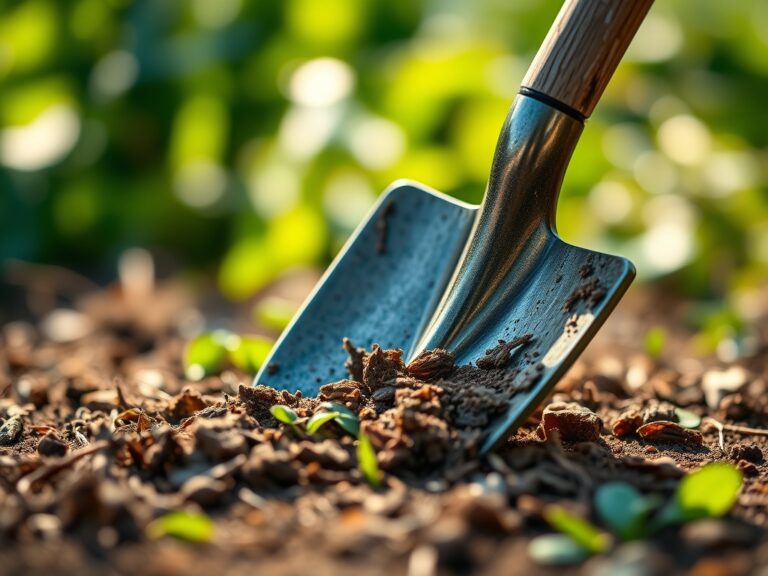
The scent of geosmin rises from the damp earth as the shovel breaks the surface; this organic compound signals a healthy microbial community essential for any aquatic integration. Successful installation requires more than digging a hole. You must understand the hydrostatic pressure of the site and the specific gravity of the soil. Knowing how to prepare a garden for a pond involves analyzing the topography to prevent runoff from contaminating the water with high-nitrogen fertilizers. Proper site preparation ensures the turgor pressure of surrounding riparian plants remains optimal by maintaining a stable water table. You are not just building a feature; you are engineering a closed-loop ecosystem that interacts with the local rhizosphere. Failure to account for soil compaction or drainage will result in structural collapse or anaerobic conditions. Precision is the only path to a clear, biologically balanced water column.
Materials:
The foundation of the pond perimeter must consist of a **friable loam** with a **Cation Exchange Capacity (CEC) of 15 to 25 cmol/kg**. This allows the soil to retain essential nutrients for marginal plants without leaching them into the water, which would trigger algal blooms. The ideal soil pH for the surrounding landscape is **6.5 to 7.0**.
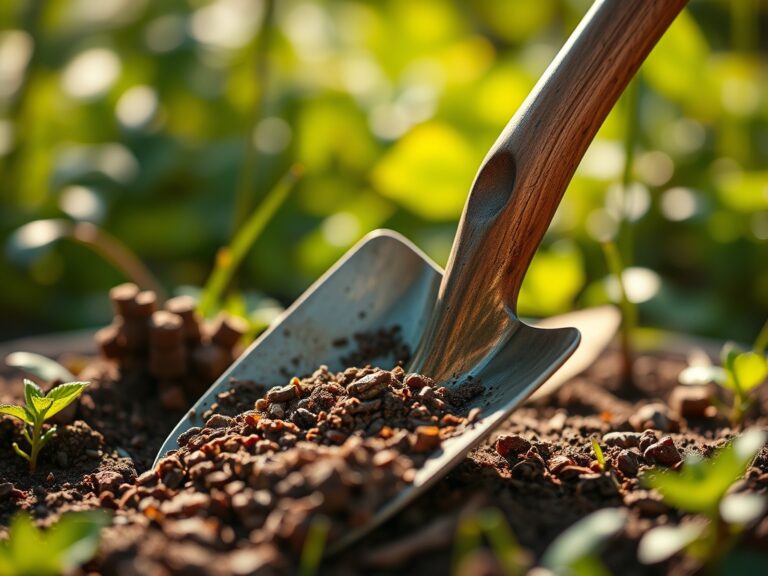
For the initial planting of the pond shelves, use a specialized aquatic substrate with an NPK ratio of 10-12-8. This phosphorous-heavy blend encourages root development rather than excessive foliage. Avoid standard potting mixes containing perlite or high organic matter; these float and increase the biological oxygen demand (BOD) of the water. Utilize heavy clay-based soils for potted lilies to ensure they remain anchored. The surrounding terrestrial zone should be amended with a 5-10-10 slow-release fertilizer to support structural root growth without overstimulating soft, succulent tissue that attracts aphids.
Timing:
Timing is dictated by the Biological Clock of the local flora. In Hardiness Zones 4 through 7, site preparation should begin exactly four to six weeks before the last frost date. This window allows the soil to settle and the microbial life to stabilize before the transition from the vegetative stage to the reproductive stage in spring.
In Zones 8 through 10, work should commence in late autumn to avoid the extreme heat that causes rapid evaporation and stress on new transplants. You must monitor the photoperiod; as day length increases, the metabolic rate of aquatic plants accelerates. Aim to have the pond filled and the bio-filter cycling when soil temperatures consistently reach 55 degrees Fahrenheit. This temperature marks the point where nitrifying bacteria, such as Nitrosomonas, become active enough to process ammonia.
Phases:
Sowing the Perimeter
Establish a buffer zone of native grasses around the pond edge to filter runoff. Sow seeds at a depth of 0.25 inches in prepared furrows. Ensure the soil is firmed down to maintain seed-to-soil contact, preventing desiccation.
Pro-Tip: Utilize the principle of Mycorrhizal Symbiosis. Inoculate the soil with fungal spores to extend the root system's reach. This biological partnership increases the plant's ability to absorb phosphorus and water, creating a resilient barrier against erosion.
Transplanting Marginal Plants
When moving plants from nursery pots to the pond shelves, ensure the root ball is saturated. Position the crown of the plant 2 inches below the water surface unless the species dictates otherwise. Use a hori-hori knife to slice through any circling roots to encourage outward growth.
Pro-Tip: Mind the Auxin Suppression. When transplanting, avoid pruning the lead terminal buds immediately. The auxins produced at the tips travel downward to stimulate root initiation; removing them too early can stall the establishment of the root system in its new environment.
Establishing the Bio-Filter
The final phase involves the introduction of submerged oxygenators. These plants must be weighted and dropped to the deepest zones, typically 24 to 36 inches. These plants compete with algae for nutrients, maintaining water clarity through nutrient sequestration.
Pro-Tip: Leverage Phototropism. Place taller marginal plants on the northern side of the pond. This prevents them from shading the water surface, ensuring that submerged oxygenators receive the PAR (Photosynthetically Active Radiation) needed for oxygen production through the day.
The Clinic:
Physiological disorders in a new pond environment often stem from water chemistry or soil imbalances.
- Symptom: Interveinal chlorosis in new leaves (yellowing with green veins).
- Solution: This indicates Iron Deficiency. Check the pH; if it is above 7.5, iron becomes insoluble. Lower the pH or use chelated iron supplements.
- Symptom: Stunted growth and purple tinting on the underside of leaves.
- Solution: Phosphorus Deficiency. This is common in cold water. Increase the water temperature or provide a targeted 0-20-0 bone meal application to the root zone.
- Symptom: Marginal leaf burn or necrosis.
- Solution: Potassium Deficiency. Potassium regulates the opening and closing of stomata. Apply a sulfate of potash to restore osmotic balance.
Fix-It for Nitrogen Chlorosis: If older leaves turn uniform pale yellow, the plant is scavenging nitrogen. Apply a controlled-release aquatic fertilizer tab directly into the root zone at a rate of one tab per gallon of soil.
Maintenance:
Precision maintenance prevents the pond from becoming a nutrient sink. Use a soil moisture meter to monitor the berms; they should maintain a consistent moisture level of 30% to 40%. Supply 1.5 inches of water per week at the drip line of surrounding shrubs during the first growing season.
Use bypass pruners to remove any yellowing foliage before it falls into the water; decaying organic matter releases hydrogen sulfide and consumes dissolved oxygen. Every spring, use a hori-hori knife to divide overgrown marginals, ensuring that no single species dominates the rhizosphere. Monitor the water hardness; a GH (General Hardness) of 100-200 ppm is necessary to support the cellular structure of aquatic plants and the shell health of beneficial snails.
The Yield:
For those incorporating edible aquatic plants like Water Parsley or Lotus, harvest timing is critical. Harvest Water Parsley when the stems reach 6 to 8 inches in length for maximum crispness. Use sharp shears to make a clean cut above the node to encourage regrowth. For "day-one" freshness, immediately submerge the cut ends in 40-degree Fahrenheit water to maintain turgor pressure. This rapid cooling slows down the rate of senescence and preserves the volatile oils within the plant tissue.
FAQ:
How deep should I dig the pond?
Dig to a minimum of 24 to 36 inches. This depth prevents the water from overheating in summer and protects the root systems of hardy lilies from freezing solid during winter dormancy in colder climates.
What is the best liner for a garden pond?
Use a 45-mil EPDM rubber liner. It is UV-resistant and flexible enough to accommodate soil shifting. Avoid thin PVC liners, which degrade quickly and can leach chemicals into the sensitive aquatic rhizosphere.
How do I prevent the pond from leaking?
Ensure the pond edge is perfectly level using a transit level. Compact the soil under the underlayment to a 95% Proctor density to prevent settling, which creates low spots where water can escape via capillary action.
When can I add plants to a new pond?
Wait 48 to 72 hours after filling the pond to allow chlorine to dissipate. If using well water, verify the mineral content. Introduce plants when the water temperature stays above 50 degrees Fahrenheit consistently.
How do I stop algae in a new pond?
Maintain 60% surface coverage using floating plants to block sunlight. This reduces the energy available for algal photosynthesis. Ensure the bio-filter has a flow rate that turns over the entire pond volume every hour.