8 Tips: Using a Hammer and Anvil for Straightening Blades
The smell of damp earth and the crisp turgor of a healthy leaf define a productive garden; however, the structural integrity of your tools dictates the precision of your labor. When a steel edge strikes a hidden stone or dense root, the resulting warp compromises the tool's mechanical efficiency. Using a hammer and anvil for straightening blades is a fundamental skill for any horticulturist who demands surgical accuracy from their equipment. Maintaining a true edge ensures clean vascular cuts on woody stems, which prevents the jagged tissue damage that invites fungal pathogens into the rhizosphere. A bent blade creates uneven pressure during the shear, leading to crushed cambium layers rather than clean separations. This guide focuses on the technical restoration of steel to ensure your pruning and digging implements function with the same biological efficiency as the plants they maintain.
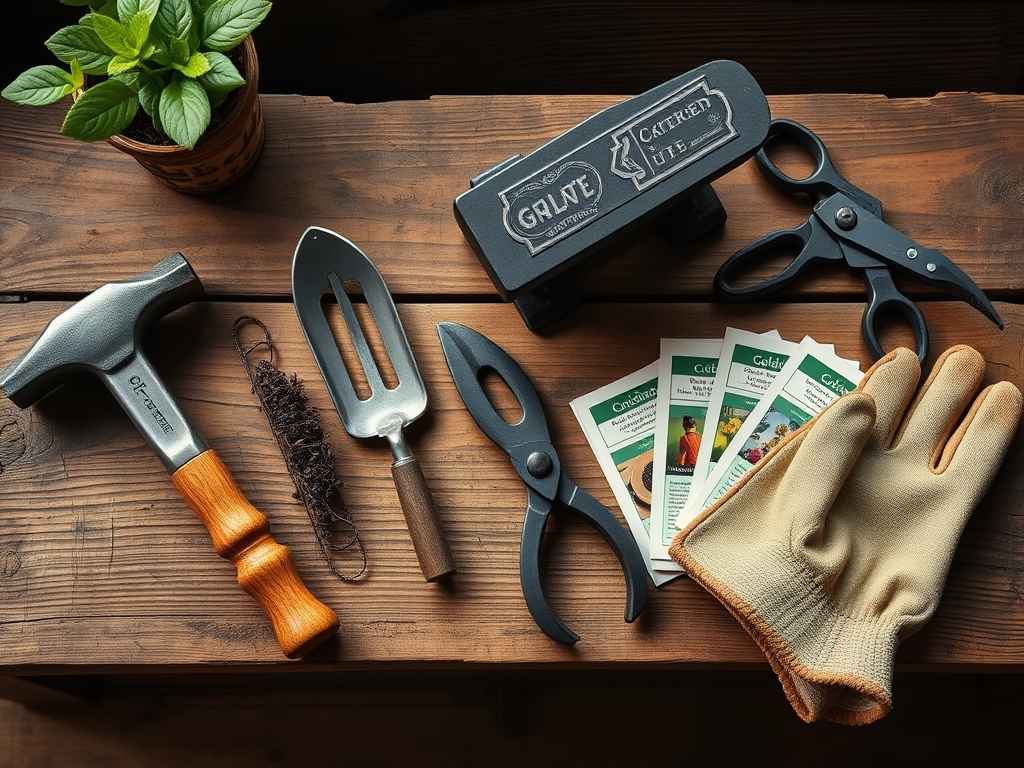
Materials:
While tool maintenance is mechanical, the environment in which you work must support the longevity of the steel. Store your anvil and hammers in a low-humidity environment to prevent oxidation. If you are working near your planting beds, ensure the soil is a **friable loam** with a **pH between 6.0 and 7.0**. High acidity in the soil can accelerate the corrosion of metal shavings left behind. For the plants themselves, maintain a **Cation Exchange Capacity (CEC)** of **15 to 25 milliequivalents per 100 grams** to ensure nutrient availability. When cleaning blades after straightening, avoid using harsh detergents that could alter the soil chemistry if dripped. Use a light application of mineral oil. If you are fertilizing the area where you work, stick to a balanced **NPK ratio of 10-10-10** for general maintenance or a **5-10-10** for root development in woody perennials that require sharp, straight-edged tools for seasonal pruning.
Timing:
The biological clock of your garden dictates the maintenance schedule. In Hardiness Zones 5 through 7, the window for major tool repair falls between the first hard frost and the late winter thaw. Straighten your blades before the sap begins to flow in early spring. This timing aligns with the transition from senescence (dormancy) to the vegetative stage. For example, if your last frost date is April 15, all blade restoration using a hammer and anvil should be completed by March 1. This ensures that when the photoperiod extends and plants begin to exhibit turgor pressure in new shoots, your tools are ready for precise thinning. Using a bent blade during the high-growth phase of May or June can cause unnecessary stress to the plant's vascular system, leading to stunted development or secondary infections.
Phases:
Sowing the Foundation
Before striking the metal, identify the exact point of the deviation. Place the blade flat on the anvil face. If you see light passing between the steel and the anvil, you have found the warp. Use a 2-pound ball-peen hammer for controlled strikes. Start at the edge of the bend and work toward the center.
Pro-Tip: Proper tool alignment prevents auxin suppression. When a clean cut is made, the plant can effectively redistribute auxins to lateral buds; a dull or bent blade crushes these channels, halting growth.
Transplanting the Technique
Once the primary warp is removed, move to the "planishing" phase. This involves lighter, rapid strikes to smooth the surface of the steel. The anvil acts as the "resistant medium," much like a high-clay soil provides resistance for root penetration. Ensure the blade remains cool to the touch; excessive heat can ruin the temper of the steel, making it brittle.
Pro-Tip: Maintaining tool sharpness supports mycorrhizal symbiosis. Clean cuts on roots during transplanting allow for faster colonization by beneficial fungi, as the plant spends less energy repairing ragged tissue and more on exudate production.
Establishing the Edge
After the blade is straight, use a whetstone to reset the bevel. A standard 20-degree angle is ideal for most horticultural knives and shears. Test the straightness by sighting down the spine of the blade. It should appear as a single, uninterrupted line.
Pro-Tip: Straight blades facilitate better phototropism management. Accurate pruning allows you to thin the canopy with precision, ensuring that lower leaves receive the necessary 400 to 700 nanometer wavelengths for photosynthesis.
The Clinic:
Horticultural tools, like plants, exhibit symptoms of "stress" that require specific interventions.
- Symptom: Jagged Cut Edges on Leaves.
- Solution: The blade has a microscopic "wave" or "burr." Use the hammer and anvil to flatten the edge before honing with a fine-grit stone.
- Symptom: Blade Binding Mid-Cut.
- Solution: This indicates a lateral warp. Check the alignment on the anvil. Even a 0.5 millimeter deviation can cause the blade to bind in woody xylem.
- Symptom: Nitrogen Chlorosis (Yellowing Leaves).
- Fix-It: This is a soil issue, not a tool issue. Apply a high-nitrogen fertilizer with an NPK of 20-10-10 to boost chlorophyll production and restore the deep green color.
- Symptom: Iron Deficiency (Interveinal Chlorosis).
- Fix-It: If new leaves are yellow but veins remain green, the pH is likely above 7.0. Lower the pH using elemental sulfur to increase iron bioavailability.
Maintenance:
Precision tools require a rigorous maintenance protocol. After using a hammer and anvil for straightening blades, wipe the metal with a 70 percent isopropyl alcohol solution to prevent the transfer of pathogens like Fusarium or Verticillium. For the plants, provide 1.5 inches of water per week delivered directly to the drip line. Use a soil moisture meter to ensure the root zone remains at 60 to 80 percent field capacity. When pruning, use a hori-hori knife for weeding and a pair of high-quality bypass pruners for stems under 0.5 inches. Always check the tension screw on your pruners; if it loosens, the blades will "cross," necessitating another trip to the anvil for realignment.
The Yield:
A straight blade results in a superior harvest. For edible crops, harvest during the "cool of the morning" when turgor pressure is at its peak. This ensures the cell walls are fully hydrated, providing a crisp texture and extending shelf life. For woody herbs like rosemary or lavender, use your straightened blades to cut just above a node. This encourages branching and increases the essential oil concentration in future growth. Post-harvest, keep produce at 34 to 40 degrees Fahrenheit to slow the rate of respiration and maintain "day-one" freshness.
FAQ:
How do I know if my blade needs an anvil?
Place the blade on a flat reference surface. If the metal wobbles or shows light underneath the edge, it has a structural warp. Using a hammer and anvil for straightening blades will restore the necessary flat profile for clean cutting.
Can I straighten a blade without heating it?
Yes, this is called "cold forging." Most horticultural tools are made of high-carbon steel that can be adjusted with precise hammer strikes on an anvil. Avoid heavy blows to prevent fracturing the steel's crystalline structure or ruining the temper.
What is the best hammer for tool repair?
A ball-peen hammer weighing between 16 and 32 ounces is ideal. The flat face is used for general straightening, while the rounded peen can be used for localized adjustments. It provides the control needed for delicate horticultural implements.
How often should I check my blades for straightness?
Inspect your tools after every 10 hours of heavy use or after striking a hard object like a rock or wire. Maintaining a straight edge reduces the physical force required for pruning and prevents long-term damage to your plant's vascular tissues.