9 Steps to Clean a Garden Trellis Before Winter Storage
The scent of decaying organic matter signals the onset of senescence as the photoperiod shortens and temperatures drop below 50 degrees Fahrenheit. As plant turgor pressure fails and annuals collapse into the soil, the structures supporting them become reservoirs for pathogens. Executing the steps for cleaning a garden trellis before storage ensures that fungal spores like Podosphaera xanthii do not overwinter on your equipment. Neglecting this maintenance allows microbial colonies to survive in a dormant state; they will immediately colonize new seedlings during the spring flush. Professional horticulture requires a systematic approach to sanitization to protect the rhizosphere from future contamination. A clean trellis is not an aesthetic choice; it is a biosecurity measure for the managed landscape.
Materials:
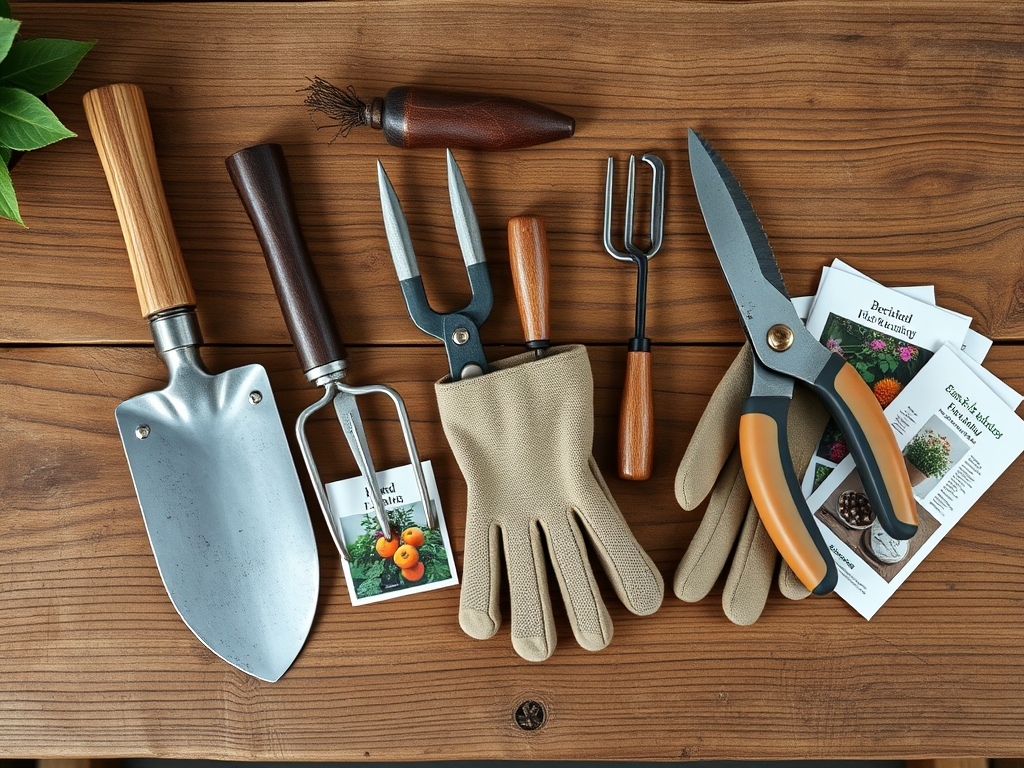
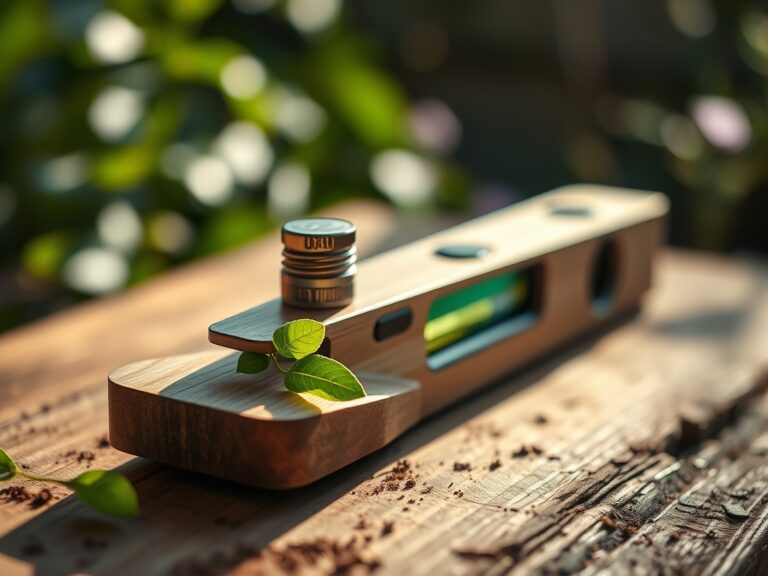
Success in the garden begins with a friable loam substrate characterized by a pH between 6.0 and 7.0 to optimize nutrient availability. Before storage, assess the soil adhering to your trellis footings. High Cation Exchange Capacity (CEC) soils, particularly those rich in montmorillonite clay, cling tenaciously to wooden and metal surfaces. You will need a solution of 10 percent sodium hypochlorite or 70 percent isopropyl alcohol to achieve total sterilization. For heavy duty cleaning, prepare a bucket of warm water mixed with a phosphate-free detergent. If your trellis was supporting heavy feeders, the surrounding soil may require an amendment of 5-10-10 NPK to replenish phosphorus and potassium levels before the ground freezes. Ensure you have a stiff-bristled nylon brush and a specialized scraper to remove desiccated adventitious roots.
Timing:
The window for trellis maintenance is dictated by your USDA Hardiness Zone. In Zones 3 through 5, this process must be completed by mid-October before the first hard freeze locks the structures into the substrate. In Zones 6 through 8, the window extends into late November. The biological clock of the plant dictates the schedule; once the plant enters the permanent wilting point and chlorophyll degradation is complete, the trellis is ready for extraction. Removing structures while plants still exhibit active sap flow can lead to unnecessary soil compaction around the root zone. Aim for a day when the ambient humidity is below 60 percent to ensure rapid drying after the sanitation process.
Phases:

Sowing the Foundation: Mechanical Removal
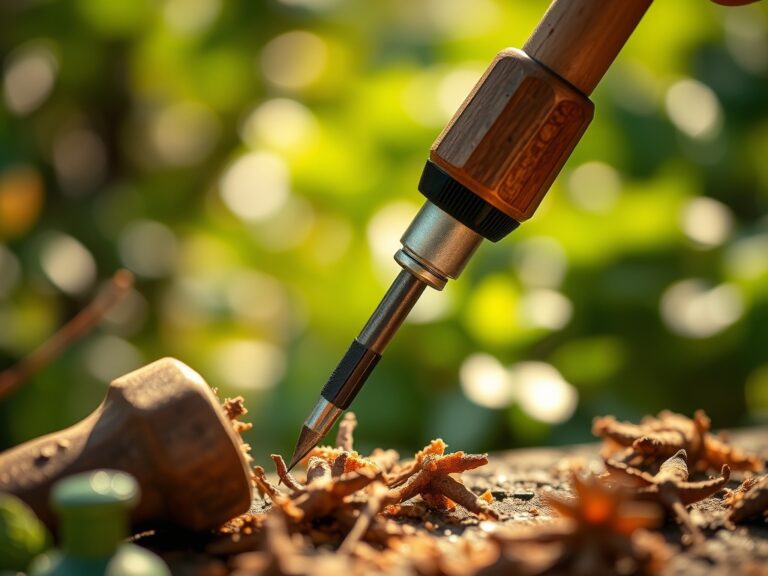
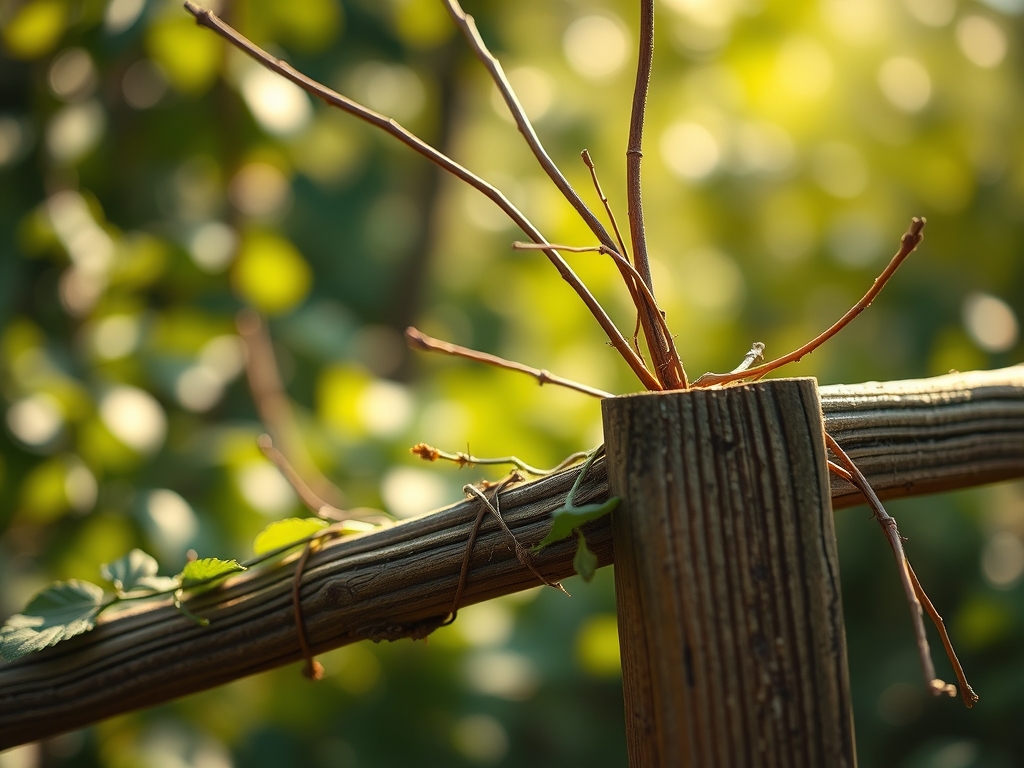
Begin by stripping all necrotic plant tissue from the trellis frame. Use a hori-hori knife to sever stubborn tendrils that have lignified over the growing season. Ensure every fragment of dried foliage is removed to prevent it from becoming a vector for botrytis.
Pro-Tip: Removing organic debris prevents the survival of overwintering insect eggs. This process interrupts the life cycle of pests by eliminating the physical protection provided by dried stalks; this is known as cultural control.
Transplanting to the Wash Station: Deep Sanitation
Move the trellis to a hard surface to prevent re-contamination from the soil. Scrub the entire surface with the 10 percent bleach solution, paying close attention to joints and crevices where fungal mycelium often hides. For wooden trellises, avoid prolonged soaking to prevent cellular swelling and subsequent rot.
Pro-Tip: Sanitizing surfaces disrupts the biofilm that bacteria create for protection. This ensures that the next season's crop is not exposed to pathogens that utilize horizontal transmission to infect healthy hosts.
Establishing Long-Term Integrity: Drying and Sealing
Once cleaned, the trellis must be completely desiccated. Moisture trapped in wood fibers or metal tubing will undergo thermal expansion during freeze-thaw cycles, leading to structural failure. Apply a light coat of linseed oil to wooden components or a rust inhibitor to ferrous metals.
Pro-Tip: Sealing the surface creates a hydrophobic barrier. This prevents the colonization of wood-decay fungi which require a moisture content above 20 percent to metabolize cellulose and lignin.
The Clinic:
Physiological disorders and pathogen presence on your trellis can indicate broader soil issues.
Symptom: White, powdery film on trellis rungs and dried leaves.
Solution: This indicates Powdery Mildew. Increase airflow in the next planting cycle and use a sulfur-based fungicide during the cleaning phase.
Symptom: Rusty, orange pustules on metal joints or nearby foliage.
Solution: This is a sign of Rust Fungi (Uredinales). These spores are highly resilient; use a concentrated copper fungicide soak for all affected equipment.
Symptom: Dark, sunken lesions on the base of the trellis where it met the soil.
Solution: This suggests Rhizoctonia or Pythium (root rot). Sterilize the trellis footings with a heavy application of isopropyl alcohol and improve soil drainage using perlite or coarse sand.
Fix-It for Nitrogen Chlorosis: If plants on the trellis showed yellowing of older leaves, the soil likely lacks nitrogen. Amend the area with a high-nitrogen fertilizer (NPK 21-0-0) after the trellis is removed to prepare the site for spring.
Maintenance:
Precision is required for long-term equipment viability. Use bypass pruners to make clean cuts when removing vines; jagged tears in plant tissue release excess sugars that attract unwanted microbes to the trellis surface. Throughout the season, monitor the soil with a soil moisture meter to ensure the base of the trellis is not sitting in saturated conditions, which accelerates oxidation and rot. During storage, keep the trellis elevated off the ground in a shed or garage. Maintain a minimum of 1.5 inches of clearance from the floor to allow for air circulation. If the trellis is too large to move indoors, wrap the structural joints in heavy-duty plastic, but leave the bottom open to prevent condensation buildup.
The Yield:
When harvesting the final produce from the trellis, timing is critical for post-harvest longevity. Harvest during the cool morning hours when plant turgor is at its peak. Use a sharp blade to minimize wounding. For indeterminate vining crops, removing the trellis immediately after the final harvest prevents the plant from diverting energy into futile reproductive growth as the frost approaches. This allows the gardener to clear the space for cover cropping, which protects the soil structure and maintains the microbial health of the rhizosphere throughout the winter months.
FAQ:
How do I clean a trellis without killing nearby plants?
Use a solution of white vinegar and water or a biodegradable soap. These agents break down quickly in the soil and do not leave toxic residues that affect the pH or the delicate balance of the rhizosphere.
Can I leave my metal trellis in the ground all winter?
While possible, it is not recommended. Repeated freeze-thaw cycles cause soil heaving, which can bend the metal. Moisture trapped in the soil also accelerates the oxidation of the metal, leading to structural rust and failure over time.
What is the best way to remove sap from a wooden trellis?
Apply a small amount of vegetable oil or a commercial citrus-based solvent to the sap. Gently scrape with a blunt tool. This preserves the integrity of the wood fibers while effectively dissolving the sticky resins without using harsh chemicals.
Is it necessary to disinfect the trellis every single year?
Yes. Pathogens like Fusarium and Verticillium can persist on surfaces for multiple seasons. Annual disinfection is a standard horticultural practice that significantly reduces the incidence of disease and ensures the long-term health of your perennial and annual crops.