6 Move Steps to Prepare a Balcony for a Summer Plant Shift
Turgor pressure dictates the structural integrity of every cell in a leaf. When a plant reaches full hydration, the internal water pressure pushes against the cell walls, creating a rigid, upright posture that maximizes light interception. As temperatures rise and the sun intensifies, the transition from indoor controlled environments to the harsh exposure of an outdoor space becomes a physiological gamble. Mastering how to prepare a balcony for summer plant move requires more than just moving pots; it demands a calculated recalibration of the rhizosphere and an understanding of the atmospheric demand placed on the stomata. You are not merely rearranging decor; you are managing a biological system that must adapt to increased ultraviolet radiation and fluctuating humidity levels. Failure to prepare results in immediate cellular collapse or permanent leaf scorch. Success requires a meticulous approach to substrate chemistry and thermal management. By focusing on the scientific requirements of your collection, you ensure that the transition from spring dormancy to summer growth is seamless and productive.
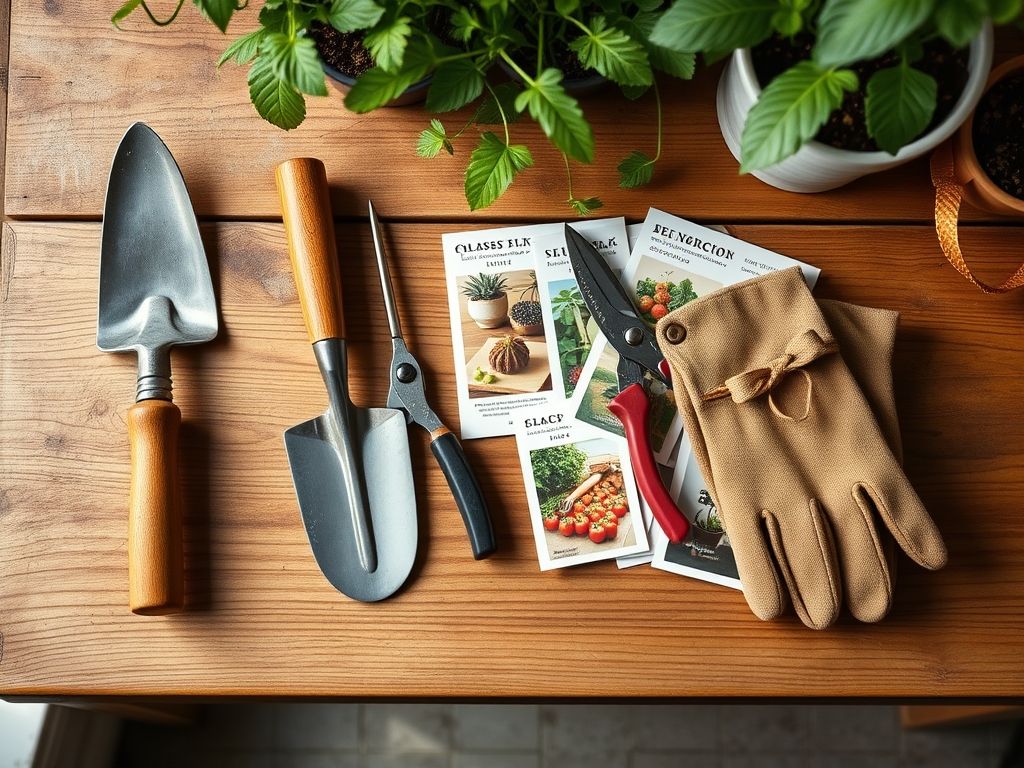
Materials:
The foundation of a successful balcony shift lies in the substrate. For most summer annuals and perennials, you require a **friable loam** with a high Cation Exchange Capacity (CEC) to ensure nutrient retention during frequent watering. The ideal soil pH for a mixed balcony garden ranges between **6.0 and 6.8**. This range ensures that micronutrients like iron and manganese remain bioavailable.
Specific nutrient requirements vary by plant type. For leafy greens and vegetative growth, utilize a fertilizer with an NPK ratio of 10-5-5. For flowering species, shift to a 5-10-10 ratio to prioritize phosphorus and potassium for bud development. The physical texture must be porous; a mix containing 20 percent perlite or vermiculite prevents compaction. Incorporating organic matter such as composted forest products increases the water holding capacity, which is vital when wind speeds on elevated balconies increase transpiration rates.
Timing:
Timing is governed by the last frost date and the specific requirements of your USDA Hardiness Zone. In Zones 7 through 9, the window for moving plants outdoors typically opens in late April or early May. However, the biological clock of the plant is the ultimate guide. You must wait until nighttime temperatures consistently remain above 55 degrees Fahrenheit (12.8 degrees Celsius) to avoid chilling injury, which can stunt growth for the remainder of the season.
Plants transition from vegetative stages to reproductive stages based on the photoperiod. As days lengthen, the increase in light intensity triggers the production of florigen, the hormone responsible for flowering. Moving plants too early can disrupt this hormonal balance if they are subjected to unexpected cold snaps. Monitor the 10-day local forecast for any dips below the threshold before committing your entire collection to the exterior environment.
Phases:
Sowing and Hardening Off
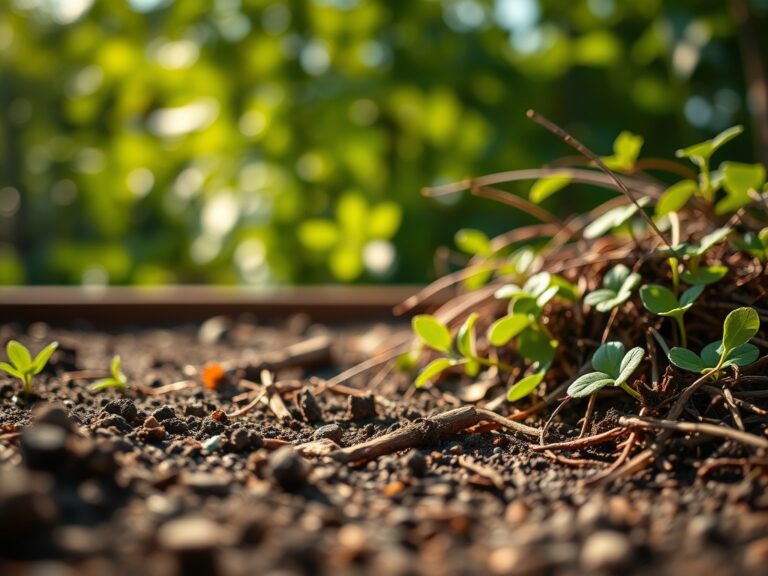
Before the final move, plants must undergo "hardening off," a process of gradual acclimatization. Start by placing plants in a shaded area of the balcony for two hours per day, increasing exposure by one hour daily over the course of a week. This allows the cuticle, the waxy outer layer of the leaf, to thicken in response to UV light.
Pro-Tip: This process prevents "solarization" or leaf bleach. The biological why involves the accumulation of anthocyanins and other protective pigments that act as a botanical sunscreen, protecting the chloroplasts from high-intensity radiation.
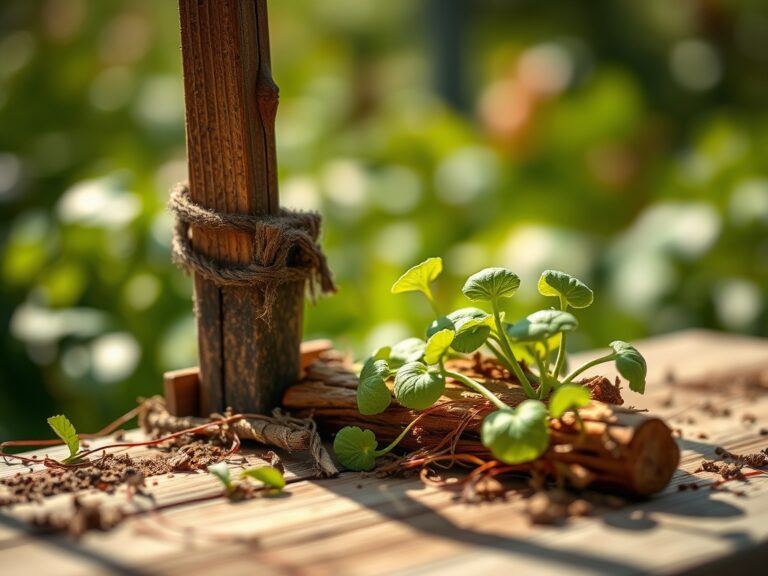
Transplanting into Balcony Containers
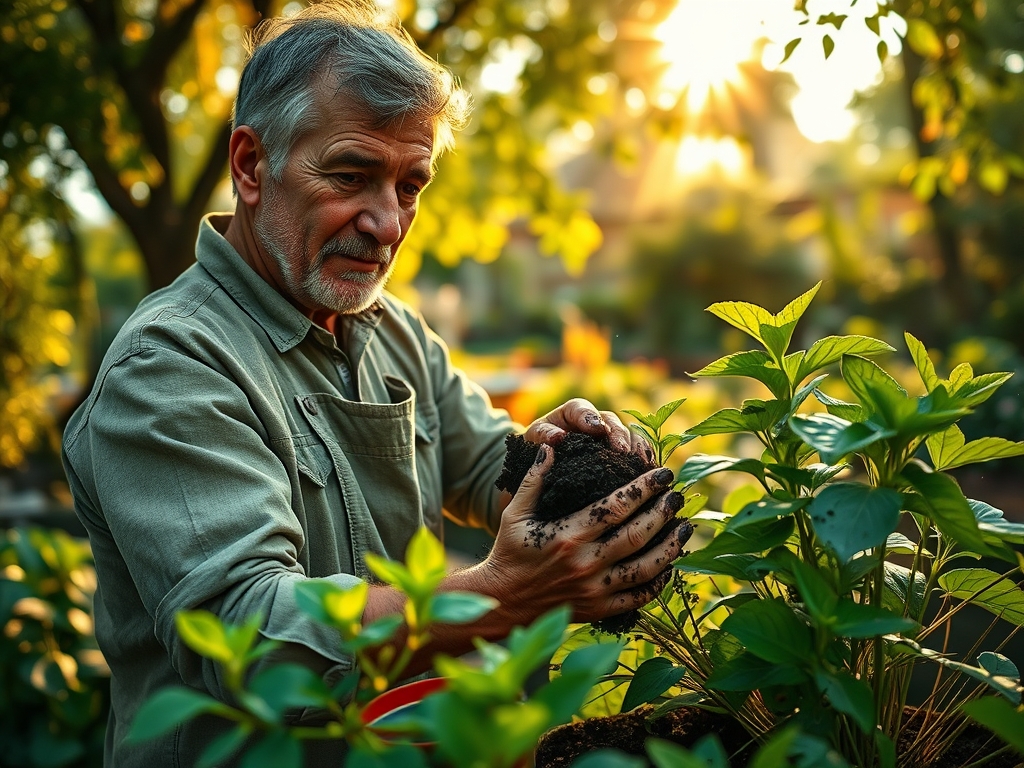
When moving plants into larger summer containers, ensure the root ball is moist. Use a hori-hori knife to gently loosen any root-bound specimens. Position the plant so the soil line matches the previous container to avoid stem rot. Firm the soil to remove large air pockets, but do not compress it so tightly that you collapse the macropores necessary for oxygen exchange.
Pro-Tip: Apply a mycorrhizal inoculant to the root zone during transplanting. The biological why is centered on mycorrhizal symbiosis; these fungi extend the reach of the root system, increasing the surface area for water and phosphorus absorption by up to 100 times.
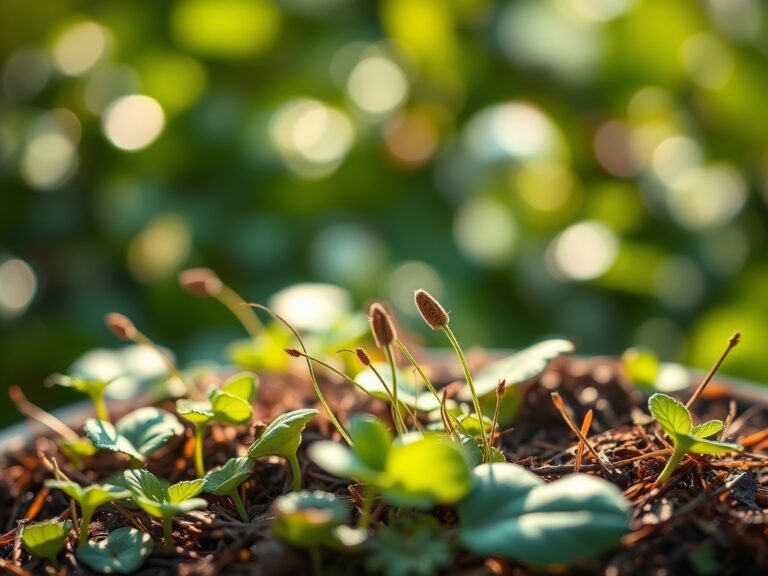
Establishing and Acclimatizing
Once situated, the first 14 days are critical for establishment. Minimize stress by providing temporary shade during the peak solar hours of 11:00 AM to 3:00 PM. Ensure the containers are heavy enough or secured to withstand the higher wind loads found on balconies, which can cause mechanical stress to the plant tissues.
Pro-Tip: Avoid heavy pruning during the first week. The biological why involves auxin suppression; auxins are hormones produced in the growing tips that signal the roots to grow. Cutting the tips immediately after a move can stall root development when the plant needs it most.
The Clinic:
Physiological disorders often mimic disease but are usually environmental.
- Symptom: Interveinal chlorosis (yellowing between green veins) on new leaves.
Solution: This indicates an Iron deficiency, often caused by a pH above 7.0. Lower the pH using sulfur or apply chelated iron. - Symptom: Leaf curl and scorched margins.
Solution: This is a sign of localized drought or high transpiration. Increase watering frequency and check for "pot-bound" roots that cannot hold moisture. - Symptom: Blossom end rot in fruiting plants.
Solution: This is a Calcium deficiency caused by inconsistent moisture. Maintain a steady watering schedule to ensure calcium transport through the xylem. - Symptom: Spindly, "leggy" growth with long internodes.
Solution: The plant is experiencing etiolation due to insufficient light. Move the container to a location receiving at least 6 hours of direct sun.
Fix-It for Nitrogen Chlorosis: If older leaves turn uniformly pale yellow, the plant is scavenging nitrogen for new growth. Apply a liquid fertilizer with a high first number (N) for immediate uptake through the roots.
Maintenance:
Precision is the hallmark of professional maintenance. Use a soil moisture meter to verify that the substrate is dry to a depth of 2 inches before watering. On a balcony, plants typically require 1.5 inches of water per week, delivered directly to the soil surface to avoid wetting the foliage, which can encourage fungal pathogens.
Utilize bypass pruners for clean cuts when removing dead material (senescence). A clean cut heals faster than a crushed stem. Monitor the "drip line" of the pot; if water runs straight through the gap between the soil and the pot wall, the peat in the mix has become hydrophobic. In this case, submerge the base of the pot in water for 20 minutes to rehydrate the core.
The Yield:
For those growing balcony edibles or cut flowers, harvest timing is dictated by sugar and oil concentration. Harvest herbs and flowers in the early morning when turgor pressure is at its highest and the essential oils have not been dissipated by the sun. Use sharp snips to avoid tearing the vascular tissue. For "day-one" freshness, immediately plunge the stems into room temperature water and move them into a cool, shaded indoor area to slow the rate of respiration.
FAQ:
How often should I water balcony plants in summer?
Check daily. Most containers require water every 24 to 48 hours depending on wind and sun. Use a moisture meter; if the top 2 inches are dry, apply water until it drains from the bottom.
Can I move my houseplants to the balcony?
Yes, if nighttime lows stay above 55 degrees Fahrenheit. Start in full shade. Direct sun will destroy leaves not acclimated to UV rays. Monitor for pests that thrive in outdoor heat like spider mites.
What is the best fertilizer for balcony flowers?
Use a water-soluble fertilizer with a 5-10-10 or 10-30-20 NPK ratio. High phosphorus (the middle number) promotes bloom production. Apply every two weeks during the active growing season to replace nutrients leached by frequent watering.
How do I stop my balcony pots from blowing over?
Use heavy ceramic or stone containers for the base. For lightweight plastic pots, place two inches of river stones at the bottom before adding soil. Secure tall plants to railings using soft garden ties to prevent stem breakage.