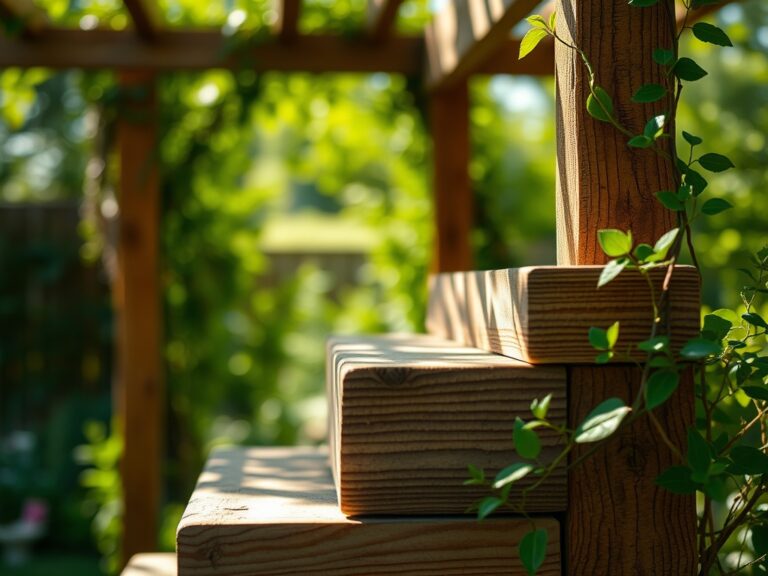
6 Steps to Install a Modern Outdoor Garden Screen
Freshly turned soil releases geosmin; the scent signals a high microbial activity level within the rhizosphere. When you compress a handful of friable loam, it should hold its shape but crumble under slight pressure. This structural integrity is the foundation for any successful landscape project. Mastering the steps for installing a garden screen requires more than a hammer and nails; it demands an understanding of soil mechanics and plant physiology. A garden screen serves as a functional barrier that manages wind velocity and light penetration. It protects the turgor pressure of delicate understory plants by reducing evaporative stress. Proper installation ensures that the structure survives high-wind events and soil shifting. By integrating structural elements with biological needs, you create a microclimate that stabilizes humidity and temperature. The following guide provides the technical specifications required to execute this installation with professional precision.
Materials:

The success of a living or structural screen depends on the substrate. The ideal soil is a **friable loam with a pH between 6.0 and 7.0**. High Cation Exchange Capacity (CEC) is necessary to ensure the soil can retain and exchange essential nutrients like calcium and magnesium. For the backfill, use a custom blend with an **NPK ratio of 10-10-10** for balanced initial growth. If you are planting nitrogen-heavy evergreens, adjust to a **20-10-10 ratio** to support vegetative expansion.
Structural materials must include pressure-treated 4×4 posts or galvanized steel anchors. For the concrete footings, use a high-strength mix rated at 3,000 PSI. Ensure you have a soil moisture meter to monitor the hydration levels of the root zone during the establishment phase. Drainage is critical; if the soil contains high clay content, incorporate expanded shale to increase macropore space and prevent root rot.
Timing:
Installation should occur during the dormant season or early spring to minimize transplant shock. In Hardiness Zones 5 through 7, the window opens once the ground thaws but before the first flush of growth. In Zones 8 through 10, late autumn is preferable to allow root establishment before summer heat stress.
The biological clock of the plant dictates this timing. During the transition from the vegetative stage to the reproductive stage, energy is diverted from root development to flowering. You must install the screen and any accompanying vegetation before the photoperiod reaches 14 hours of daylight. This ensures the plant focuses its carbohydrates on anchoring itself in the new substrate rather than producing fruit or seeds. Monitoring the frost-date windows is essential; never install when the soil temperature is below 40 degrees Fahrenheit, as root respiration slows to a crawl at these temperatures.
Phases:

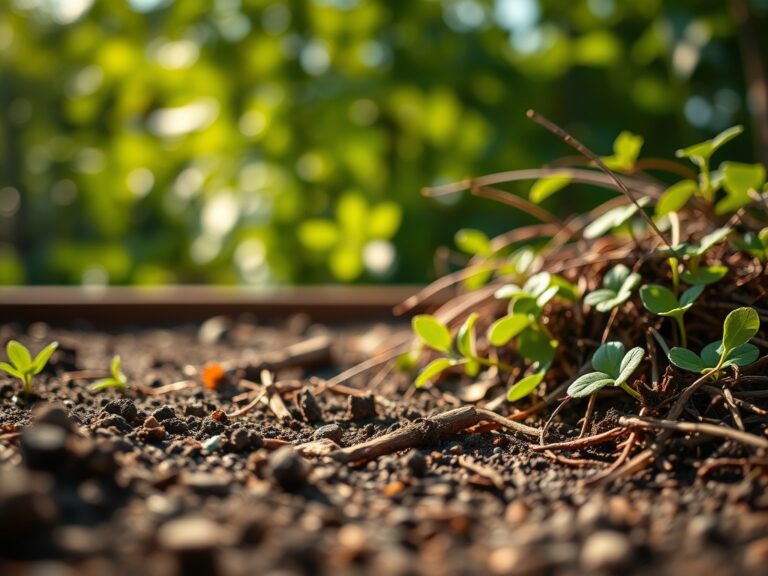
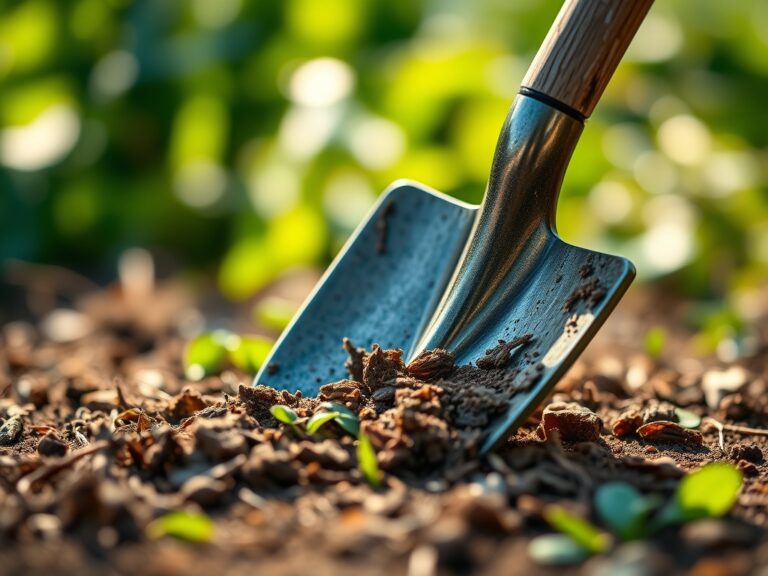
Sowing and Site Preparation
Clear the area of all competitive vegetation within a three-foot radius of the installation site. Use a hori-hori knife to remove deep-taproot weeds. Dig post holes to a depth of at least 24 inches, or below the local frost line, to prevent heaving.
Pro-Tip: Proper site clearing reduces competition for nutrients in the rhizosphere. By removing weeds, you ensure that the intended plants have exclusive access to the cation exchange sites in the soil, preventing stunted growth from nutrient theft.
Transplanting and Anchoring
Set your posts or large screening plants into the holes. If using living screens like Thuja occidentalis, ensure the root ball is level with the soil surface. Backfill with the prepared loam and tamp down firmly to remove air pockets. Air pockets can cause root desiccation and lead to localized necrosis.
Pro-Tip: When positioning plants, observe the orientation of the leaves. Maintaining the same solar orientation prevents the plant from wasting energy on phototropism, where the plant must physically reorient its foliage toward the light source.
Establishing and Mulching
Apply a 3-inch layer of organic mulch around the base of the screen. This regulates soil temperature and maintains consistent moisture levels. Install a drip irrigation line to provide targeted hydration.
Pro-Tip: Mulching encourages mycorrhizal symbiosis. These beneficial fungi attach to the root system, effectively increasing the surface area for water and phosphorus absorption, which is vital for the structural integrity of the plant.
The Clinic:
Physiological disorders often manifest through visible foliage changes. Use the following diagnostic data to troubleshoot your garden screen.
- Symptom: Nitrogen Chlorosis. The older leaves turn a pale yellow while the veins remain slightly green.
- Fix-It: Apply a high-nitrogen liquid fertilizer with a ratio of 30-0-0 to quickly restore chlorophyll production.
- Symptom: Leaf Scorch. The edges of the leaves appear brown and brittle, usually on the windward side.
- Fix-It: This indicates excessive transpiration. Increase the watering frequency and consider a temporary burlap windbreak to maintain leaf turgor.
- Symptom: Iron Deficiency. New growth emerges yellow or white while older leaves remain green. This often occurs in high pH soils.
- Fix-It: Lower the soil pH using elemental sulfur or apply chelated iron directly to the root zone to improve availability.
- Symptom: Root Hypoxia. Leaves wilt despite the soil being wet; foliage may turn a dull gray-green.
- Fix-It: This is caused by overwatering or poor drainage. Reduce irrigation and use a soil probe to check for anaerobic conditions.
Maintenance:
A garden screen requires disciplined maintenance to remain effective. Provide 1.5 inches of water per week at the drip line. Do not water the foliage directly; this increases the risk of fungal pathogens. Use a soil moisture meter every three days during the first growing season to ensure the root zone stays between 20% and 40% moisture capacity.
Pruning is necessary to maintain density. Use bypass pruners for clean cuts that heal quickly. For woody screens, prune during the dormant season to avoid auxin suppression, which can lead to leggy, weak growth. If the screen is structural wood, inspect the footings annually for signs of soil shifting or wood decay at the soil-to-air interface.
The Yield:
If your screen includes flowering species like Hydrangea paniculata, timing the harvest of blooms is critical for longevity. Cut the stems early in the morning when turgor pressure is at its peak. Use a sharp knife to make a diagonal cut, increasing the surface area for water uptake.
Post-harvest handling determines the "day-one" freshness. Immediately plunge the stems into 100-degree Fahrenheit water to remove air bubbles from the xylem. Store in a cool, dark location for two hours before moving them into a decorative arrangement. This process, known as conditioning, ensures the vascular system of the plant remains unblocked.
FAQ:
How deep should I dig the post holes?
Dig holes at least 24 inches deep or below your local frost line. This prevents the screen from leaning due to soil heaving during freeze-thaw cycles. Proper depth ensures structural stability against high wind loads.
What is the best NPK ratio for a new screen?
Use a 10-10-10 balanced fertilizer for initial installation. This provides equal parts nitrogen for leaf growth, phosphorus for root development, and potassium for overall cellular health and disease resistance during the establishment phase.
How often should I water a newly installed screen?
Deliver 1.5 inches of water per week directly to the root zone. Use a drip system or soaker hose to ensure deep penetration. Monitor with a soil moisture meter to avoid saturated, anaerobic soil conditions.
Can I install a screen in heavy clay soil?
Yes, but you must improve drainage. Incorporate 20% expanded shale or organic compost into the backfill. This increases macropore space, allowing for better oxygen exchange and preventing root rot caused by standing water.