8 Tips: Using a Pointed Shovel for Heavy Outdoor Excavation
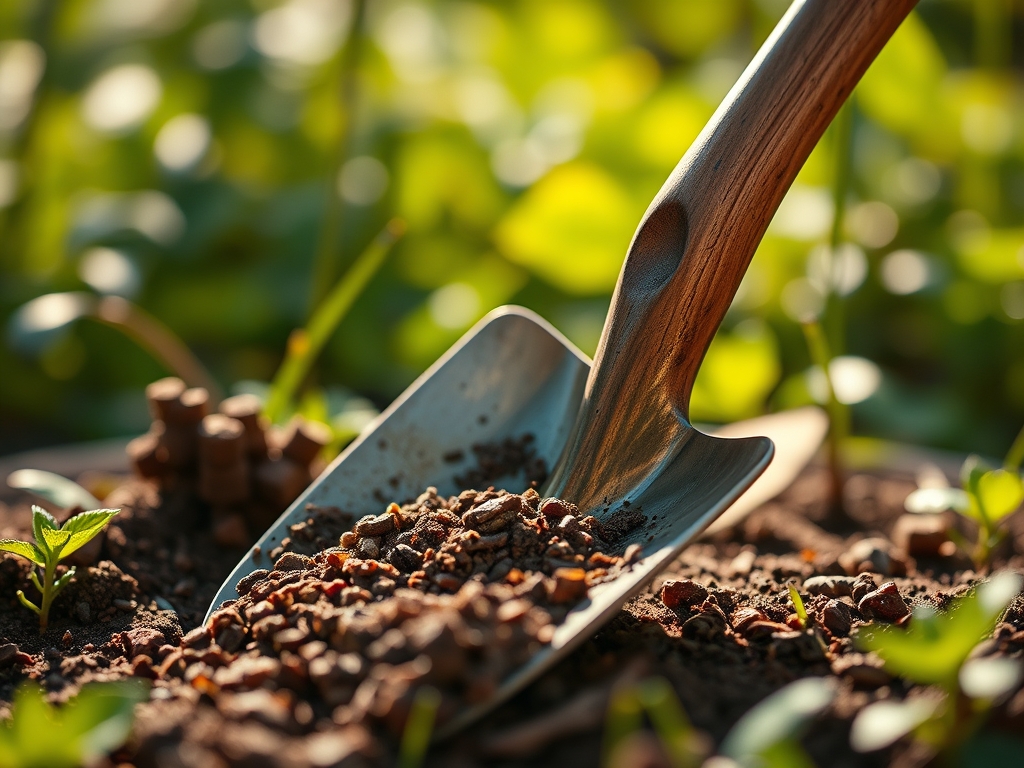
The smell of damp, anaerobic earth rising from a freshly broken subsoil layer indicates a high concentration of organic matter and microbial activity. When the blade of a tempered steel spade meets the resistance of compacted clay, the gardener must understand the physics of leverage and the biological needs of the rhizosphere. Using a shovel for outdoor design requires more than brute force; it demands an understanding of soil horizons and the structural integrity of the root zone. A successful excavation preserves the soil structure while preparing a site for high-performance botanical specimens. Every strike of the shovel impacts the soil's bulk density, which ideally should remain below 1.6 g/cm3 to allow for adequate gas exchange and root penetration.
Materials:
Excavation for outdoor design begins with an assessment of the substrate. The ideal medium is a **friable loam**, characterized by a balanced distribution of sand, silt, and clay particles. Before digging, test the soil pH; most ornamental and edible crops thrive in a range of **6.0 to 7.0**. This range ensures that essential macronutrients are chemically available for uptake.
Specific NPK (Nitrogen, Phosphorus, Potassium) ratios must be tailored to the project goals. For establishing woody perennials, a low-nitrogen starter with a ratio of 5-10-5 encourages root development without forcing excessive vegetative growth that the root system cannot yet support. High Cation Exchange Capacity (CEC) is vital in the excavated area. Soils with a CEC above 15 milliequivalents per 100 grams (meq/100g) retain nutrients like calcium and magnesium more effectively against leaching. If the soil is sandy and has a low CEC, incorporate organic matter to increase the surface area for ion exchange.
Timing:
Timing the excavation is critical to minimize soil compaction and plant stress. In Hardiness Zones 5 through 7, the primary window for heavy digging opens as soon as the frost leaves the ground, typically when soil temperatures reach a consistent 45 degrees Fahrenheit. Digging in frozen soil destroys the crystalline structure of the earth, while digging in saturated soil leads to "puddling," which collapses the macropores essential for oxygen transport.
Observe the biological clock of the local flora. The transition from the vegetative stage to the reproductive stage is governed by the photoperiod. For major structural changes, perform excavation during the dormant season or early spring before the "bud break." This ensures that the plant's energy reserves are stored in the root system rather than being diverted to new leaf tissue. Avoid heavy digging during the heat of mid-summer when transpiration rates are at their peak and turgor pressure is difficult to maintain in disturbed root systems.
Phases:
Sowing and Site Prep
When preparing a bed for seed, use the pointed shovel to turn the soil to a depth of 12 inches. This breaks up the "plow pan," a compacted layer that prevents deep taproot penetration. Ensure the seedbed is level to prevent water pooling, which can cause fungal pathogens to thrive.
Pro-Tip: Breaking the soil surface increases oxygen availability, which triggers the aerobic respiration necessary for seed germination. This process is a biological response to the sudden change in the gaseous environment of the seed.
Transplanting
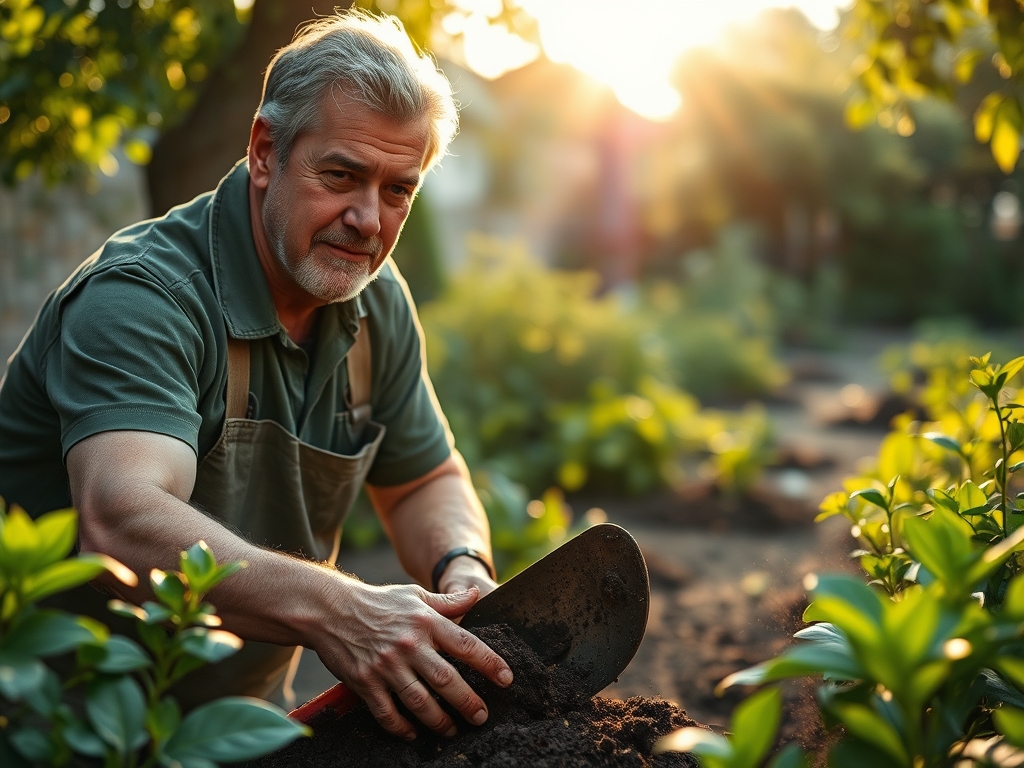
When moving established plants, the shovel must be used to cut a clean root ball. Aim for a diameter at least three times the width of the plant's current container. Sharp cuts are essential; jagged roots are entry points for pathogens.
Pro-Tip: Maintain the "root flare" at the soil surface to prevent stem rot. This practice respects the plant's oxygen requirements at the base of the trunk, preventing the suppression of auxin transport which can lead to stunted growth.
Establishing
After placing the plant, backfill with the original site soil to avoid creating a "bathtub effect" where water sits in a hole of amended soil surrounded by heavy clay. Lightly tamp the soil with your boot to remove large air pockets without crushing the soil aggregates.
Pro-Tip: Inoculate the backfill with mycorrhizal fungi. This symbiotic relationship extends the root system's reach by up to 100 times, significantly increasing the uptake of phosphorus and water.
The Clinic:
Physiological disorders often manifest shortly after excavation and planting.
- Leaf Scorch: This occurs when the roots cannot supply water fast enough to replace what is lost through transpiration. Solution: Increase irrigation and provide temporary shade to reduce the vapor pressure deficit.
- Nitrogen Chlorosis: Identified by the yellowing of older leaves while veins remain green. Fix-It: Apply a water-soluble fertilizer with a high Nitrogen (N) value to quickly restore chlorophyll production.
- Iron Deficiency: New growth appears yellow or white in alkaline soils. Fix-It: Lower the soil pH with elemental sulfur or apply chelated iron to the rhizosphere.
- Root Hypoxia: Leaves wilt despite the soil being wet. This is caused by a lack of oxygen in the root zone. Solution: Improve drainage by incorporating perlite or vertical mulching.
Maintenance:
Post-excavation care requires precision. Use a soil moisture meter to ensure the root zone remains consistently moist but not saturated. Most newly installed landscapes require 1.5 inches of water per week, delivered directly at the drip line to encourage outward root expansion.
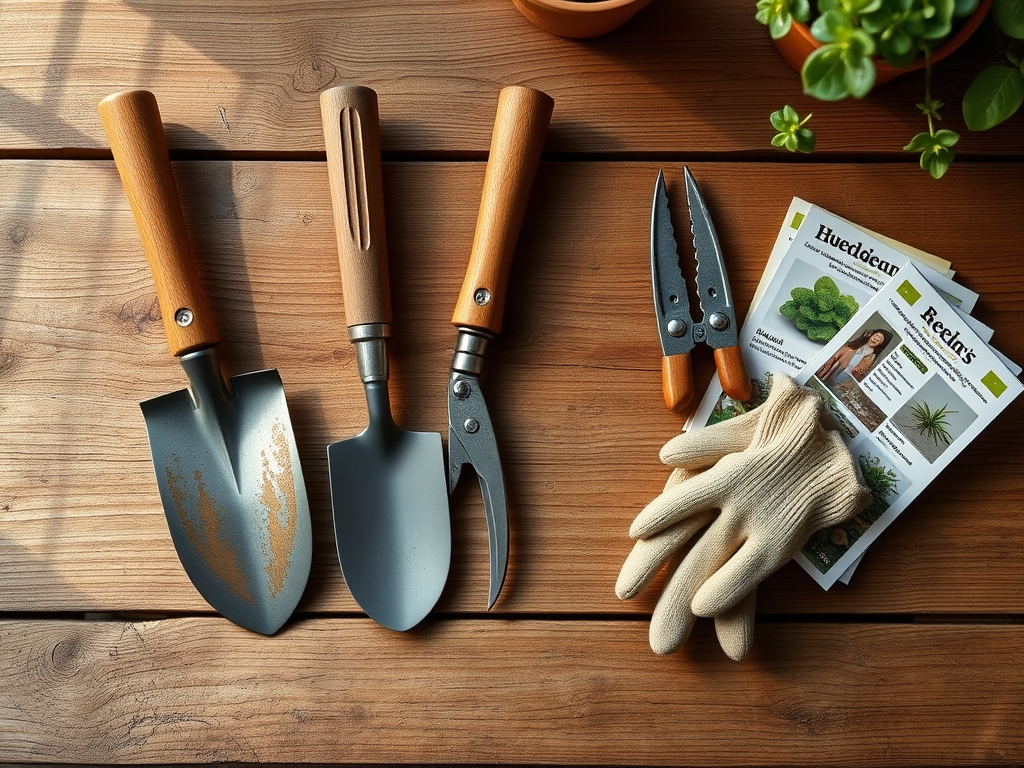
Keep your tools in professional condition. Use a mill file to maintain a sharp edge on your pointed shovel; a sharp tool requires less force and creates cleaner cuts through roots. For finer work, utilize a hori-hori knife to weed near delicate stems and bypass pruners to remove any dead or crossing branches that could harbor disease. Monitor the site for senescence, the natural aging and death of plant parts, and remove spent foliage to prevent the spread of botrytis.
The Yield:
If your outdoor design includes fruiting or flowering species, harvest timing is dictated by sugar content and cellular maturity. For pome fruits, harvest when the base color changes from green to yellow. For flowers, cut in the early morning when turgor pressure is at its highest. Use a sharp blade to make a diagonal cut, increasing the surface area for water uptake. Immediately submerge the stems in 100-degree Fahrenheit water to remove air bubbles from the xylem, ensuring day-one freshness and prolonged vase life.
FAQ:
How do I prevent soil compaction while digging?
Place plywood boards on the ground to distribute your body weight. This prevents the collapse of soil macropores and maintains the bulk density of the substrate, ensuring that oxygen can still reach the microbial life in the rhizosphere.
What is the best way to cut through thick roots?
Use a sharpened pointed shovel and apply vertical pressure with your foot on the rolled shoulder of the blade. For roots larger than two inches in diameter, switch to a specialized root saw to ensure a clean, surgical cut.
How deep should I dig for a standard garden bed?
Aim for a depth of 12 to 18 inches. This provides enough volume for most herbaceous perennials to establish a robust root system and allows for the incorporation of organic matter to improve the Cation Exchange Capacity.
Why is soil pH important for new plants?
Soil pH dictates the solubility of nutrients. If the pH is outside the 6.0 to 7.0 range, essential minerals like phosphorus and iron become chemically locked in the soil, leading to nutrient deficiencies regardless of how much fertilizer is applied.
When is the soil too wet to dig?
Squeeze a handful of soil into a ball. If it remains in a solid clump and does not crumble when poked, the moisture content is too high. Digging in these conditions leads to permanent structural damage and reduced porosity.