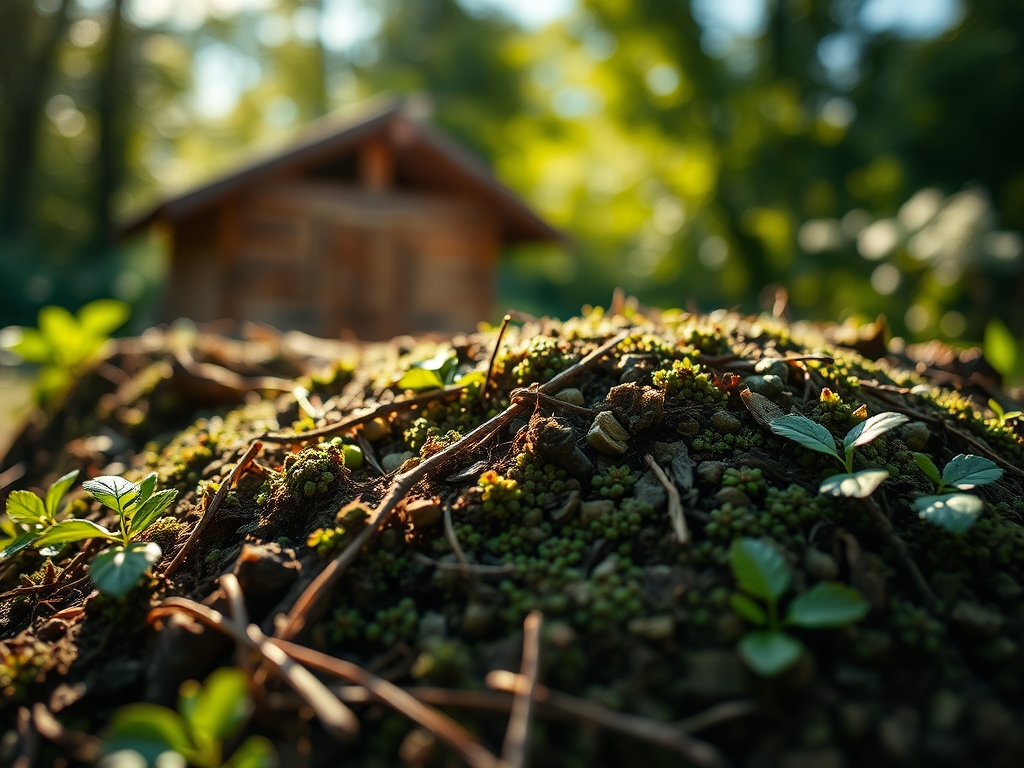
7 Steps to Prepare a Solid Outdoor Garden Shed Foundation
The scent of damp, anaerobic clay indicates a site with poor drainage that will eventually rot a wooden floor frame. Understanding how to prepare a site for a garden shed requires more than just a level eye; it demands an analysis of the soil's structural integrity and its ability to manage hydraulic pressure. A shed is a static load placed upon a dynamic biological system. If the soil lacks the proper turgor or compaction, the structure will shift as the seasons transition from frost heave to summer desiccation. You must treat the ground as a structural substrate, ensuring the rhizosphere remains undisturbed while the load-bearing area is stabilized. Proper site preparation prevents the premature senescence of your outdoor storage by isolating it from the moisture-rich topsoil. This process begins with clearing the biomass and evaluating the Cation Exchange Capacity (CEC) of the underlying earth to ensure it can withstand the chemical and physical stresses of a permanent installation.
Materials:
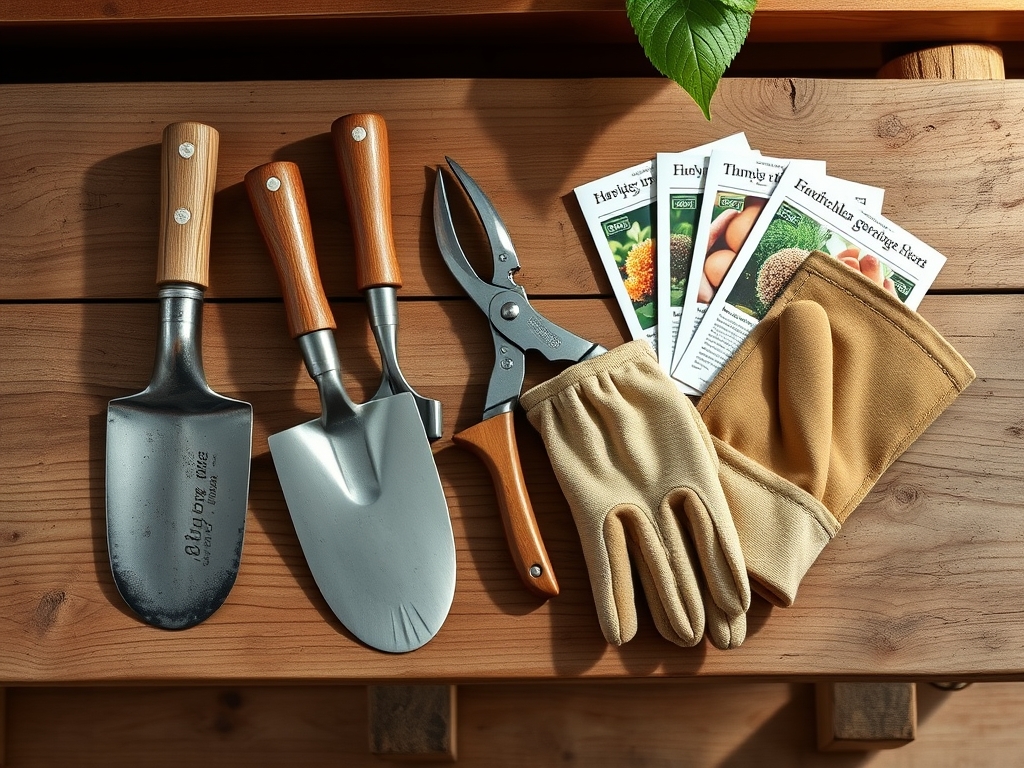
The ideal substrate for a shed foundation is not the **friable loam** preferred for vegetable beds. You are looking for a base that resists compaction and maintains a neutral pH between **6.0 and 7.0** to prevent the corrosion of galvanized fasteners. If the surrounding soil is highly acidic (pH below 5.5), apply a layer of crushed limestone to buffer the area. For the foundation itself, you will need **3/4-inch clean crushed stone**. Unlike rounded pea gravel, crushed stone has angular edges that lock together to create a stable, porous surface. You will also require a heavy-duty geotextile fabric with a flow rate of at least **100 gallons per minute per square foot**. If you plan to landscape around the shed, keep a supply of **10-10-10 NPK fertilizer** to repair the nitrogen depletion that occurs when you strip the existing sod and disrupt the nitrogen cycle.
Timing:
Preparation must occur when the soil is below its plastic limit. In Hardiness Zones 4 through 7, the ideal window is late spring after the final frost has exited the top 12 inches of the soil profile. Avoid working during the "Biological Clock" transition when local flora is moving from vegetative growth to reproductive stages; this is typically when soil moisture is at its peak. If you excavate during a period of high turgor pressure in the surrounding root systems, you risk significant soil slumping. Wait for a period where the soil moisture meter reads between 25% and 40%. Working in frozen ground is impossible, and working in mud destroys the soil structure, leading to long-term drainage failures.
Phases:

Sowing the Perimeter
Before the heavy work begins, mark a perimeter 12 inches wider than the shed's footprint. This allows for a "drip zone" to catch runoff. Use a hori-hori knife to cut through the root mats of existing grasses. Removing the organic layer is critical because decomposing plant matter creates voids that lead to settling.
Pro-Tip: Removing the sod prevents anaerobic decomposition. When organic matter is trapped under a foundation without oxygen, it produces methane and hydrogen sulfide, which can acidify the soil and damage the shed's underside.
Transplanting the Base
Excavate the area to a depth of 4 to 6 inches. Line the pit with your geotextile fabric, ensuring it extends up the sides. This fabric acts as a barrier to prevent the "fines" (small soil particles) from migrating upward into your gravel, which would eventually clog the drainage. Fill the area with the crushed stone in 2-inch lifts, compacting each layer with a plate compactor.
Pro-Tip: Use the fabric to facilitate mycorrhizal symbiosis in the surrounding garden. By keeping the foundation area dry and separated, you prevent the shed from becoming a "wet spot" that breeds root-rotting fungi like Phytophthora, allowing beneficial fungi to thrive in the adjacent soil.
Establishing the Grade
The final surface must be level within 1/8 inch across every 10 feet. Use a laser level or a long straightedge with a spirit level. The stone should sit slightly above the surrounding grade to ensure water sheds away from the structure rather than pooling against the runners.
Pro-Tip: Proper leveling prevents auxin suppression in nearby ornamental plants. If a shed is unlevel and leans, it can create artificial shade patterns that force nearby plants to redirect growth hormones (auxins) to one side, resulting in leggy, weak specimens that are prone to breakage.
The Clinic:
If the site is not prepared correctly, the surrounding landscape will show physiological disorders.
- Symptom: Iron Chlorosis. Yellowing leaves with green veins in nearby shrubs.
- Solution: This often occurs if you use high-calcium limestone gravel that raises the pH too high, locking out iron. Apply chelated iron and switch to a granite-based stone.
- Symptom: Root Asphyxiation. Wilting plants despite wet soil.
- Solution: The shed foundation has blocked the natural "sheet flow" of water. Dig a French drain around the uphill side of the shed to redirect the water.
- Symptom: Nitrogen Deficiency. Pale green or stunted growth in the lawn surrounding the shed.
- Fix-It: The disruption of the soil has caused a temporary nitrogen "tie-up" as microbes work to break down disturbed roots. Apply a 20-0-0 liquid nitrogen supplement to the immediate perimeter.
Maintenance:
A shed foundation requires annual inspection to ensure hydraulic integrity. Use a soil moisture meter to check the perimeter every spring. If the moisture levels exceed 60% for more than three days after a rain, your drainage is failing. Clear any leaf litter or mulch that has accumulated against the stone base using bypass pruners to trim back encroaching vegetation. Maintain a clear "air gap" of at least 3 inches between the ground and the shed floor to allow for gas exchange and to prevent the buildup of humidity that triggers wood decay. Apply 1.5 inches of water per week to the plants at the drip line during the first year of re-establishment to compensate for the localized heat island effect created by the shed's roof.
The Yield:
While a shed foundation doesn't produce a harvest, the "yield" is the longevity of the structure and the health of the surrounding ecosystem. A well-prepared site prevents the "Day One" freshness of your shed from fading into a warped, moldy liability. By managing the soil's physical properties, you ensure that the shed remains a stable fixture that does not interfere with the photosynthetic efficiency of your garden. A stable foundation means doors that never bind and a floor that remains dry, protecting your expensive tools from oxidation and rust.
FAQ:
Can I build a shed foundation on top of grass?
No. Grass and organic matter will decompose, causing the shed to settle unevenly. This leads to structural stress and rot. You must remove the sod and topsoil to reach the stable subsoil before laying your base.
What is the best material for a shed base?
3/4-inch clean crushed stone is the professional standard. It provides excellent drainage, resists shifting, and does not hold moisture against the wooden frame. Avoid pea gravel or sand, as they do not compact into a stable surface.
How deep should I dig for a shed foundation?
Excavate between 4 and 6 inches. This depth allows for a sufficient layer of compacted stone and a geotextile weed barrier. In areas with high clay content, a deeper cut may be necessary to ensure proper drainage.
Do I need a weed barrier under the gravel?
Yes. A heavy-duty geotextile fabric is essential. It prevents weeds from emerging and, more importantly, keeps the gravel from sinking into the dirt. This maintains the structural integrity of the base over several decades.
How do I prevent water from pooling under the shed?
Ensure the finished gravel pad is 2 inches higher than the surrounding ground. Grade the soil away from the shed at a slope of 1 inch per foot for the first 6 feet to direct runoff away.