7 Steps to Clean a Clogged Garden Hose Nozzle Screen
The smell of damp earth and the crisp turgor of a healthy leaf define a successful irrigation cycle. When water pressure drops, the physiological health of the plant is compromised as transpiration rates exceed water uptake. Obstructions in the flow path often stem from calcification or debris trapped in the intake filter. Mastering the steps for cleaning a garden hose nozzle screen ensures that your irrigation system delivers the precise volume required to maintain cellular hydration and nutrient transport within the vascular system.
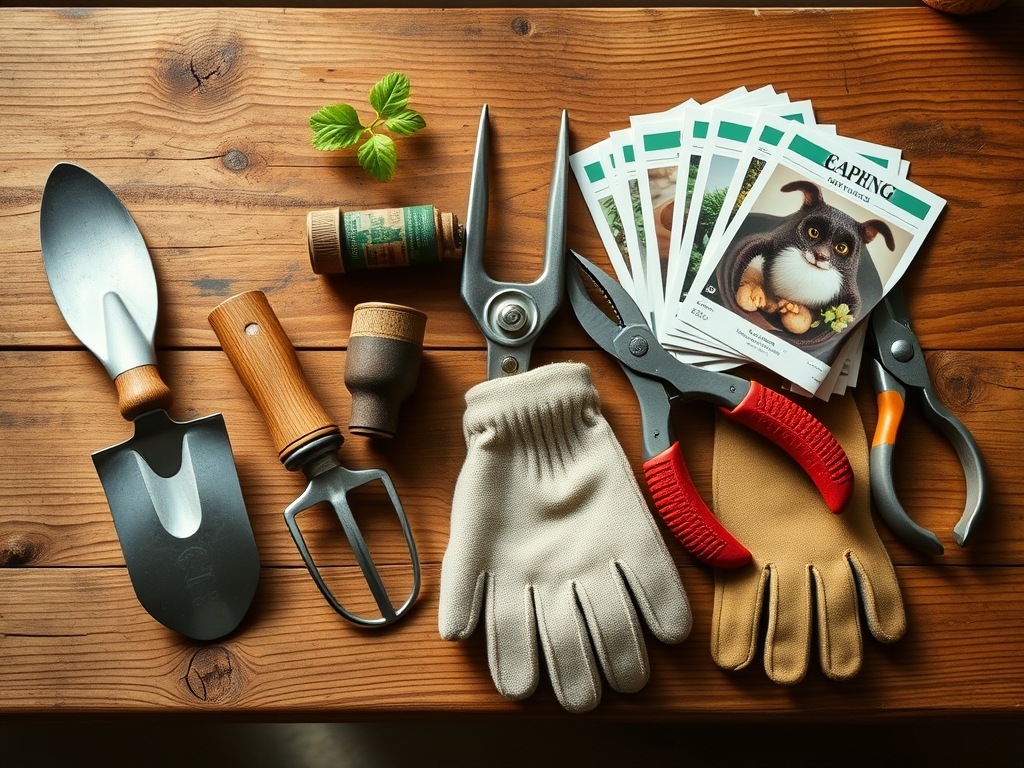
Materials:
Maintaining irrigation hardware is as critical as managing soil chemistry. While cleaning the nozzle, evaluate your growing medium. An ideal substrate for most garden crops is a **friable loam** with a **Cation Exchange Capacity (CEC) of 15 to 25 milliequivalents per 100 grams**. This texture allows for optimal gas exchange in the rhizosphere. Ensure your nutrient regimen matches the plant stage; a vegetative **NPK ratio of 3-1-2** is standard, while a reproductive stage requires a **1-2-2 ratio** to support fruit set. Maintain a **soil pH between 6.2 and 6.8** to prevent nutrient lockout of essential micronutrients like manganese and iron.
Timing:
Irrigation maintenance should be performed before the peak of the growing season, specifically between Hardiness Zones 4 and 9 during the window after the last spring frost but before the summer solstice. This timing aligns with the "Biological Clock" of the plant as it transitions from the vegetative stage to the reproductive stage. During this shift, water demand increases significantly to support cell expansion in developing fruit. A clogged screen during this phase can induce drought stress, leading to premature senescence or flower abscission. Monitor your local frost-free dates to ensure your system is pressurized and cleaned by the time the soil temperature reaches a consistent 55 degrees Fahrenheit.
Phases:

Sowing
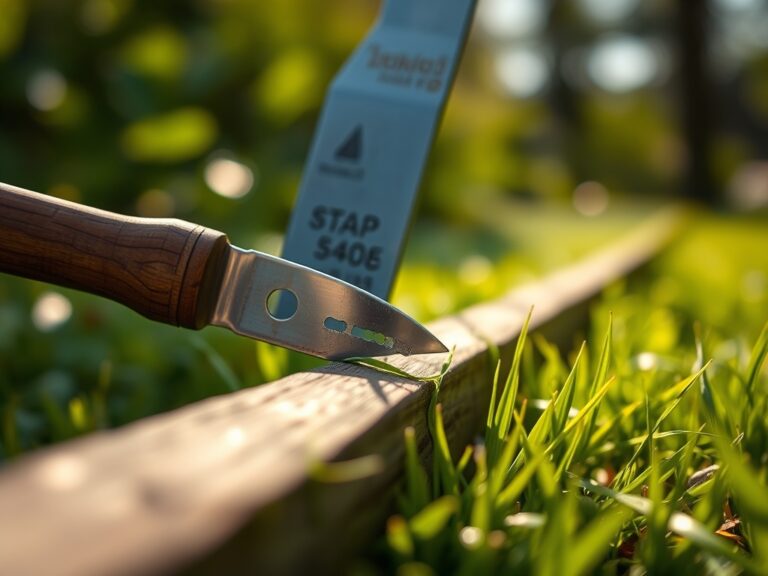
Begin by disconnecting the nozzle from the hose. Use a small pick to remove the rubber gasket and the mesh screen located at the threaded connection point. Inspect the screen for organic matter or mineral scale. Submerge the screen in a 5 percent acetic acid solution for thirty minutes to dissolve calcium carbonate deposits.
Pro-Tip: Maintaining high water pressure during the sowing phase is vital for seed-to-soil contact. Proper hydration triggers imbibition, the process where the seed coat absorbs water to activate metabolic enzymes required for germination.
Transplanting
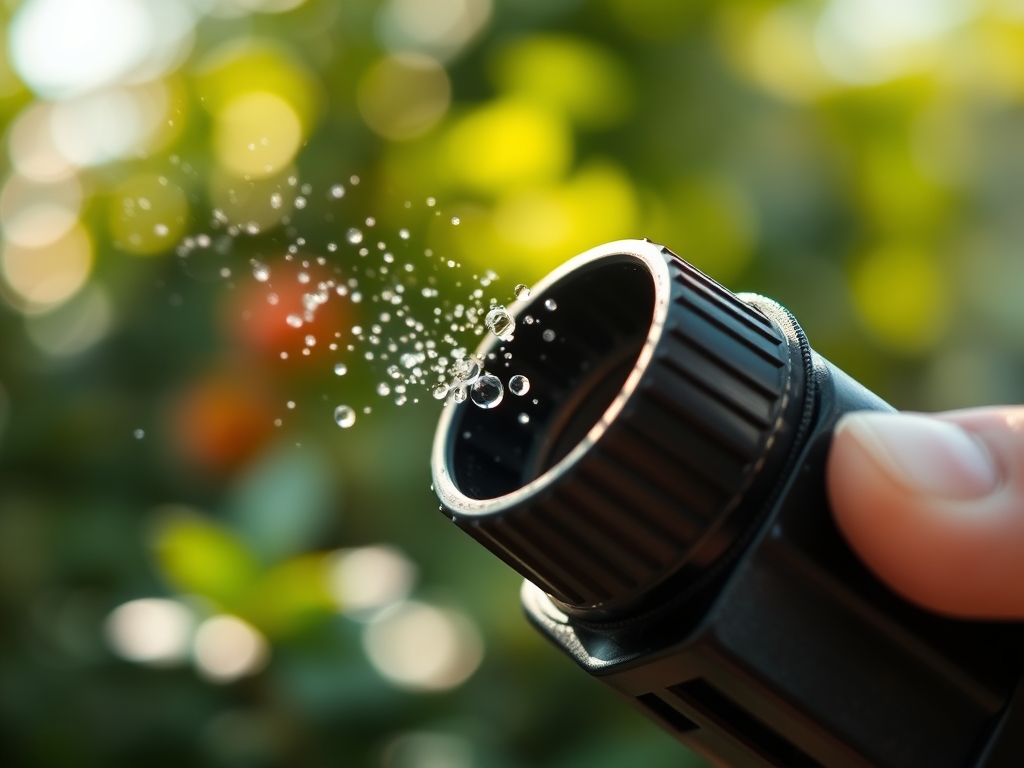
Once the screen is soaked, use a soft-bristled brush to clear remaining particulates. Reinstall the screen, ensuring it sits flush against the internal housing to prevent bypass flow. Check the nozzle apertures for blockages using a fine needle. This ensures a uniform spray pattern that avoids disturbing the delicate root systems of new transplants.
Pro-Tip: Uniform water distribution prevents transplant shock. Consistent moisture levels help maintain turgor pressure, allowing the plant to remain upright and maximize light interception for photosynthesis during the critical first 72 hours in the ground.
Establishing
Test the nozzle flow rate by timing how long it takes to fill a one-gallon container. A standard nozzle should deliver approximately 2.5 to 5 gallons per minute at 40 to 60 PSI. If flow remains restricted, check the hose interior for biofilm accumulation or physical kinks that impede hydraulic conductivity.
Pro-Tip: Establishing a deep root system requires deep, infrequent watering rather than shallow daily mists. This encourages roots to grow downward through the soil profile, a process driven by hydrotropism, which increases the plant's resilience against surface-level evaporation.
The Clinic:
Physiological disorders often mimic pathogen attacks but are frequently caused by improper irrigation or nutrient imbalances.
- Symptom: Interveinal chlorosis on new growth.
Solution: This indicates an iron deficiency, often caused by high soil pH or waterlogged roots. Adjust pH to 6.5 and ensure the nozzle screen is clean to provide controlled, oxygenated water delivery. - Symptom: Blossom end rot in Solanaceous crops.
Solution: This is a localized calcium deficiency. While soil may have calcium, inconsistent water flow prevents its transport. Ensure the nozzle provides a steady flow to maintain the transpiration stream. - Symptom: Marginal leaf burn.
Solution: Often caused by salt accumulation in the root zone. Use a cleaned nozzle to "leach" the soil with 2 inches of water to flush excess salts below the active root zone.
Fix-It: Nitrogen Chlorosis
If older leaves turn pale yellow, the plant is scavenging nitrogen for new growth. Apply a water-soluble fertilizer with a high N-value (e.g., 10-5-5) using a clean sprayer attachment to ensure the solution is atomized correctly for foliar or soil uptake.
Maintenance:
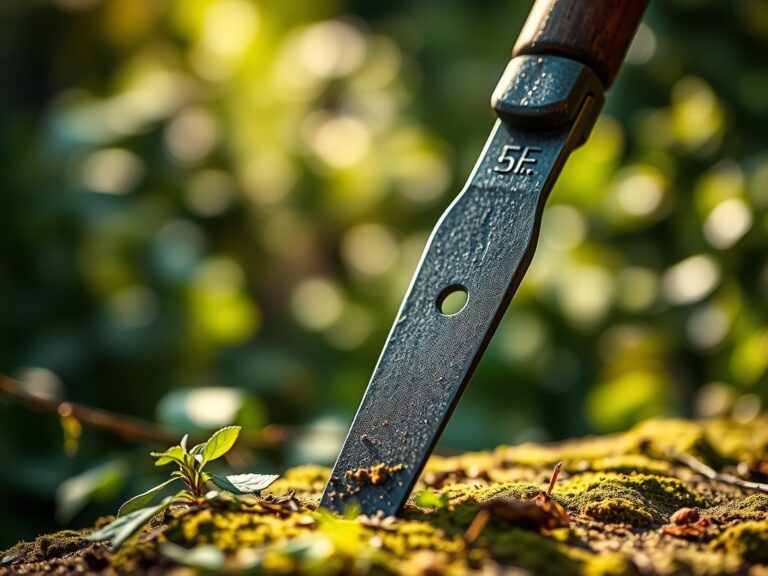
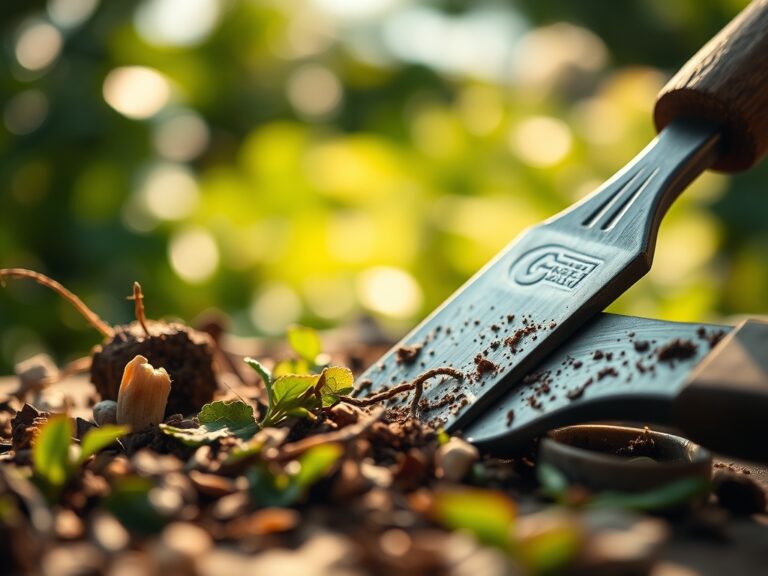
Precision is the hallmark of a professional grower. Use a soil moisture meter to verify that the root zone is receiving 1.5 inches of water per week at the drip line. For woody perennials, use a hori-hori knife to check soil moisture depth; the blade should come out cool and damp at a depth of 6 inches. Prune dead or diseased wood with bypass pruners to improve airflow and reduce the water demand of the canopy. Regularly inspect the hose nozzle screen every 30 days during the peak growing season to prevent mineral buildup from hard water.
The Yield:
Harvesting at the peak of physiological maturity ensures the highest nutrient density and flavor profile. For most fruiting crops, harvest in the early morning when turgor pressure is at its highest. This prevents wilting and extends shelf life. Use sharp shears to make clean cuts, avoiding damage to the main stem. Post-harvest, immediately move produce to a shaded, cool environment to slow the rate of respiration and preserve "day-one" freshness. For flowers, sear the stems or place them in 110-degree Fahrenheit water to clear air embolisms in the xylem, ensuring maximum vase life.
FAQ:
How often should I clean the nozzle screen?
Clean the screen every 30 to 60 days during the growing season. If you have hard water with high mineral content, monthly inspections are necessary to prevent calcium buildup from restricting flow and reducing irrigation efficiency.
What is the best solution for removing mineral scale?
A solution of 50 percent distilled white vinegar and 50 percent water effectively dissolves calcium and magnesium deposits. Soak the screen for 30 minutes, then scrub with a soft brush to restore full hydraulic capacity.
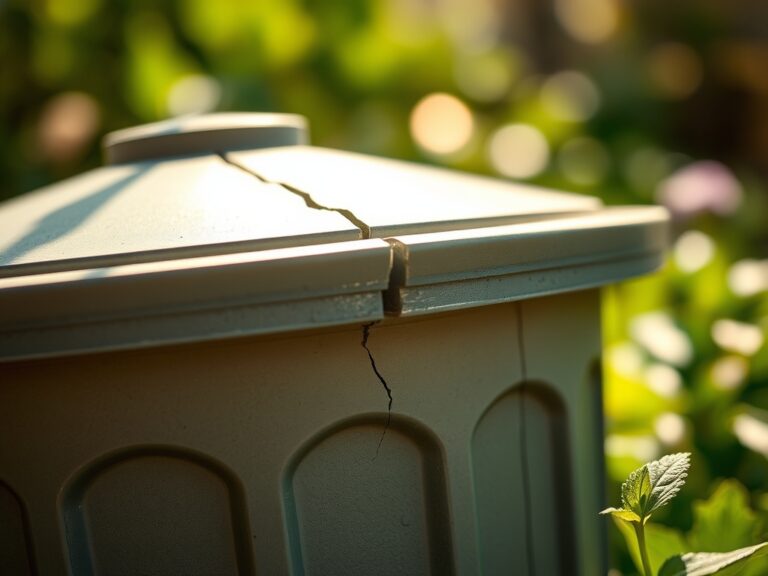
Can a clogged screen damage my garden hose?
Yes. A significant blockage creates back pressure within the hose assembly. Over time, this stress can weaken the hose walls, leading to pinhole leaks or fitting failures at the faucet connection point.
Why is my nozzle still leaking after cleaning the screen?
Leaks usually indicate a compromised O-ring or rubber washer. If the screen is clean but water escapes the threaded connection, replace the gasket to ensure a watertight seal and maintain proper system pressure.