7 Steps to Prepare for a Professional Tool Safety Inspection
The smell of damp earth and the crisp turgor of a healthy leaf define the operational baseline of a productive landscape. When managing high-output acreage, mechanical failure is not an option. You must understand how to prepare a garden for a tool safety inspection to ensure that every blade, tine, and handle meets rigorous horticultural standards. This process requires more than a simple cleaning; it demands a deep audit of your inventory against the physical demands of the soil. A dull edge or a cracked handle does more than slow the work. It creates jagged tissue tears in the plant, inviting pathogens into the vascular system. By aligning your maintenance schedule with the biological needs of your crops, you ensure that your equipment facilitates growth rather than hindering it. Professional inspections focus on the intersection of operator safety and plant health. This guide provides the technical framework to ensure your site and gear pass every metric of a professional safety audit.
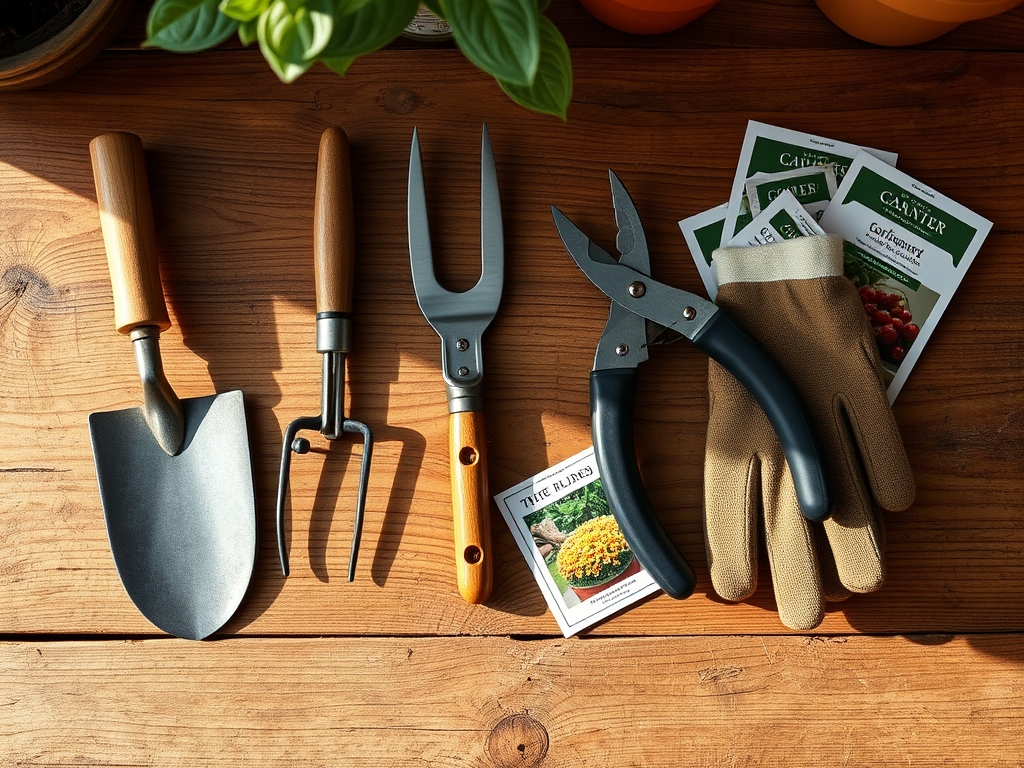
Materials:
The foundation of any inspection begins with the substrate your tools interact with daily. An ideal substrate is a **friable loam** with a bulk density of approximately **1.33 grams per cubic centimeter**. This texture allows for optimal pore space, facilitating gas exchange in the **rhizosphere**. To maintain this environment, you must manage soil chemistry with precision. Target a **soil pH between 6.0 and 7.0** for maximum nutrient availability.
Specific NPK ratios are required based on the growth stage of your inventory. For vegetative development, utilize a 10-5-5 ratio to provide the nitrogen necessary for chlorophyll synthesis. During the transition to the reproductive stage, shift to a 5-10-10 ratio to support root architecture and floral initiation. High Cation Exchange Capacity (CEC) values, ideally above 15 meq/100g, ensure that the soil can retain these essential cations against leaching. Tools must be calibrated to work this specific density without causing compaction, which reduces the oxygen levels required for root respiration.
Timing:
Successful preparation follows the rigid logic of Hardiness Zones and frost dates. In Zones 5 through 7, the window for tool inspection and soil preparation opens exactly four to six weeks before the last predicted frost. This timing aligns with the "Biological Clock" of the garden, specifically the transition from dormancy to the vegetative stage. As soil temperatures reach a consistent 55 degrees Fahrenheit, microbial activity increases, and the plant begins to demand higher turgor pressure to support new cell expansion.
Inspecting your tools during this window ensures that you are ready for the peak labor period of the spring equinox. You must track the photoperiod, as the increase in daylight hours triggers the production of gibberellins, the hormones responsible for stem elongation. If your tools are not serviced by the time the photoperiod reaches 12 hours, you risk falling behind the rapid growth curve of the primary season.
Phases:

### Sowing
The sowing phase requires precision instruments for seed placement. Inspect seeders for debris in the hopper and ensure that depth gauges are accurate to within **0.125 inches**.
Pro-Tip: Proper seed depth is vital because of skotomorphogenesis, the growth pattern of a seedling in the dark. If seeds are buried too deep, they exhaust their endosperm energy reserves before reaching the surface for photosynthesis.
Transplanting
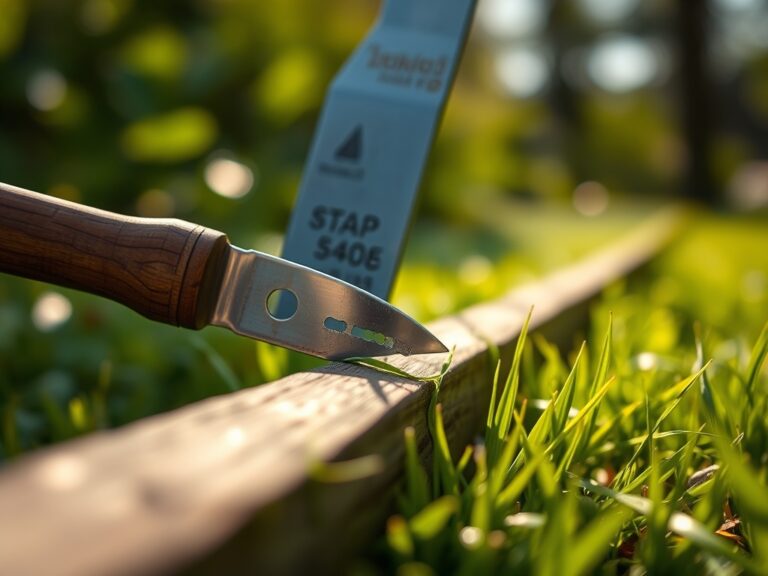
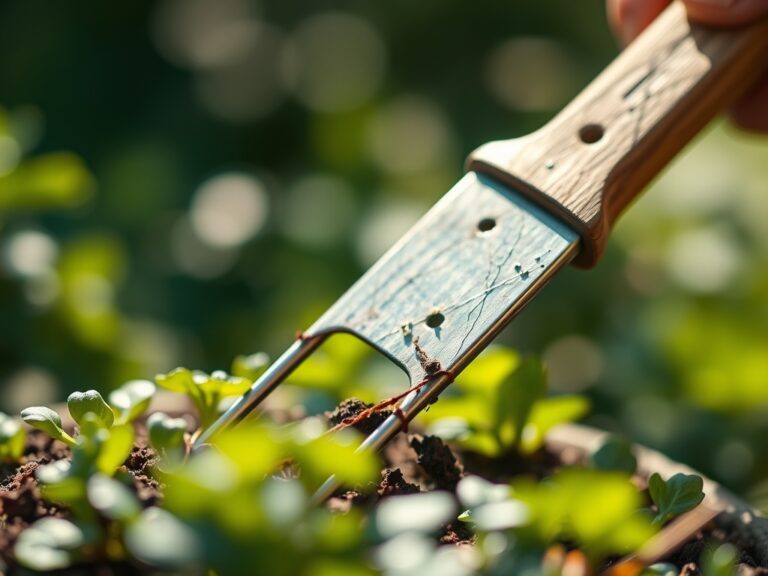
When moving starts into the field, use a sharpened hori-hori knife to slice through any circling roots. This prevents "root girdling" and encourages lateral root branching into the surrounding soil matrix.
Pro-Tip: Minimize root exposure to prevent transplant shock, which is caused by the sudden loss of water potential. Maintaining high humidity around the roots during this phase preserves the delicate root hairs responsible for water uptake.
Establishing
As plants establish, use a soil moisture meter to monitor the tension at which water is held in the soil. Aim for a reading between 10 and 30 centibars for most row crops.
Pro-Tip: Use sharp bypass pruners to remove lower axillary buds. This practice utilizes apical dominance by concentrating auxins at the top of the plant, forcing vertical growth and improving airflow through the lower canopy.
The Clinic:
Physiological disorders often stem from improper tool use or soil imbalances. Use the following diagnostic data to correct issues before an inspection.
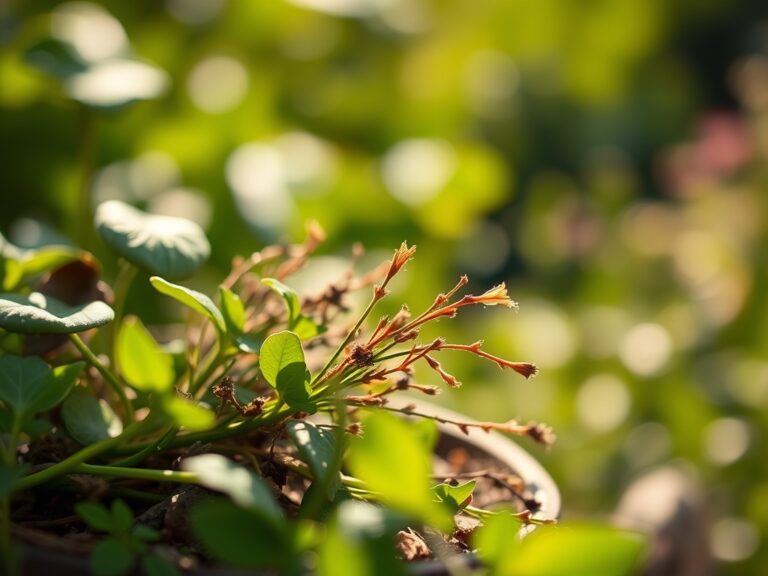
- Blossom End Rot: This is a localized calcium deficiency in the fruit. It is often caused by inconsistent moisture levels rather than a lack of calcium in the soil. Solution: Maintain consistent irrigation to ensure calcium ions move through the xylem via the transpiration stream.
- Nitrogen Chlorosis: Characterized by the yellowing of older, lower leaves while the veins remain green. Solution: Apply a quick-release nitrogen fertilizer with a 46-0-0 (Urea) or 21-0-0 (Ammonium Sulfate) analysis to restore chlorophyll density.
- Iron Interveinal Chlorosis: This appears as yellowing between the veins of young leaves, often in alkaline soils (pH above 7.5). Fix-It: Apply chelated iron to the soil or as a foliar spray to bypass soil lockout.
- Stem Canker: Often caused by dull tools creating ragged wounds. Solution: Re-sharpen all cutting edges to a 20-degree angle and disinfect blades with 70 percent isopropyl alcohol between every cut.
Maintenance:
Precision maintenance is the hallmark of a professional. Provide 1.5 inches of water per week delivered at the drip line to ensure deep root penetration. For tool longevity, clean all metal surfaces after each use to prevent the oxidation of carbon steel. Use a soil moisture meter daily at a depth of 6 inches to verify that the root zone remains within the "Available Water Capacity" range.
Inspect the wooden handles of shovels and rakes for splinters or cracks. Sand them with 120-grit sandpaper and apply a coat of boiled linseed oil to maintain flexibility. Check the tension on your bypass pruners; the blades should pass each other with no more than a 0.005-inch gap to ensure clean vascular cuts.
The Yield:
Harvesting is the final test of tool readiness. For leafy greens, harvest in the early morning when turgor pressure is at its peak. Use a sharpened harvest knife to make a single, clean horizontal cut at the base of the crown. For fruiting crops, harvest when the "ground spot" changes from white to creamy yellow, indicating maturity. To maintain "day-one" freshness, immediately move harvested material into a cooling chamber set to 34 to 40 degrees Fahrenheit to slow the rate of senescence and respiration.
FAQ:
How do I clean tools for a safety inspection?
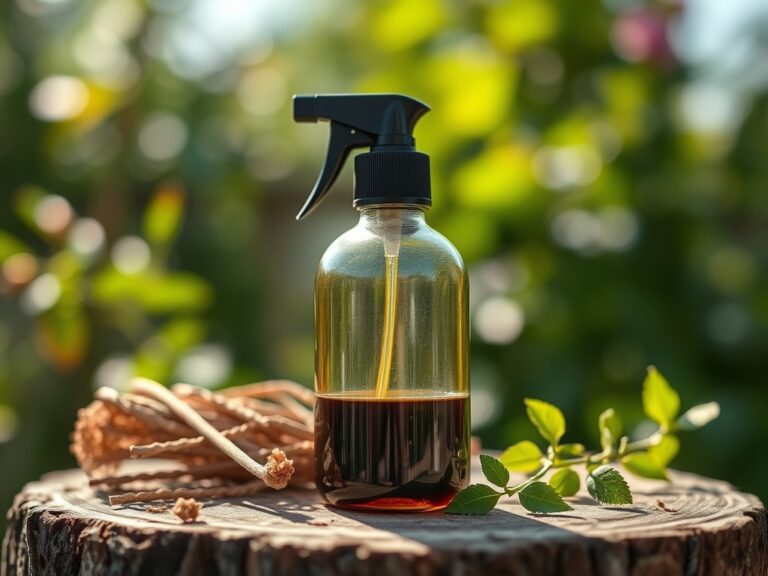
Remove all organic matter with a stiff wire brush. Wash with soap and water, then submerge the tool heads in a 10 percent bleach solution for 30 seconds. Dry completely and apply a thin layer of mineral oil to prevent rust.
What is the most important tool for soil health?
A soil moisture meter is essential. It provides real-time data on the water potential of the rhizosphere, allowing you to prevent both anaerobic conditions from overwatering and permanent wilting point stress from underwatering.
How often should I sharpen my bypass pruners?
Sharpen pruners after every 10 hours of heavy use or whenever you notice the tool crushing the stem rather than slicing it. A clean cut is necessary to prevent the entry of fungal pathogens into the plant's xylem.
What soil pH is best for garden tools?
While tools do not have a pH requirement, a soil pH of 6.5 is ideal for minimizing tool corrosion while maximizing nutrient bioavailability for the plants. Extreme acidity can accelerate the oxidation of low-quality metal alloys in garden equipment.