7 Steps to Prepare a Level Yard Garden Bench Site
The scent of damp, anaerobic clay often signals poor site drainage, while the crisp turgor of a healthy leaf indicates a root system supported by stable, well-aerated soil. Proper installation begins with the foundation. Learning how to prepare a site for a garden bench requires more than just clearing debris; it demands an understanding of soil compaction and structural integrity. A bench placed on uneven, shifting substrate will eventually succumb to frost heave or subsidence, compromising both the furniture and the surrounding rhizosphere.
Stability starts with the mechanical properties of the earth. You must evaluate the soil's load-bearing capacity and its ability to shed water away from the bench feet. Failure to address these factors leads to wood rot or metal oxidation. By focusing on the physical chemistry of the site, you ensure the installation remains level throughout the seasonal cycles of expansion and contraction. This process involves precise excavation, the application of specific mineral aggregates, and a keen eye for the local topography.
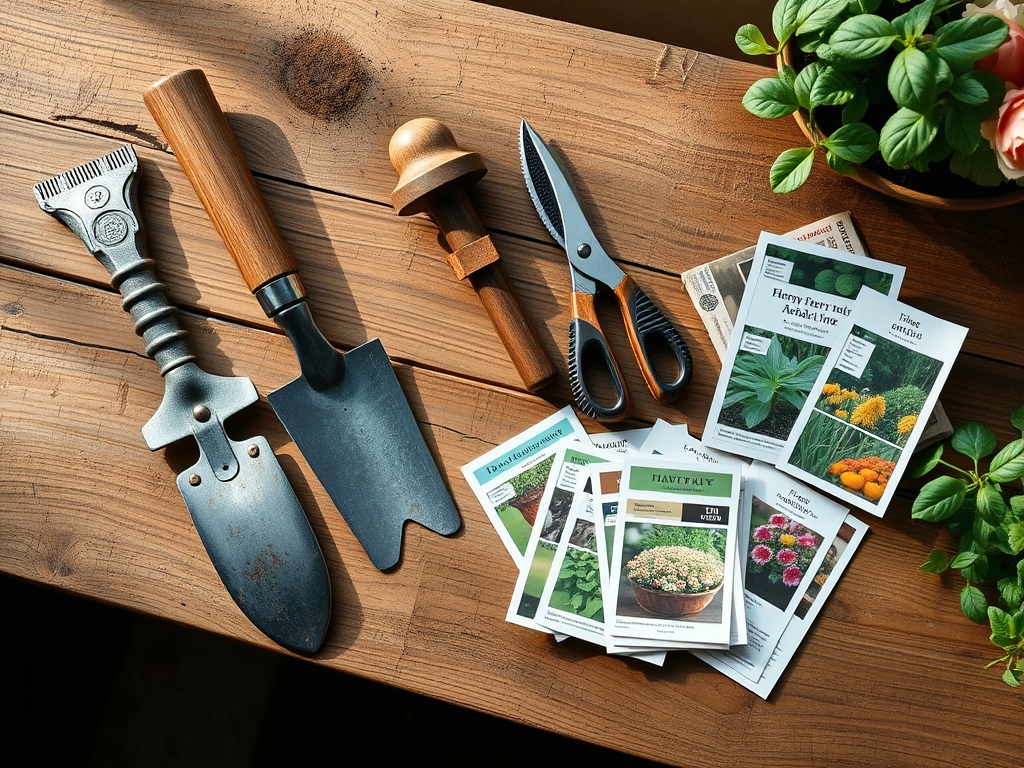
Materials:
The ideal substrate for a garden bench site is a **friable loam** that has been modified for structural stability. While a garden bed requires high organic matter, a bench site requires a high mineral content to prevent sinking. If you are planting around the bench, target a **soil pH of 6.2 to 6.8** to maximize nutrient availability.
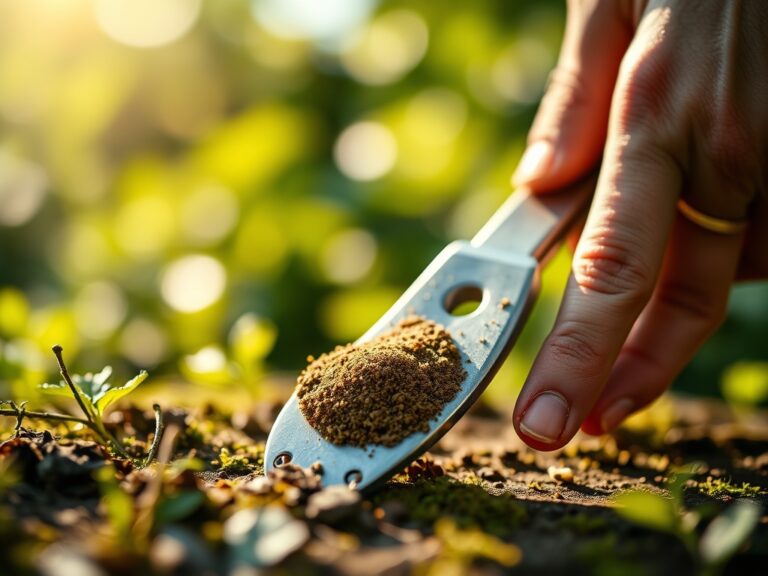
For the surrounding flora, use a balanced fertilizer with an NPK ratio of 10-10-10 for general maintenance, or a 5-10-5 ratio to encourage root development without excessive vegetative surge. The Cation Exchange Capacity (CEC) of your soil should ideally range between 15 and 25 meq/100g to ensure the soil can hold onto essential nutrients like magnesium and calcium. You will need three-quarter inch crushed limestone for the base layer, as the angular edges lock together to provide a stable, non-shifting platform.
Timing:
Timing your installation is critical for soil health. In Hardiness Zones 4 through 7, the ideal window is late spring after the final frost has passed and the soil moisture has reached a workable state. Attempting to level a site when the soil is saturated leads to severe compaction, which destroys the soil structure and limits oxygen diffusion to nearby roots.
Observe the biological clock of your garden. The transition from the vegetative stage to the reproductive stage in many perennials occurs as the photoperiod lengthens. Aim to complete your site preparation before the peak heat of summer, which can cause soil to bake and crack. In Hardiness Zones 8 through 10, autumn is often the superior choice, as the cooling temperatures reduce the rate of evapotranspiration in the surrounding plants, allowing them to recover from any root disturbance caused during excavation.
Phases:
Sowing the Foundation
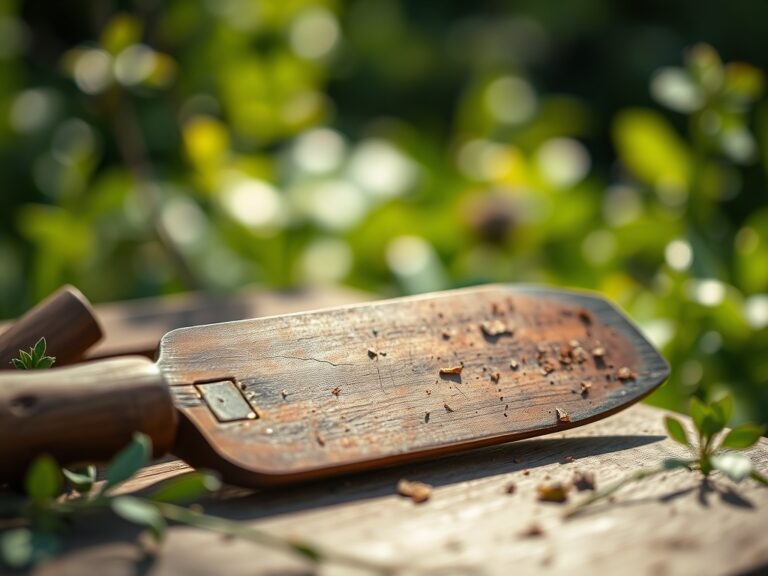
Begin by marking a rectangular area 6 inches wider than the bench footprint on all sides. Excavate the soil to a depth of 4 to 6 inches. Remove all organic debris, including roots and large stones. Use a hand tamper to compress the subsoil until it reaches a density that resists a thumbprint.
Pro-Tip: Compacting the subsoil prevents future subsidence by reducing the macropore space. This is essential because excessive air pockets in the subsoil can lead to hydrostatic pressure issues during heavy rains, potentially tilting the bench.
Transplanting the Aggregate
Fill the excavated area with a 3-inch layer of crushed stone. Use a carpenter's level to ensure the surface is flat. If you are placing the bench on a slope, you must "cut and fill" to create a level terrace. Add a final 1-inch layer of stone dust or fine gravel to fill the voids between the larger rocks.
Pro-Tip: Using angular crushed stone instead of rounded pea gravel promotes mechanical interlocking. This mimics the natural stability found in rocky outcrops where mycorrhizal symbiosis thrives, as the stones provide a cool, moist microclimate for fungal hyphae to colonize.
Establishing the Perimeter
Once the bench is set, backfill the edges with the original topsoil. If you are planting ornamental grasses or shrubs nearby, ensure they are placed at least 18 inches from the bench legs to allow for air circulation and to prevent fungal pathogens from migrating from the foliage to the bench material.
Pro-Tip: Maintain a clear zone to prevent auxin suppression. When plants are crowded too closely to a structure, they may exhibit asymmetrical growth patterns as they shift their hormonal balance to grow away from the shade of the bench, a process known as skototropism.
The Clinic:
Even a well-prepared site can face physiological challenges. Monitor the surrounding vegetation for these symptoms:
- Symptom: Interveinal chlorosis (yellowing between leaf veins).
Solution: This often indicates a Manganese or Iron deficiency caused by high soil pH. Apply elemental sulfur to lower the pH to 6.5. - Symptom: Marginal leaf burn.
Solution: This suggests salt accumulation or drought stress. Flush the area with 2 inches of water to leach excess salts from the root zone. - Symptom: Stunted growth and purple-tinted foliage.
Solution: This is a classic sign of Phosphorus deficiency, common in cold, wet soils. Apply a 0-20-0 superphosphate amendment to the rhizosphere.
Fix-It Section: For Nitrogen chlorosis (overall paling of the plant), apply a quick-release urea-based fertilizer at a rate of 0.5 pounds of Nitrogen per 1,000 square feet. This will rapidly restore chlorophyll production and increase turgor pressure.
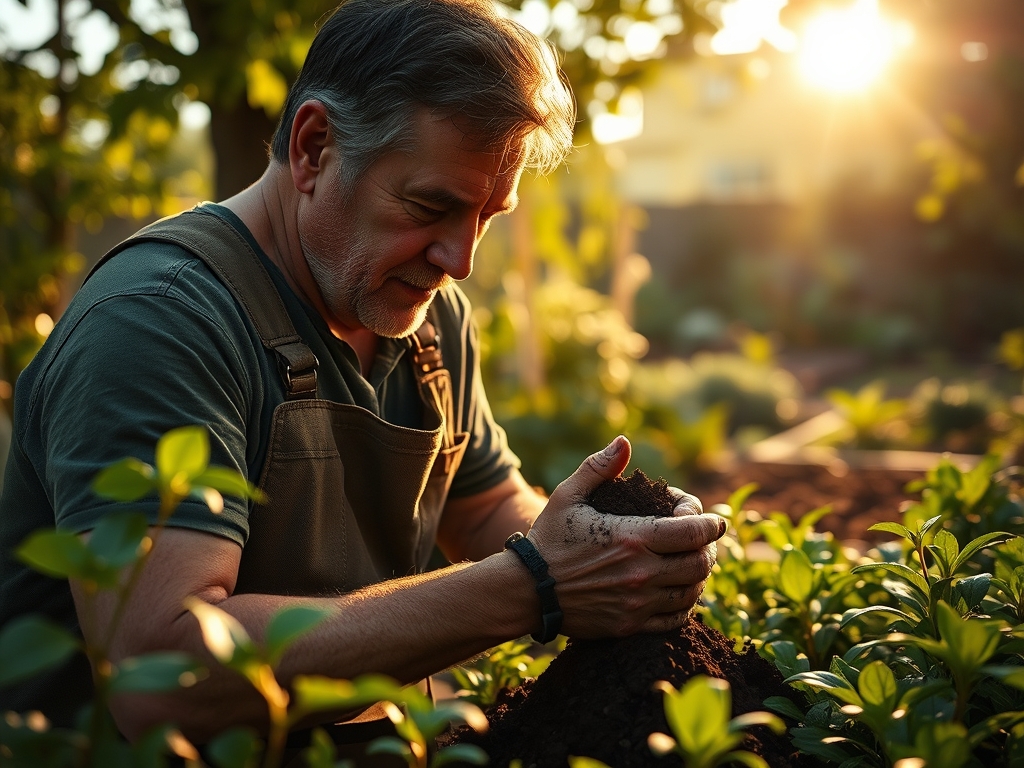
Maintenance:
A garden bench site requires consistent monitoring to prevent the soil from reclaiming the space. Use a soil moisture meter once a week to ensure the area around the bench remains at a consistent moisture level of 20% to 30%. If the site becomes too dry, the soil may pull away from the aggregate base, creating gaps.
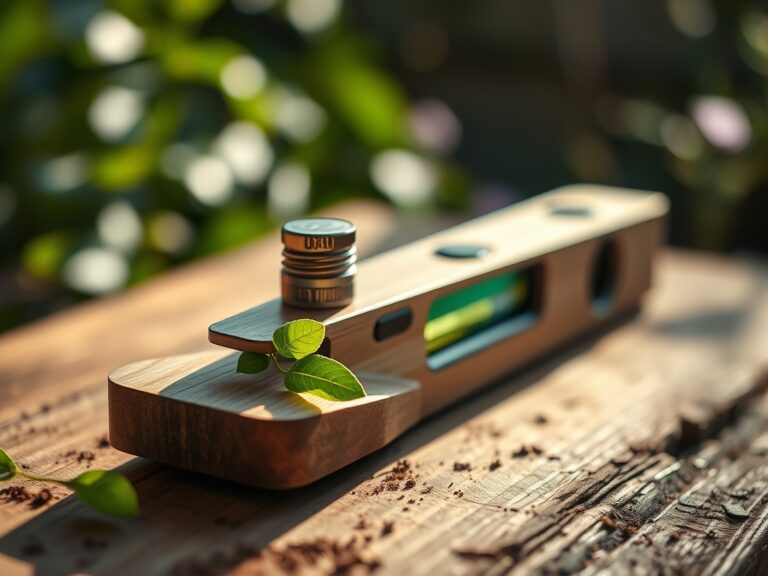
Provide approximately 1.5 inches of water per week at the drip line of nearby plants. Use a hori-hori knife to remove any deep-taproot weeds like dandelions that attempt to penetrate the gravel base. Every two years, check the level of the bench with a 4-foot spirit level. If the bench has shifted, use a pry bar to lift the low side and tuck additional stone dust underneath the feet. Use bypass pruners to keep any overhanging limbs at least 12 inches above the bench back to prevent the buildup of moisture and lichen.
The Yield:
If your bench site is integrated into a cutting garden or an edible landscape, the "yield" is the harvest of your surrounding plants. For flowers like Zinnias or Lavender, harvest in the early morning when turgor pressure is at its highest. This ensures the stems are rigid and the cells are fully hydrated.
Use a sharp, sterilized blade to make a clean cut at a 45-degree angle. This increases the surface area for water uptake. Immediately place the stems in a bucket of 105-degree Fahrenheit water. This "hardening off" process prevents air embolisms in the xylem, ensuring your harvest maintains its freshness for several days. For herbs, never harvest more than one-third of the plant at a time to prevent physiological shock and premature senescence.
FAQ:
How deep should I dig for a garden bench base?
Excavate to a depth of 4 to 6 inches. This allows for a 3-inch base of structural aggregate and a 1-inch leveling layer of stone dust, ensuring the site resists frost heave and soil compression.
What is the best material for a level bench site?
Crushed limestone or granite is superior to sand or rounded gravel. The angular edges of crushed stone lock together under pressure, creating a stable, non-shifting surface that maintains its level over several seasons.
Can I put a garden bench directly on the grass?
Placing a bench on turf leads to soil compaction and wood rot. The weight of the bench collapses soil macropores, killing the grass and causing the bench to sink unevenly as the organic matter decomposes.
How do I stop my garden bench from sinking?
Install a compacted mineral base. By replacing soft topsoil with inorganic aggregate and tamping the subsoil, you create a foundation with high load-bearing capacity that prevents the bench feet from migrating downward into the earth.