9 Steps to Prepare for a Seasonal Garden Tool Swap
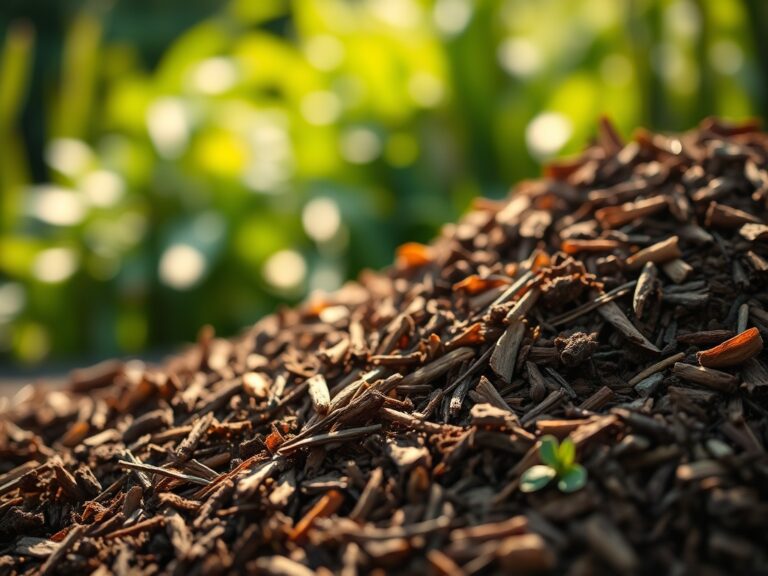
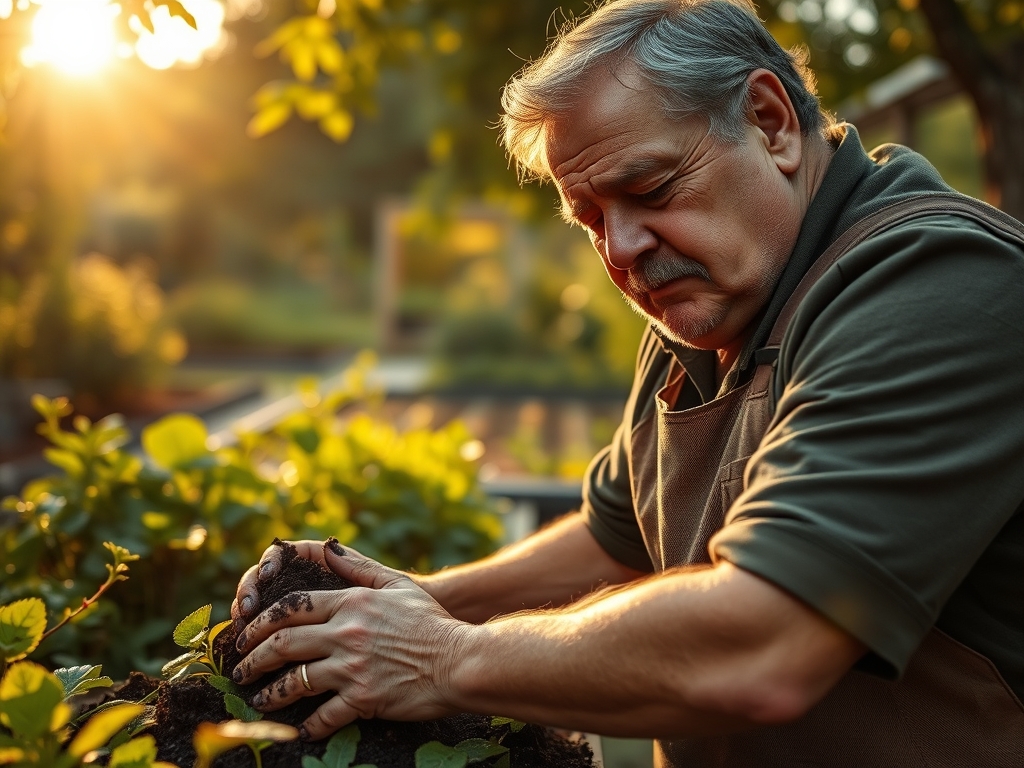
Damp earth releases geosmin as the spade turns the soil; the scent signals a transition in the biological cycle of the rhizosphere. Maintaining the turgor pressure of your crops requires more than just water; it demands a rigorous mechanical audit of your equipment. Learning how to prepare a garden for a seasonal tool swap ensures that your soil structure remains undisturbed by blunt blades or contaminated surfaces. Precision in your horticultural toolkit directly correlates to the health of the vascular cambium in your woody perennials. You must approach this transition with the mindset of a laboratory technician. Every cut made with a dull edge creates jagged cellular damage that invites pathogens. By synchronizing your tool maintenance with the local phenology, you protect the physiological integrity of the garden. This guide provides the technical framework to transition your inventory while the soil temperature fluctuates between growing and dormant phases.
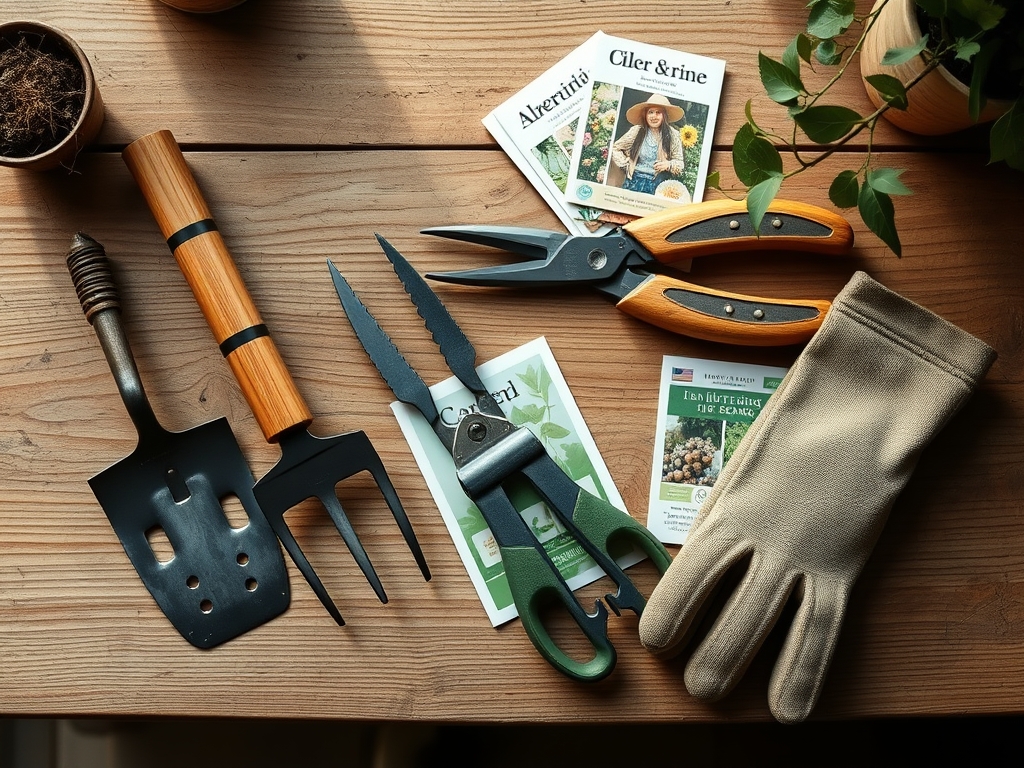
Materials:
Successful cultivation begins with a **friable loam** substrate characterized by a 40-40-20 ratio of sand, silt, and clay. This physical texture allows for optimal pore space, facilitating gas exchange at the root zone. Your soil chemistry must align with the specific needs of the upcoming crop rotation. For heavy feeders like brassicas, aim for a **6.5 to 6.8 pH** level. Use a balanced NPK ratio of **10-10-10** for general maintenance; however, if you are transitioning to root crops, shift to a **5-10-10** formula to prioritize phosphorus for radical development over nitrogen-heavy vegetative growth. High **Cation Exchange Capacity (CEC)** soils, typically those with high organic matter or clay content, will hold these nutrients more effectively against leaching. Ensure you have 70 percent isopropyl alcohol for tool sterilization and a high-carbon honing stone for edge restoration.
Timing:
The transition window is dictated by your USDA Hardiness Zone and the local frost-date data. In Zones 5 through 7, the primary tool swap occurs 14 to 21 days before the first projected frost. This period coincides with the "Biological Clock" of the plant, specifically the onset of senescence in annuals and the translocation of carbohydrates to the root systems in perennials. As the photoperiod shortens, plants shift from the vegetative stage to the reproductive or dormant stages. Monitoring the soil temperature at a 4-inch depth is critical; when it drops below 50 degrees Fahrenheit, microbial activity slows, and the window for heavy soil manipulation closes. You must have your sharpest implements ready for the final pruning of the season to ensure rapid callusing before the deep freeze.
Phases:
### Sowing
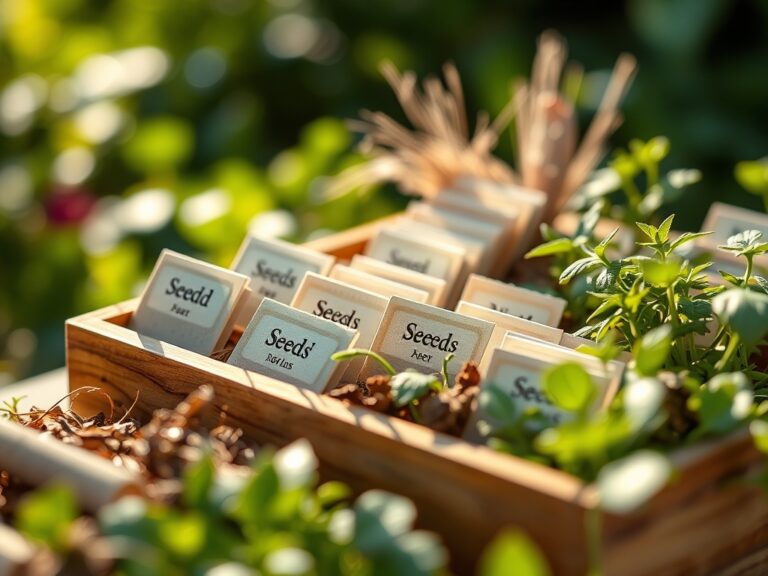
Direct sowing during the seasonal transition requires a seedbed prepared to a fine tilth. Use a **soil moisture meter** to ensure the top two inches maintain a consistent 60 percent field capacity. When planting cover crops like winter rye, sow at a rate of **2 to 3 pounds per 1,000 square feet**.
Pro-Tip: Proper seed-to-soil contact is essential because of capillary action. Water must move from the soil particles into the seed coat to trigger the metabolic processes of germination.
Transplanting
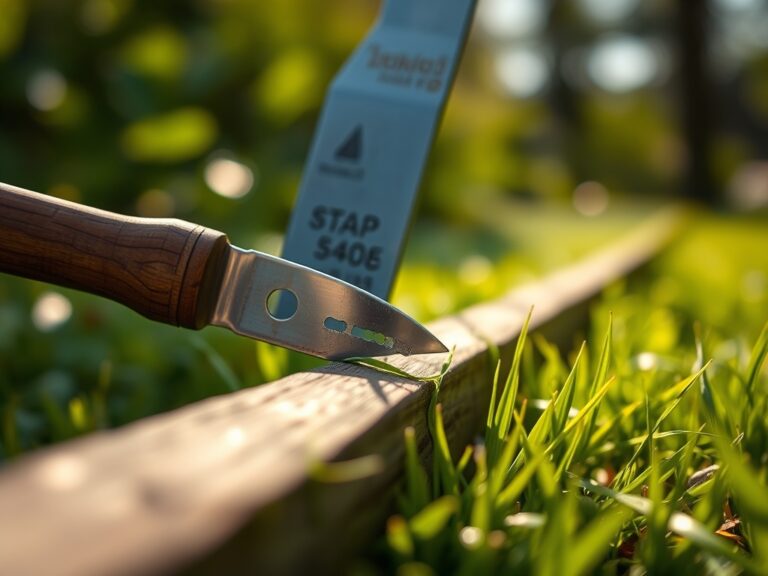
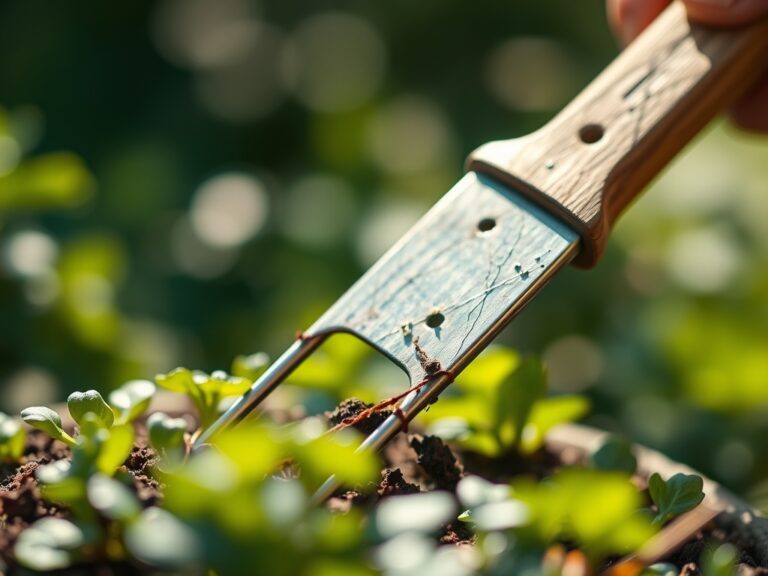
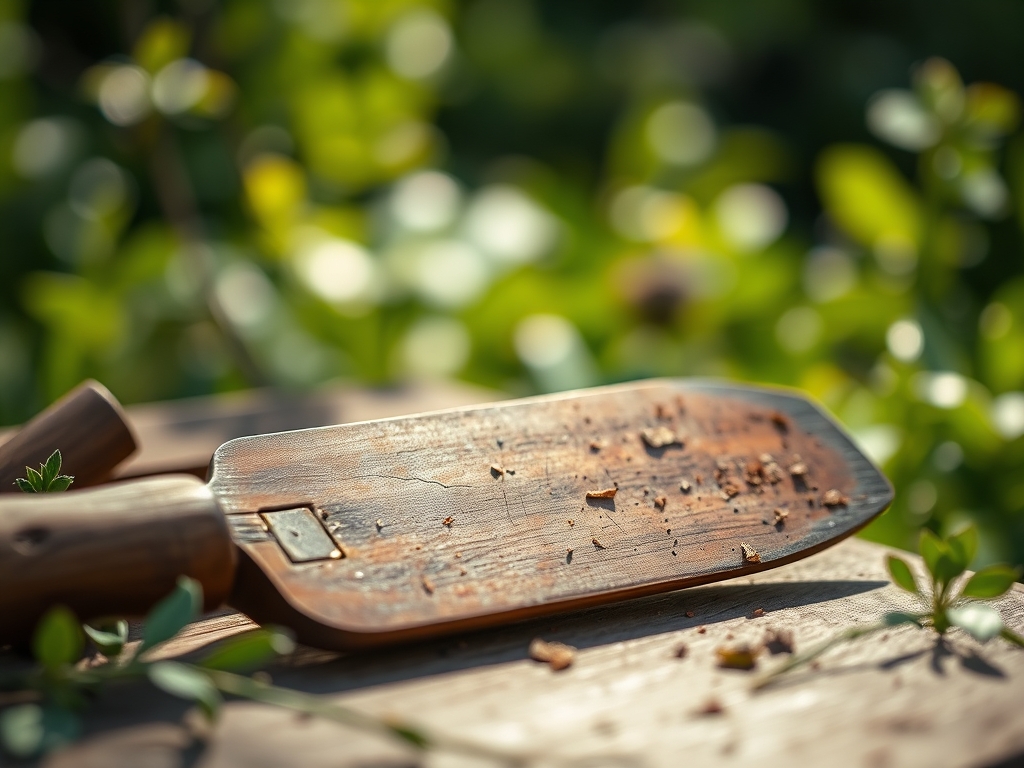
Moving established starts requires minimal root disturbance to prevent transplant shock. Use a hori-hori knife to cut a clean circle around the root ball, preserving the mycorrhizal symbiosis already established in the soil. Dig the new hole twice as wide as the root ball but no deeper than the original container.
Pro-Tip: Water the transplant immediately to eliminate air pockets. This prevents root desiccation and ensures that the rhizosphere remains in direct contact with the nutrient-rich substrate.
Establishing
As plants settle, focus on structural integrity. For woody plants, use bypass pruners to remove any crossing branches that might rub during winter winds. This prevents mechanical injury to the bark.
Pro-Tip: Removing the terminal bud through selective pruning can trigger auxin suppression. This redirects the plant's energy to lateral buds, resulting in a bushier, more resilient structure.
The Clinic:
Physiological disorders often mimic infectious diseases but are rooted in environmental stress or nutrient imbalances.
Symptom: Blossom End Rot
This appears as a dark, sunken leathery spot on the distal end of the fruit.
Solution: This is a localized calcium deficiency often caused by inconsistent moisture levels. Maintain a steady irrigation schedule to ensure calcium transport through the xylem.
Symptom: Interveinal Chlorosis
The leaf tissue turns yellow while the veins remain green.
Solution: This typically indicates an iron or magnesium deficiency. Check the soil pH; if it is above 7.2, iron becomes chemically locked and unavailable to the plant.
Symptom: Leaf Curl
Leaves twist or distort without the presence of insects.
Solution: This is often a response to extreme temperature fluctuations or moisture stress. Increase mulch depth to 3 inches to stabilize soil temperature.
Fix-It: Nitrogen Chlorosis
If older leaves are uniformly pale green or yellow, the plant lacks nitrogen. Apply a high-nitrogen organic amendment like blood meal at a rate of 1 pound per 100 square feet to restore chlorophyll production.
Maintenance:
Precision irrigation is the cornerstone of plant health. Deliver 1.5 inches of water per week directly at the drip line rather than the foliage to prevent fungal proliferation. Use a soil moisture meter daily at 6:00 AM for the most accurate readings.
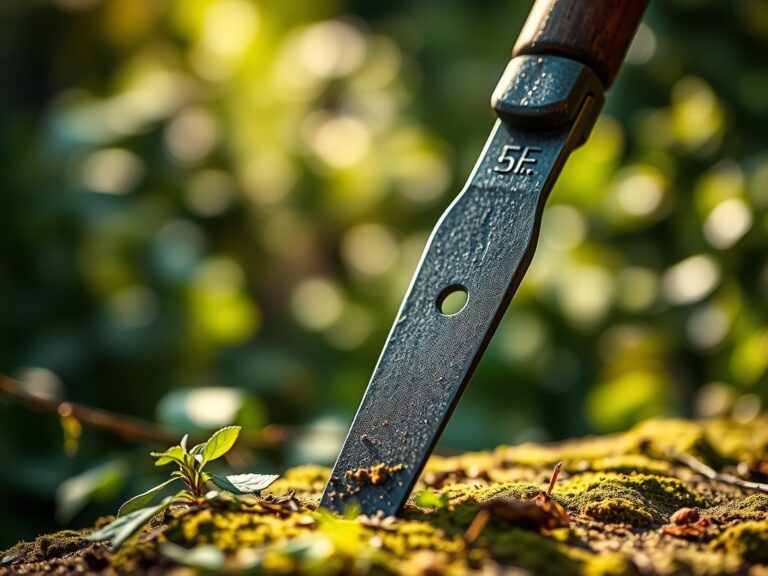
Tool hygiene is non-negotiable. After every use, scrub your bypass pruners and hori-hori knife with a stiff brush to remove organic debris. Follow this with a wipe-down using a light machine oil to prevent oxidation. If you encounter diseased tissue, dip the tool blades in a 10 percent bleach solution between every single cut to prevent the mechanical transmission of pathogens. Store all metal tools in a bucket of sand mixed with vegetable oil to maintain a sharp, rust-free edge throughout the dormant season.
The Yield:
Harvesting is a race against senescence. For leafy greens, harvest in the early morning when turgor pressure is at its peak; this ensures the cellular walls are fully hydrated. Use a sharp, sterilized knife to make clean cuts, which allows the parent plant to heal quickly if it is a "cut and come again" variety. For root crops, harvest once the soil temperature reaches 40 degrees Fahrenheit, as many starches convert to sugars at this threshold. After removal from the soil, cool the produce immediately to 35-40 degrees Fahrenheit to slow the respiration rate. This technique preserves the nutrient density and structural "snap" of the harvest for maximum shelf life.
FAQ:
How do I clean tools for a swap?
Remove all soil with a wire brush. Submerge metal heads in a 10 percent bleach solution for ten minutes. Dry thoroughly and apply a thin coat of mineral oil to prevent oxidation during the transition.
When is the best time to swap tools?
Perform the swap during the "shoulder season," typically two weeks before your region's average first or last frost date. This aligns with the shift in your garden's biological requirements and labor demands.
What is the best way to sharpen a hori-hori?
Use a 400-grit whetstone followed by a 1000-grit stone for a polished edge. Maintain a 20-degree angle. A sharp blade ensures clean cellular cuts, which reduces the risk of opportunistic pathogens entering the plant.
Why does soil pH matter for tool choice?
High-acid soils (pH below 5.5) can accelerate the corrosion of carbon steel tools. If your soil is acidic, prioritize stainless steel implements or ensure immediate cleaning and oiling after every contact with the substrate.