6 Steps to Prepare a Level Yard Garden Deck Site
The smell of damp, anaerobic earth indicates a site with poor drainage and high compaction; a nightmare for any structural foundation. To ensure the longevity of your outdoor space, you must master how to prepare a site for a garden deck by managing soil stability and moisture retention. Proper site preparation prevents the structural failure caused by frost heave or shifting substrate. You are not just building a platform; you are manipulating the local topography to support a load-bearing structure while maintaining the integrity of the surrounding rhizosphere.
Success begins with understanding the mechanical properties of your soil. A site with high clay content will retain water, increasing the risk of rot for any timber in contact with the ground. Conversely, a sandy site offers excellent drainage but may lack the shear strength to hold heavy footings without reinforcement. By stripping the organic layer and exposing the mineral-rich subsoil, you create a stable base that resists the natural expansion and contraction cycles of the seasons.
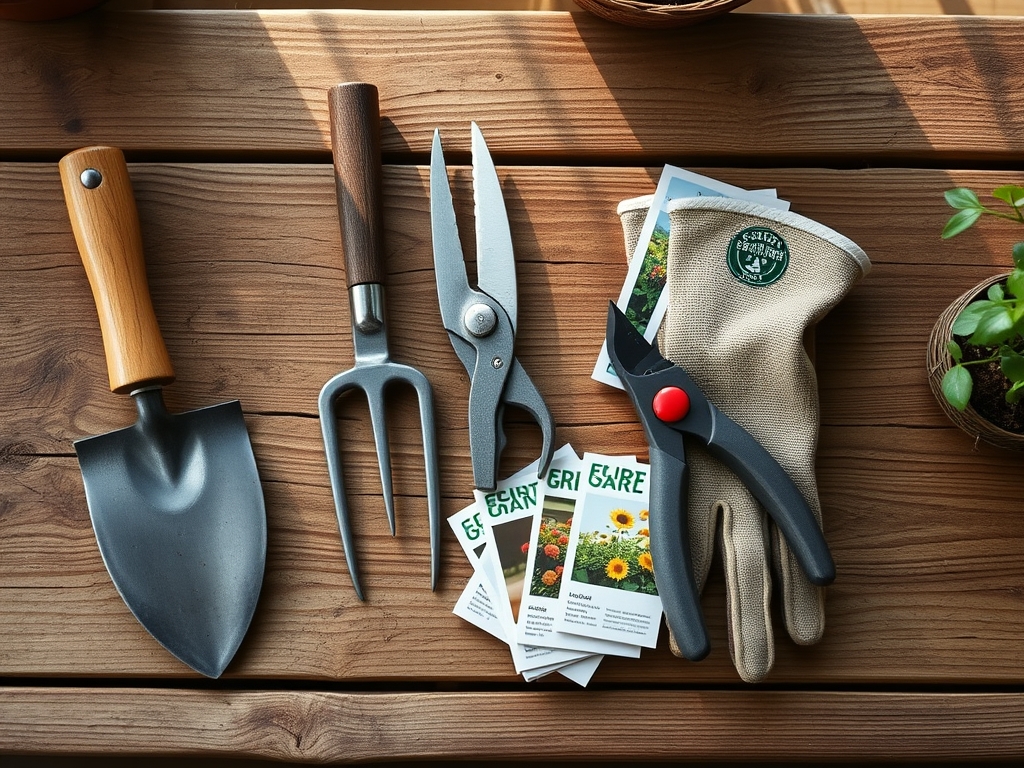
Materials:
Before the first shovel hits the dirt, analyze your substrate. You are looking for a **friable loam** or a well-graded sandy gravel. If the soil is excessively acidic (pH below 5.5), it can accelerate the corrosion of galvanized metal fasteners. Aim for a **pH of 6.0 to 7.0** to maintain a neutral environment.
For the surrounding vegetation that will remain, ensure the soil contains a balanced NPK ratio. A 10-10-10 NPK fertilizer applied at a rate of 1 pound per 100 square feet supports root recovery after the stress of nearby excavation. High Cation Exchange Capacity (CEC) values in your soil indicate a better ability to hold onto these nutrients, preventing leaching during the heavy watering required for post-construction landscaping. You will also need geotextile weed barrier fabric and crushed angular stone (3/4-inch minus) to create a permeable but stable base.
Timing:
The biological clock of your garden dictates the window for construction. In Hardiness Zones 4 through 7, site preparation should occur during the dormant season or early spring before the "bud burst" phase. This timing prevents the disruption of the plant's transition from vegetative growth to reproductive stages.
Perform excavation when the soil moisture is between 15% and 20%. If the soil is too wet, you risk "puddling," which destroys the soil structure and collapses the macropores necessary for oxygen exchange. If it is too dry, the soil loses its cohesive properties, making it impossible to achieve a level grade. Monitor the local frost-date windows; you must install footings below the frost line, which can reach depths of 36 to 48 inches in northern latitudes, to prevent the deck from "heaving" during the winter freeze-thaw cycles.
Phases:

Sowing and Ground Clearing
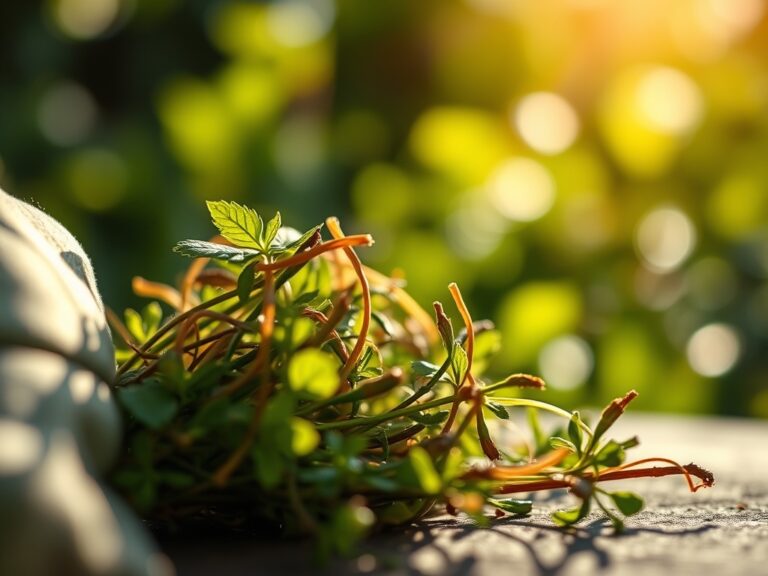
Clear all vegetation from the footprint plus an extra 12-inch perimeter. Use a sod cutter to remove the grass, ensuring you take the top 3 inches of organic matter. This prevents the decomposition of plant material under the deck, which would otherwise release methane and cause localized soil subsidence.
Pro-Tip: Removing the "A-horizon" soil layer prevents anaerobic decomposition. When organic matter is trapped without oxygen, it creates a foul-smelling environment that can attract wood-destroying organisms and harm the health of nearby ornamental roots.
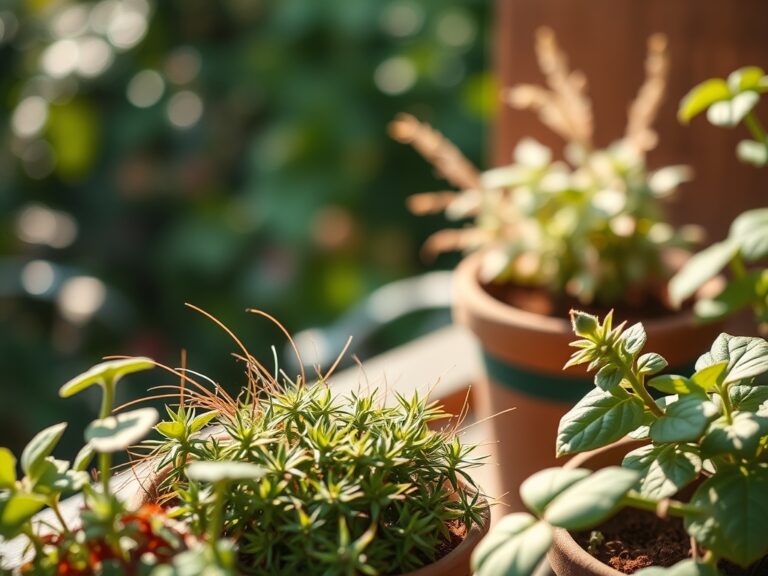
Transplanting and Root Protection
If valuable specimens are within the construction zone, transplant them using a root ball diameter 12 times the trunk diameter. Dig the new hole twice as wide as the root ball to encourage lateral root expansion into the new soil.
Pro-Tip: Maintain turgor pressure by hydrating the plant 24 hours before moving. This ensures the cells are fully distended, reducing the risk of transplant shock and allowing the plant to maintain its physiological functions during the transition.
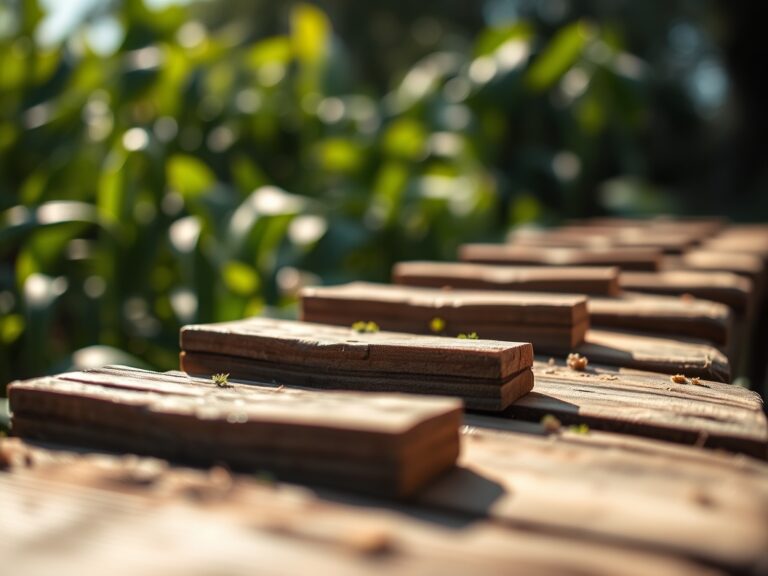
Establishing the Base
Level the area using a transit level or a string level. Apply a 2-inch layer of compactable gravel, followed by the geotextile fabric. Secure the fabric with sod staples. Top this with another 2 to 3 inches of clean gravel. This layered approach manages hydrostatic pressure, allowing water to move away from the deck supports.
Pro-Tip: Use geotextile fabric to suppress phototropism in weeds. By blocking light, you prevent the germination of dormant seeds in the seed bank, ensuring that no vegetation grows under the deck to trap moisture against the joists.
The Clinic:
Physiological disorders in nearby plants often arise from the soil compaction and grade changes inherent in deck construction.
- Symptom: Interveinal chlorosis (yellow leaves with green veins) on nearby shrubs.
- Solution: This is often Iron deficiency caused by a spike in soil pH from concrete runoff. Apply chelated iron to the rhizosphere.
- Symptom: Leaf wilting despite adequate soil moisture.
- Solution: Root Asphyxiation. The soil is too compacted from heavy machinery. Use a broadfork to aerate the soil 6 to 10 feet away from the deck perimeter.
- Symptom: Marginal leaf burn (browning edges).
- Solution: Salt Toxicity or Nitrogen burn. If you used high-nitrogen fertilizers to "kickstart" growth, flush the soil with 2 inches of water to leach excess salts.
Fix-It for Nitrogen Chlorosis: If the entire leaf turns pale green or yellow, apply a quick-release ammonium nitrate or urea-based fertilizer at a rate of 0.5 pounds of actual Nitrogen per 1,000 square feet.
Maintenance:
Once the site is prepared and the deck is installed, monitor the surrounding soil health. Use a soil moisture meter to ensure the area under the deck eaves remains hydrated but not saturated. Plants at the drip line require 1.5 inches of water per week, delivered via a soaker hose to minimize evaporation.
Keep a hori-hori knife sharp for removing invasive deep-taproot weeds that may emerge at the deck edge. Use bypass pruners to maintain a 12-inch clearance between any foliage and the deck siding. This air gap is critical for preventing fungal pathogens from jumping from the plant to the wood. Check the structural integrity of the soil around the footings annually; if you see "piping" or small holes, it indicates internal erosion that requires immediate backfilling with crushed stone.
The Yield:
If your deck site includes integrated planter boxes, harvest timing is essential for peak nutrient density. Harvest leafy greens when they reach 4 to 6 inches in height, ideally in the early morning when turgor pressure is highest. This prevents wilting.
For flowers, cut stems at a 45-degree angle using a sterilized knife. Immediately submerge the stems in 110 degree Fahrenheit water to remove air bubbles from the xylem. This "hardening off" process ensures day-one freshness and extends the vase life of the botanical yield.
FAQ:
How deep should I dig for deck footings?
Dig footings at least 12 inches below the local frost line. In many temperate regions, this requires a depth of 36 to 48 inches. This prevents frost heave from destabilizing the deck during winter temperature fluctuations.
Do I really need landscape fabric under a deck?
Yes. Geotextile fabric suppresses weed growth by blocking light and prevents the gravel base from sinking into the subsoil. This maintains soil separation and ensures long-term drainage efficiency beneath the structural timber.
What is the best gravel for under a deck?
Use 3/4-inch angular crushed stone. Unlike rounded pea gravel, angular stone interlocks under pressure, providing a stable, non-shifting surface. It also facilitates rapid drainage, keeping the area beneath the deck dry and free of rot.
Can I leave the grass under my new deck?
No. Grass will die from lack of light, leading to anaerobic decomposition. This process creates odors and can acidify the soil, potentially damaging metal post anchors. Always strip the sod before laying your base materials.