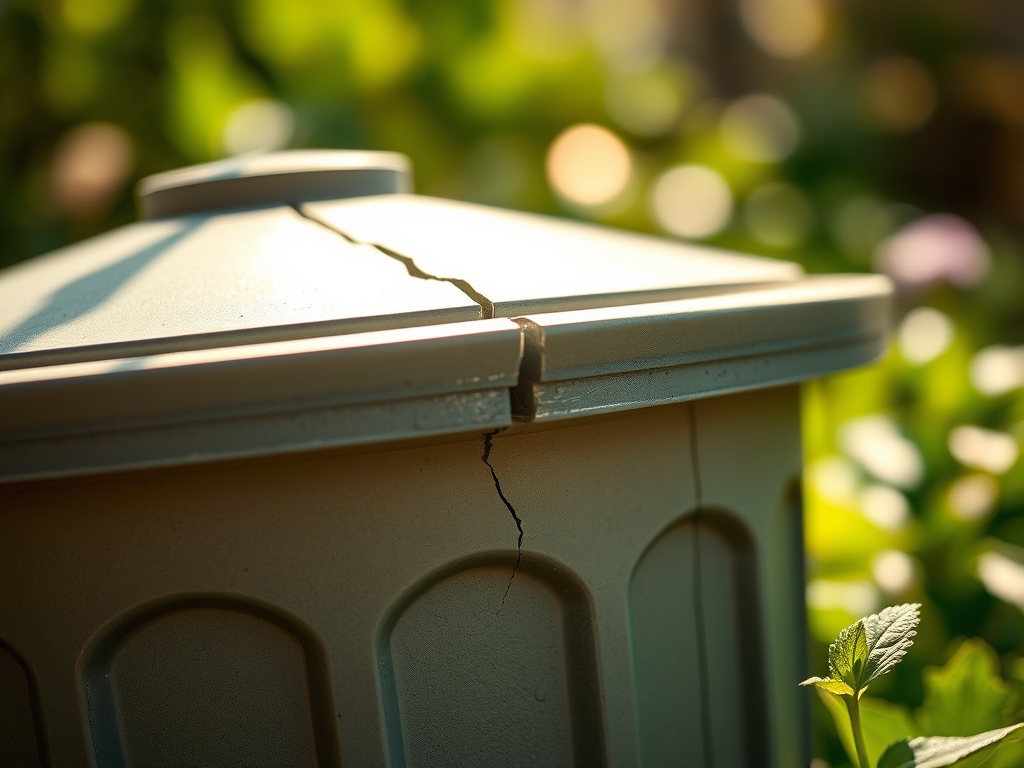
8 Steps to Repair a Cracked Plastic Garden Bin or Tumbler
Crushed basalt and the sharp scent of damp earth define the workspace where structural integrity meets biological necessity. A cracked composter is more than a broken vessel; it is a breach in the thermal envelope required for thermophilic decomposition. Maintaining internal temperatures between 135 and 160 degrees Fahrenheit is essential for pathogen eradication. When structural failure occurs, heat dissipates and moisture levels drop below the required 50 percent saturation point. Mastering the steps for repairing a cracked plastic garden bin ensures that the nitrogen cycle remains uninterrupted and the microbial colony survives.
Materials:
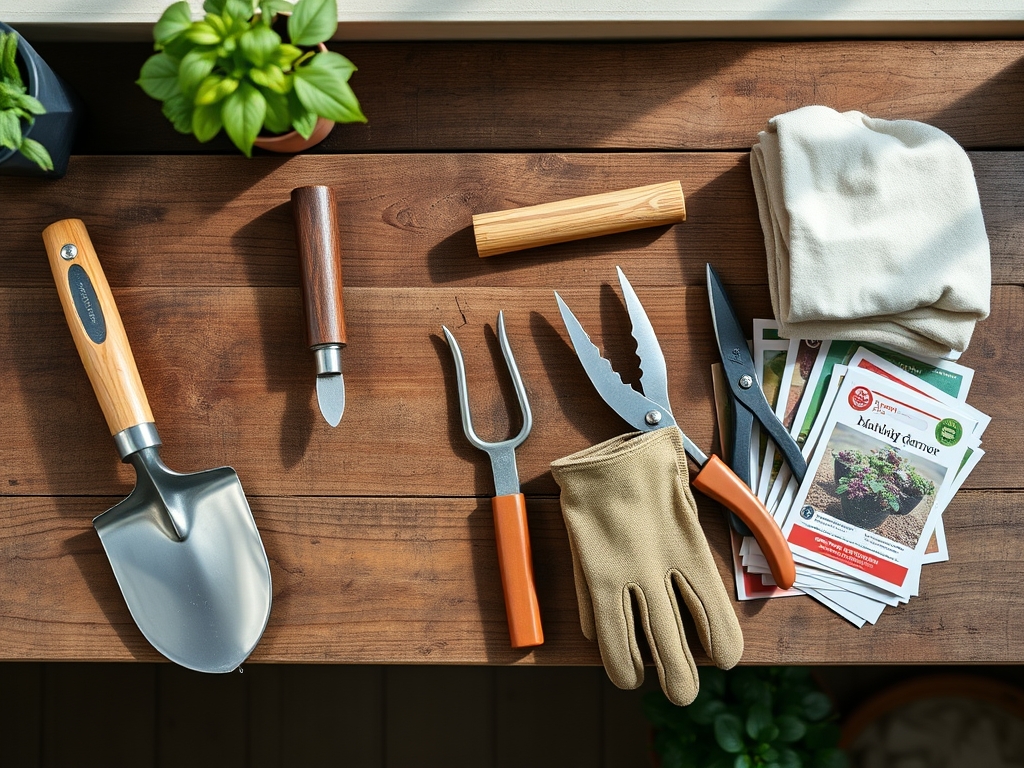
Repairing high-density polyethylene (HDPE) or polypropylene (PP) requires specific mechanical and chemical bonds. While the bin itself houses organic matter with an ideal **C:N ratio of 30:1**, the repair materials must be inorganic and inert. You will need a **variable-heat plastic welder** or a heavy-duty soldering iron. Source HDPE welding rods that match the resin identification code of your bin; most industrial tumblers are **Category 2 or 5 plastics**. For structural reinforcement, use stainless steel mesh with a **0.5mm wire diameter**. Clean the substrate using **90 percent isopropyl alcohol** to remove lipids and residual fulvic acids. The goal is to restore the vessel to a state where it can support a friable loam substrate with a **pH between 6.0 and 7.5** without bowing under the weight of wet organic mass.
Timing:
Repair protocols should be executed during the dormant season or early spring, specifically within the window between the last hard frost and the first bud break. In Hardiness Zones 5 through 7, this typically falls between late February and early April. Attempting plastic welding in ambient temperatures below 50 degrees Fahrenheit leads to brittle fractures and poor thermal fusion. From a botanical perspective, this timing aligns with the biological clock of the garden; you must have the bin operational before the spring surge of nitrogen-rich "greens" like lawn clippings and spent cool-season crops. Ensuring the bin is functional before the vegetative stage of your garden allows for the timely application of finished compost to the rhizosphere, where cation exchange capacity (CEC) is highest.
Phases:
Sowing the Structural Foundation
Begin by drilling "stop holes" at both ends of the fracture using a 1/8-inch drill bit. This prevents the crack from propagating further through the plastic lattice. Sand the area within two inches of the crack to increase the surface area for bonding. If the bin is a tumbler, empty it completely to remove pressure from the hull.
Pro-Tip: Mechanical stabilization is vital because plastic lacks the lignin found in plant cell walls. Just as a stake supports a heavy-fruiting tomato to prevent vascular collapse, stop-drilling prevents stress from concentrating at the crack's apex.
Transplanting the Mesh
Cut the stainless steel mesh to overlap the crack by one inch on all sides. Use the heat tool to press the mesh into the plastic until the molten resin flows through the gaps. This creates a reinforced matrix similar to the way mycorrhizal fungi weave through soil particles to stabilize the aggregate structure. Smooth the surface with a flat metal spatula.
Pro-Tip: Embedding mesh mimics the fibrous root systems of monocots. By distributing tensile stress across a wider surface area, you prevent the "shearing" effect that occurs when a bin is rotated or filled with heavy, water-logged biomass.
Establishing the Thermal Seal
Apply the welding rod over the embedded mesh. Move the heat source in a slow, rhythmic motion to ensure the new plastic reaches its melting point simultaneously with the bin surface. This creates a monolithic bond. Allow the repair to cool naturally for 60 minutes; do not use water to quench the plastic, as rapid cooling causes molecular stress.
Pro-Tip: Controlled cooling ensures polymer alignment. In botany, this is akin to hardening off seedlings; a gradual transition to environmental stressors prevents cellular shock and ensures the structural integrity of the "epidermis" of your composting vessel.
The Clinic:
Physiological disorders in the composting process often stem from structural failures in the bin. If the repair is not airtight, you may observe anaerobic pockets or localized "cold spots" where decomposition halts.
- Symptom: Putrid, ammonia-like odor.
Solution: This indicates a lack of oxygen (hypoxia). Ensure the repair did not block essential ventilation holes. Increase the "brown" carbon-heavy material to restore the 30:1 ratio. - Symptom: Dry, undecomposed matter at the crack site.
Solution: The seal is leaking moisture. Re-weld the edges. Maintain a moisture level similar to a wrung-out sponge. - Symptom: Structural sagging near the repair.
Solution: The plastic is suffering from UV degradation or "senescence." Apply a UV-resistant coating or move the bin to a location with less than six hours of direct solar radiation.
Fix-It for Nutrient Deficiencies:
If your finished compost shows Nitrogen chlorosis (pale yellow leaves on plants fed with the compost), the bin likely lost too much heat during the repair phase, preventing the breakdown of carbon. Supplement the bin with blood meal or urea to jumpstart the microbial activity.
Maintenance:
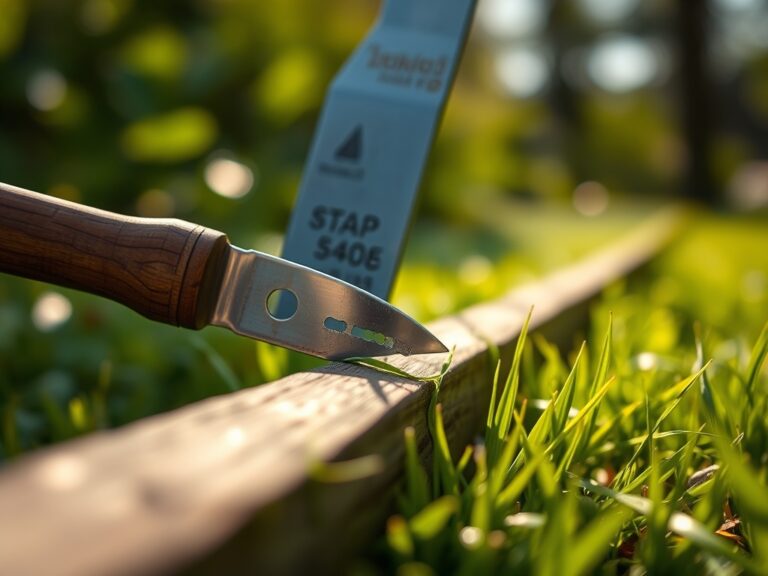
A repaired bin requires precise management to prevent re-injury. Monitor the internal moisture using a digital soil moisture meter; levels should never drop below 40 percent. When turning a repaired tumbler, use a smooth, consistent motion to avoid centrifugal shocks to the weld. Use a hori-hori knife to chop large organic inputs into two-inch fragments before adding them; smaller particles decompose faster and put less physical strain on the bin walls. Annually inspect the weld for signs of stress whitening. If you use bypass pruners to harvest material for the bin, ensure the cuts are clean to prevent the introduction of woody "spears" that could puncture the repair from the inside.
The Yield:
The ultimate yield of a functional bin is "black gold" compost with a high humic acid content. Harvest the compost when it is dark, crumbly, and smells of geosmin. It should pass a "squeeze test" where it holds its shape but crumbles under slight pressure. Apply this finished matter to your garden beds at a depth of two inches, integrating it into the top six inches of the soil profile. This application increases the CEC, allowing your plants to better access essential cations like Potassium (K+) and Magnesium (Mg2+), leading to increased turgor pressure and higher fruit yields.
FAQ:
Can I use duct tape to fix a cracked garden bin?
No. Duct tape fails under UV exposure and high internal temperatures. The adhesive degrades in the presence of organic acids. Only thermal welding or specialized epoxy resins provide the structural integrity required for long-term composting.
How do I know if my bin is HDPE or PP?
Check the bottom for a triangular recycling symbol. A "2" indicates HDPE, while a "5" indicates PP. You must match the welding rod material to the bin plastic to ensure a proper molecular bond during the repair.
Is it safe to use a repaired bin for vegetable garden compost?
Yes, provided you use food-grade plastic welding rods and stainless steel mesh. Avoid using lead-based solders or toxic adhesives. Once cured, the repaired plastic is inert and will not leach chemicals into the rhizosphere.
Why did my plastic weld crack again after one month?
The primary cause is thermal shock or failing to "stop-drill" the crack ends. If the plastic was not cleaned with isopropyl alcohol, residual oils prevented a deep bond. Ensure the mesh reinforcement extends well beyond the original fracture.